
 Linux For All (LFA) Build 250417 with the Budgie 10.9.1 Desktop Environment is a simple remaster of Ubuntu 24.04.2 LTS, code-named Noble Numbat. It’s a total rebuild. I.e. nothing is left of the old LFA system. NOTE: Ubuntu 24.04 will be supported until August 2029.
NEWS ABOUT LFA Build 250417
1. All packages the ordinary Linux user can wish for are pre-installed. Study the full packages list…
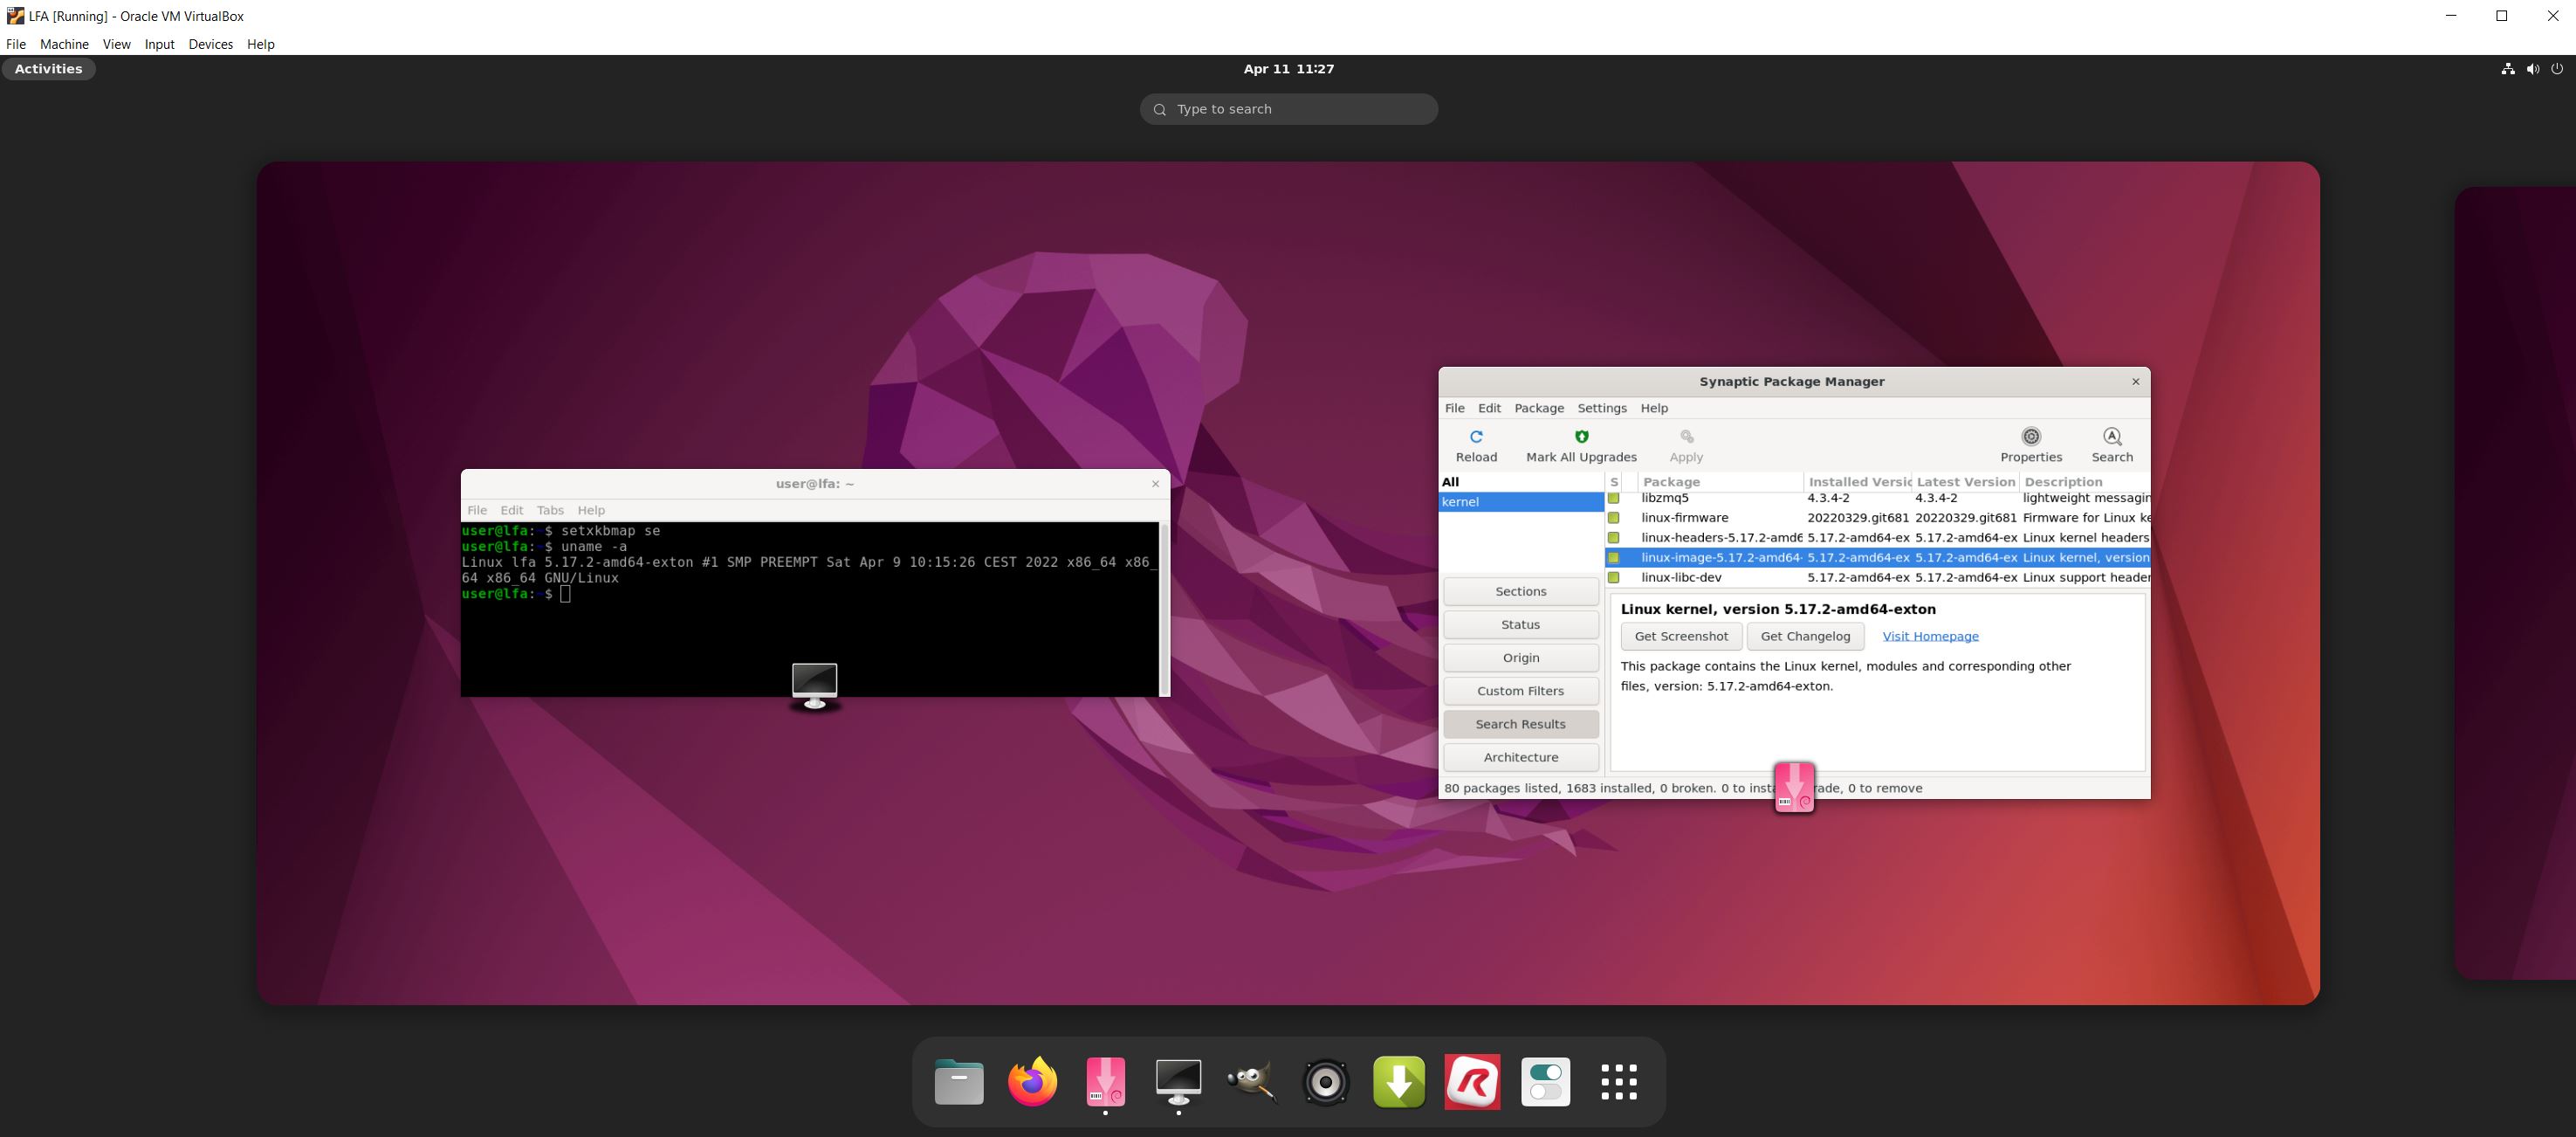
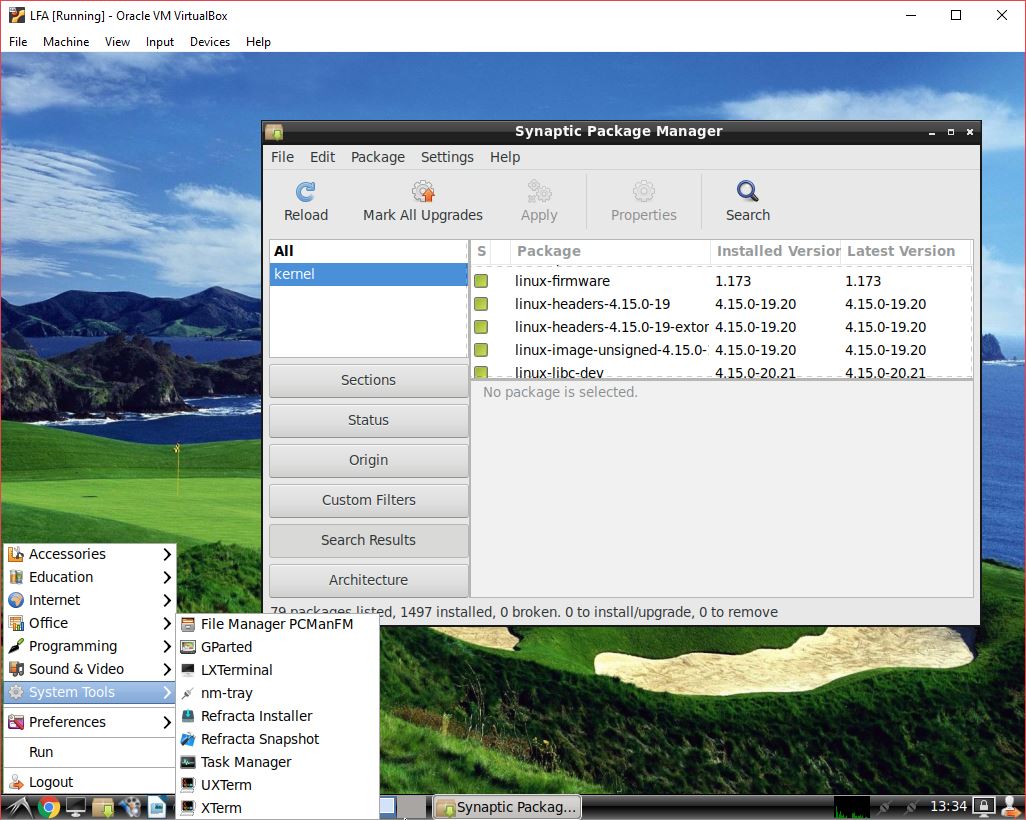
2. Kernel 6.14.2-amd64-exton is used. You can of course switch to Ubuntu’s original kernel if you prefer that.
3. The Desktop environment is Budgie 10.9.1. (Budgie is a desktop environment, formerly a project within Solus, becoming independent under the newly formed Buddies of Budgie organization in January 2022. It uses GTK for widgets, and is written in C and Vala. As of Budgie 10, the only available session is on Xorg).
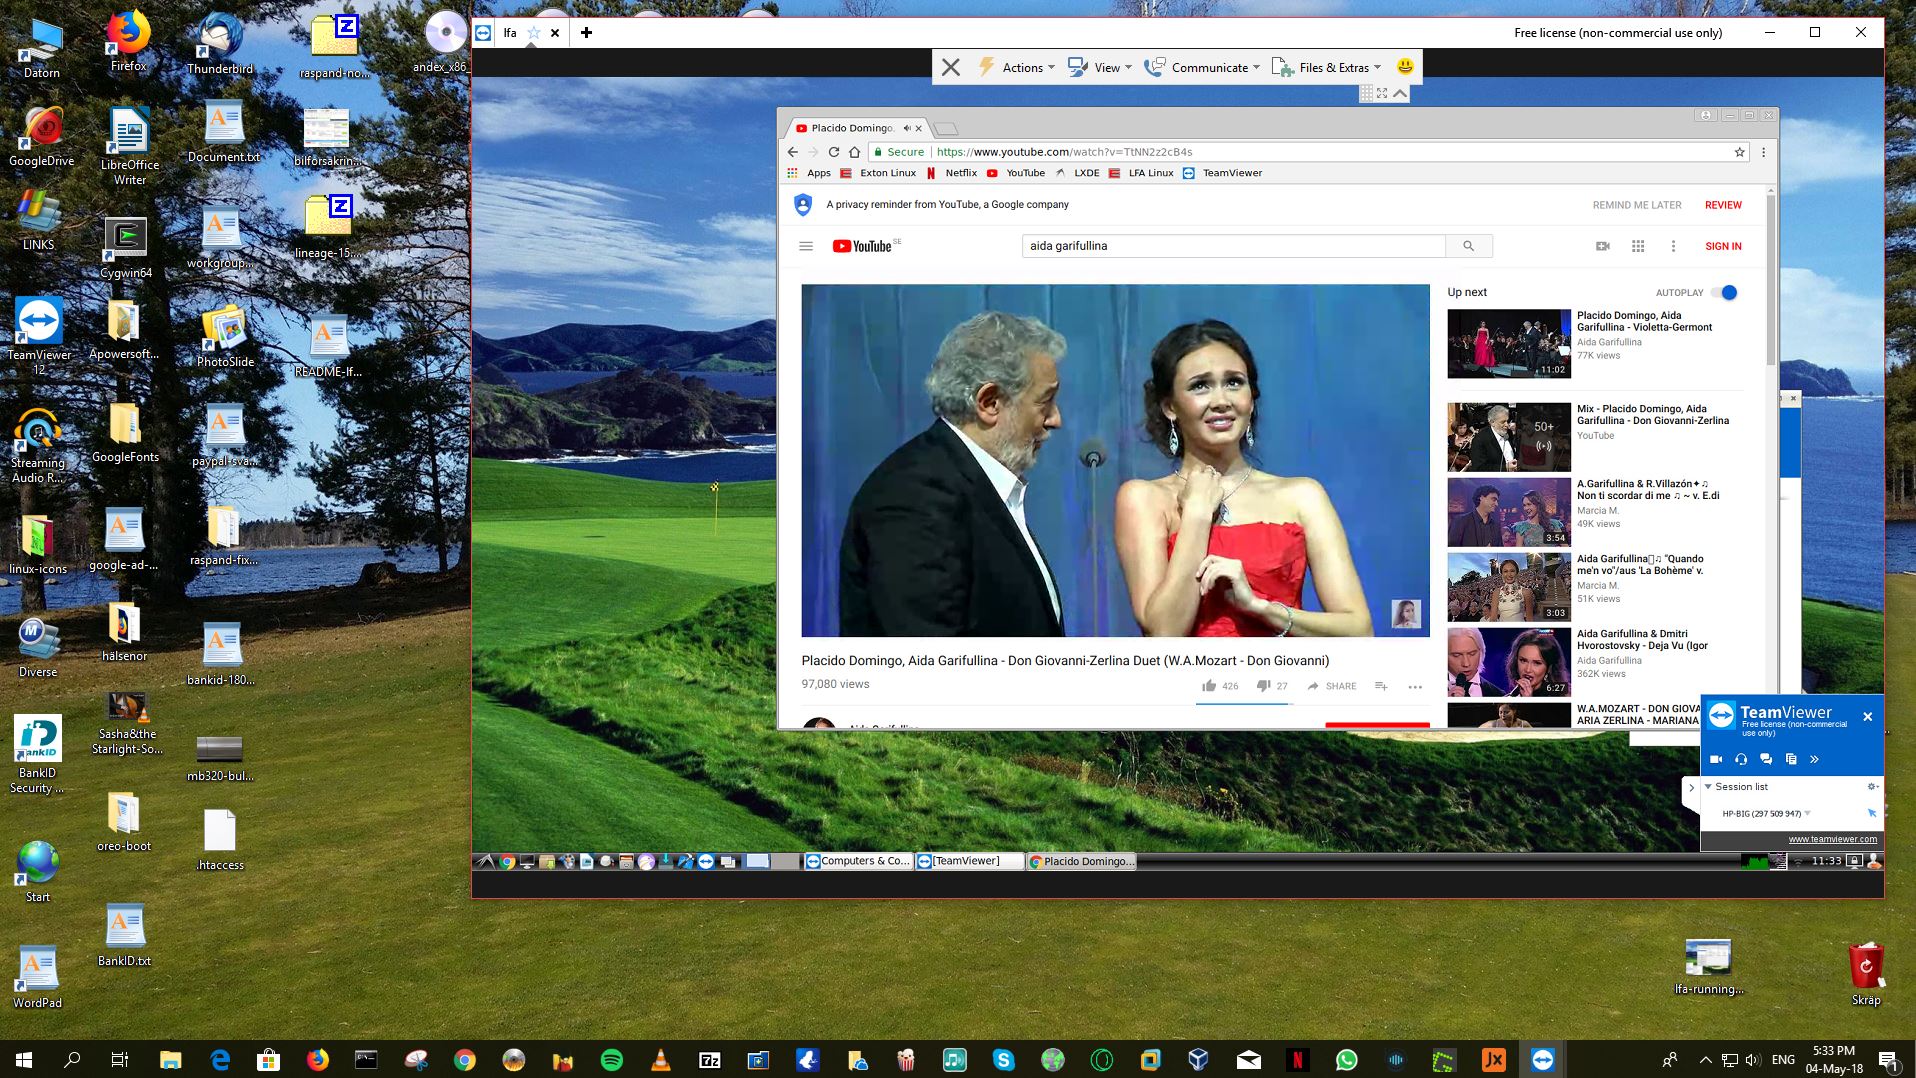
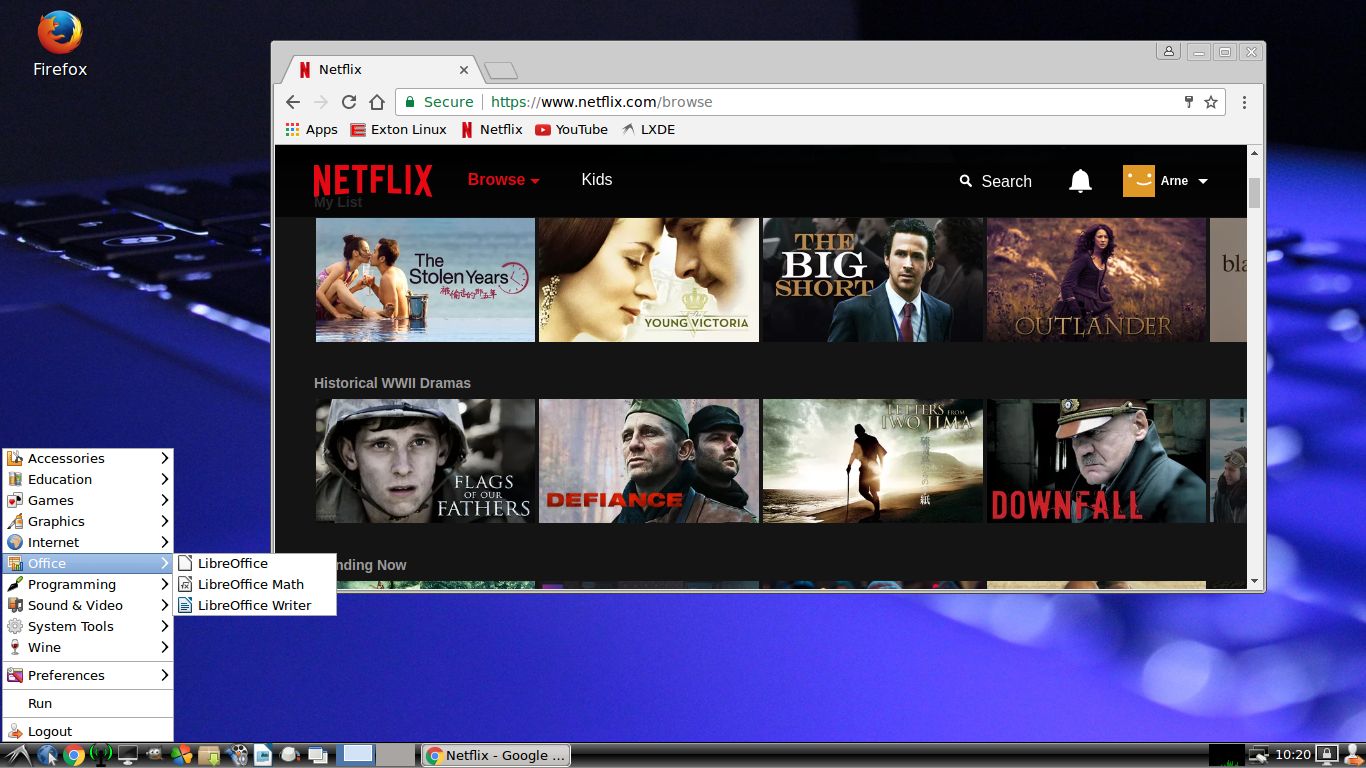
4. The main Web Browser is Firefox. So you can watch Netflix!
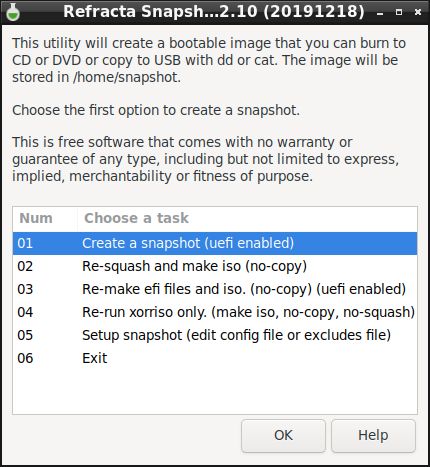
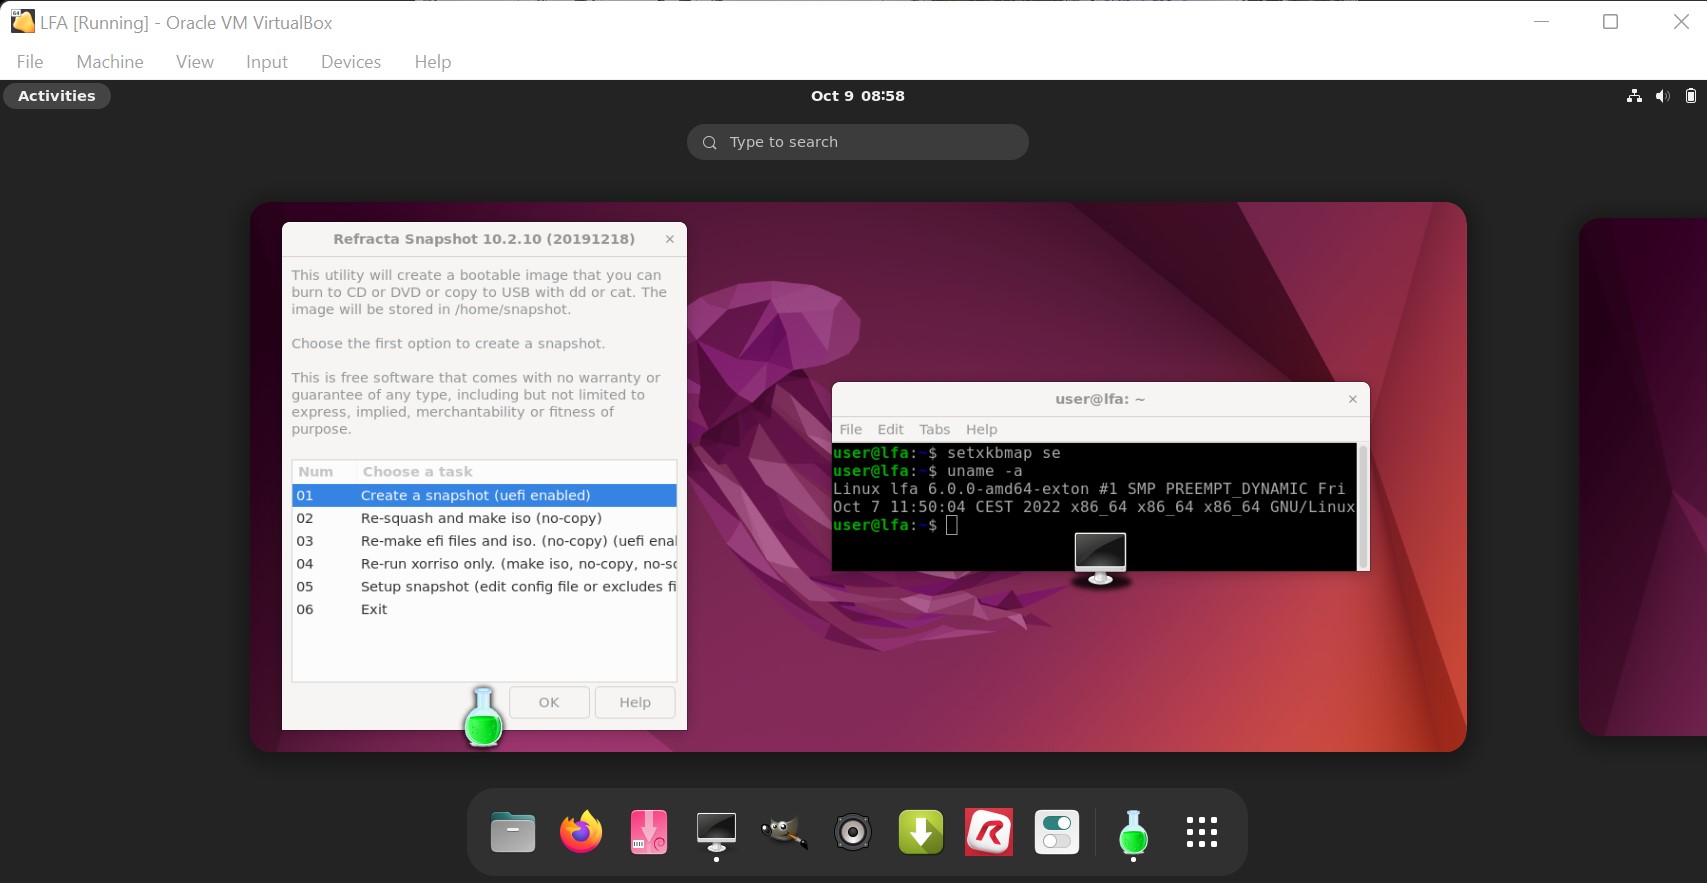
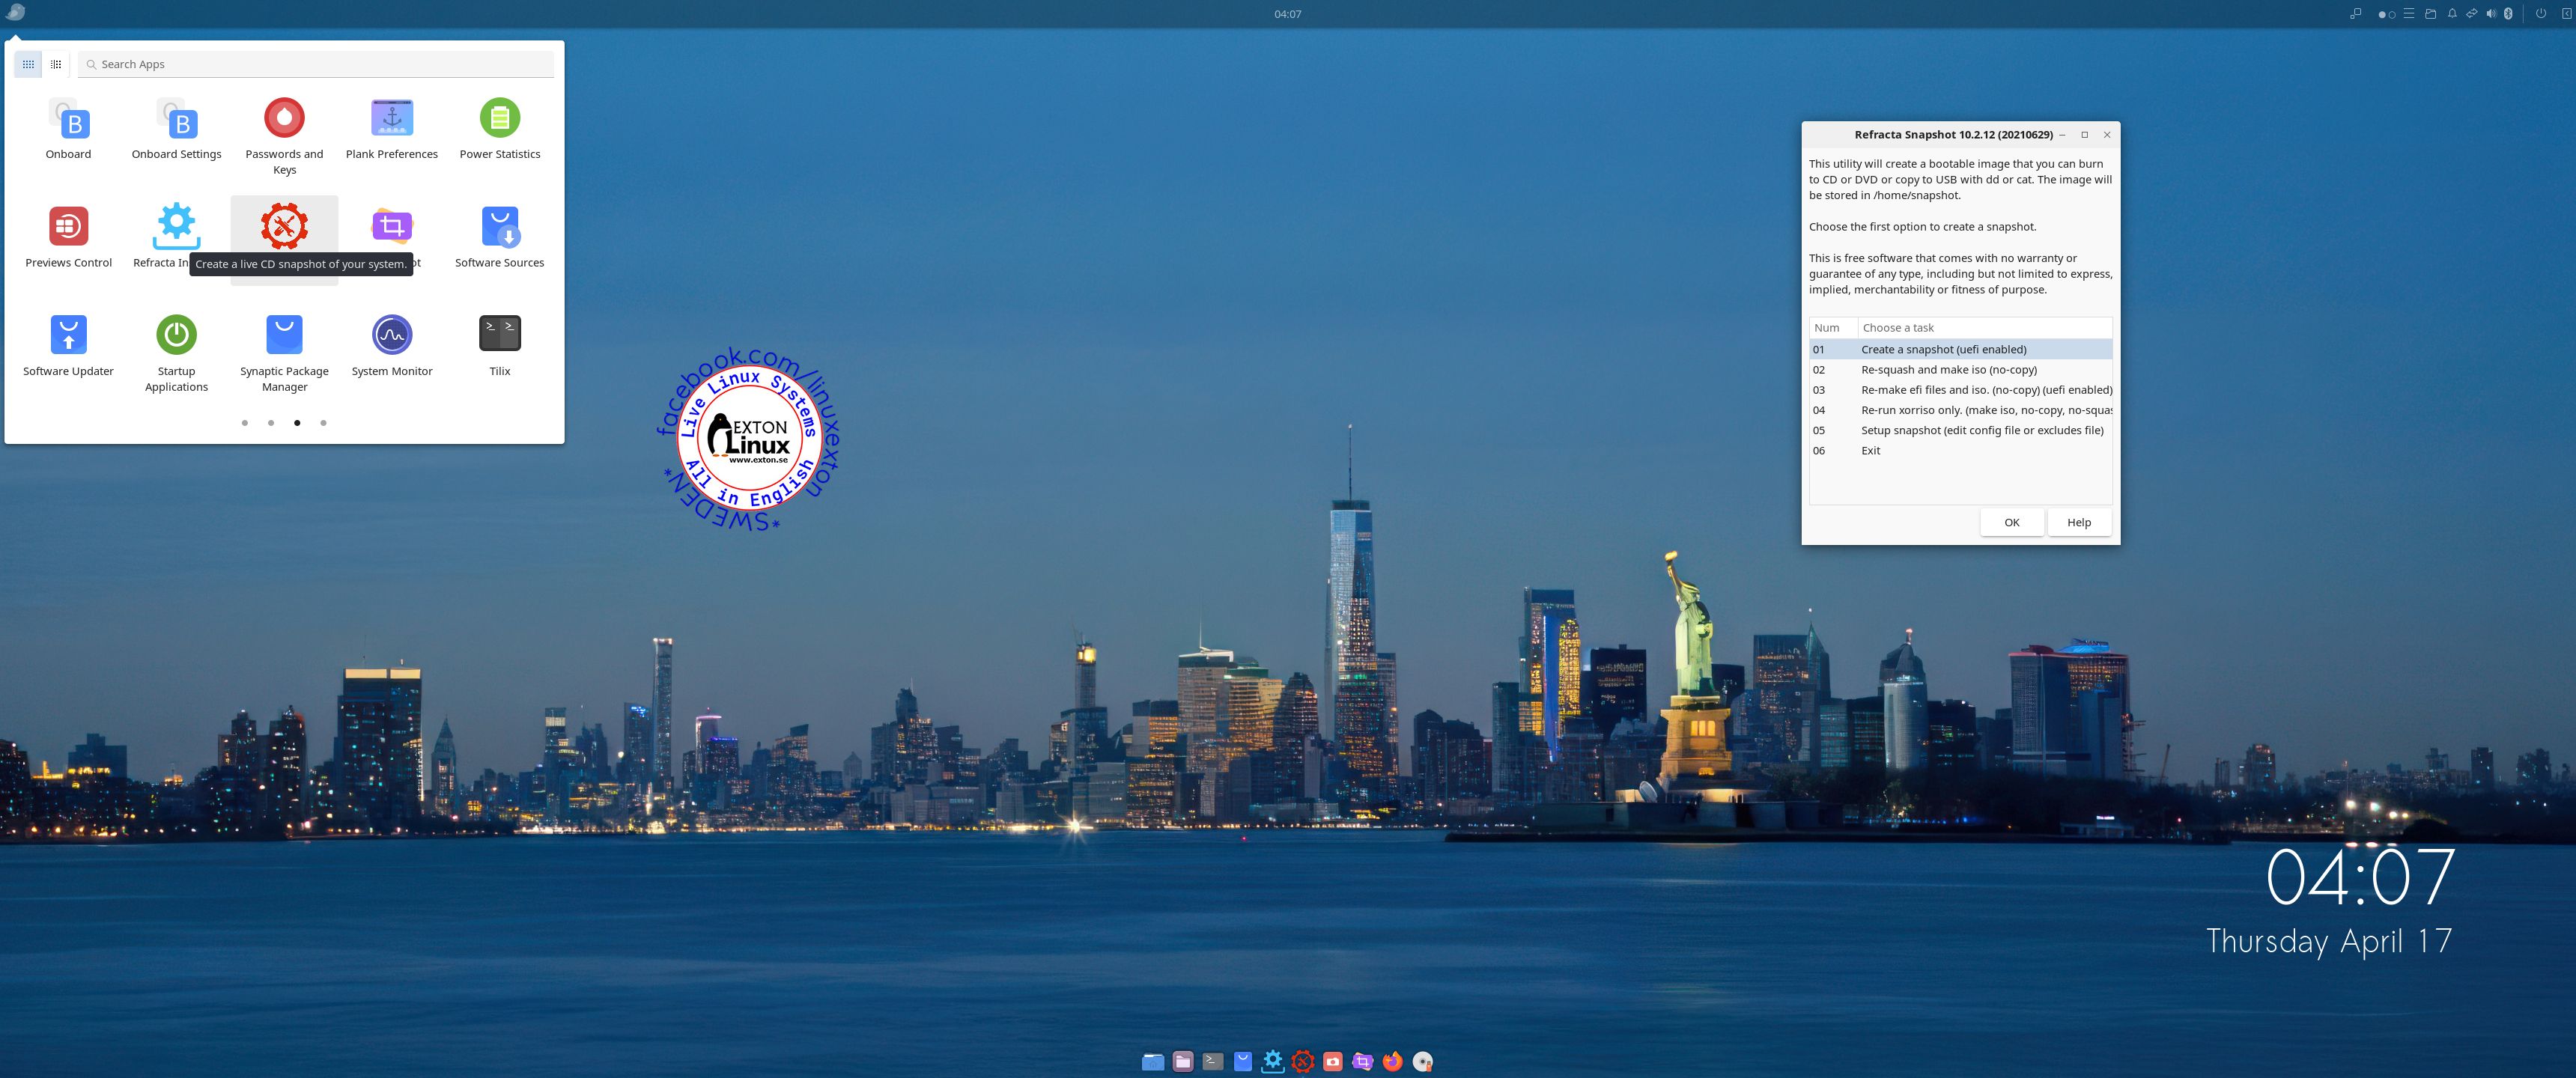
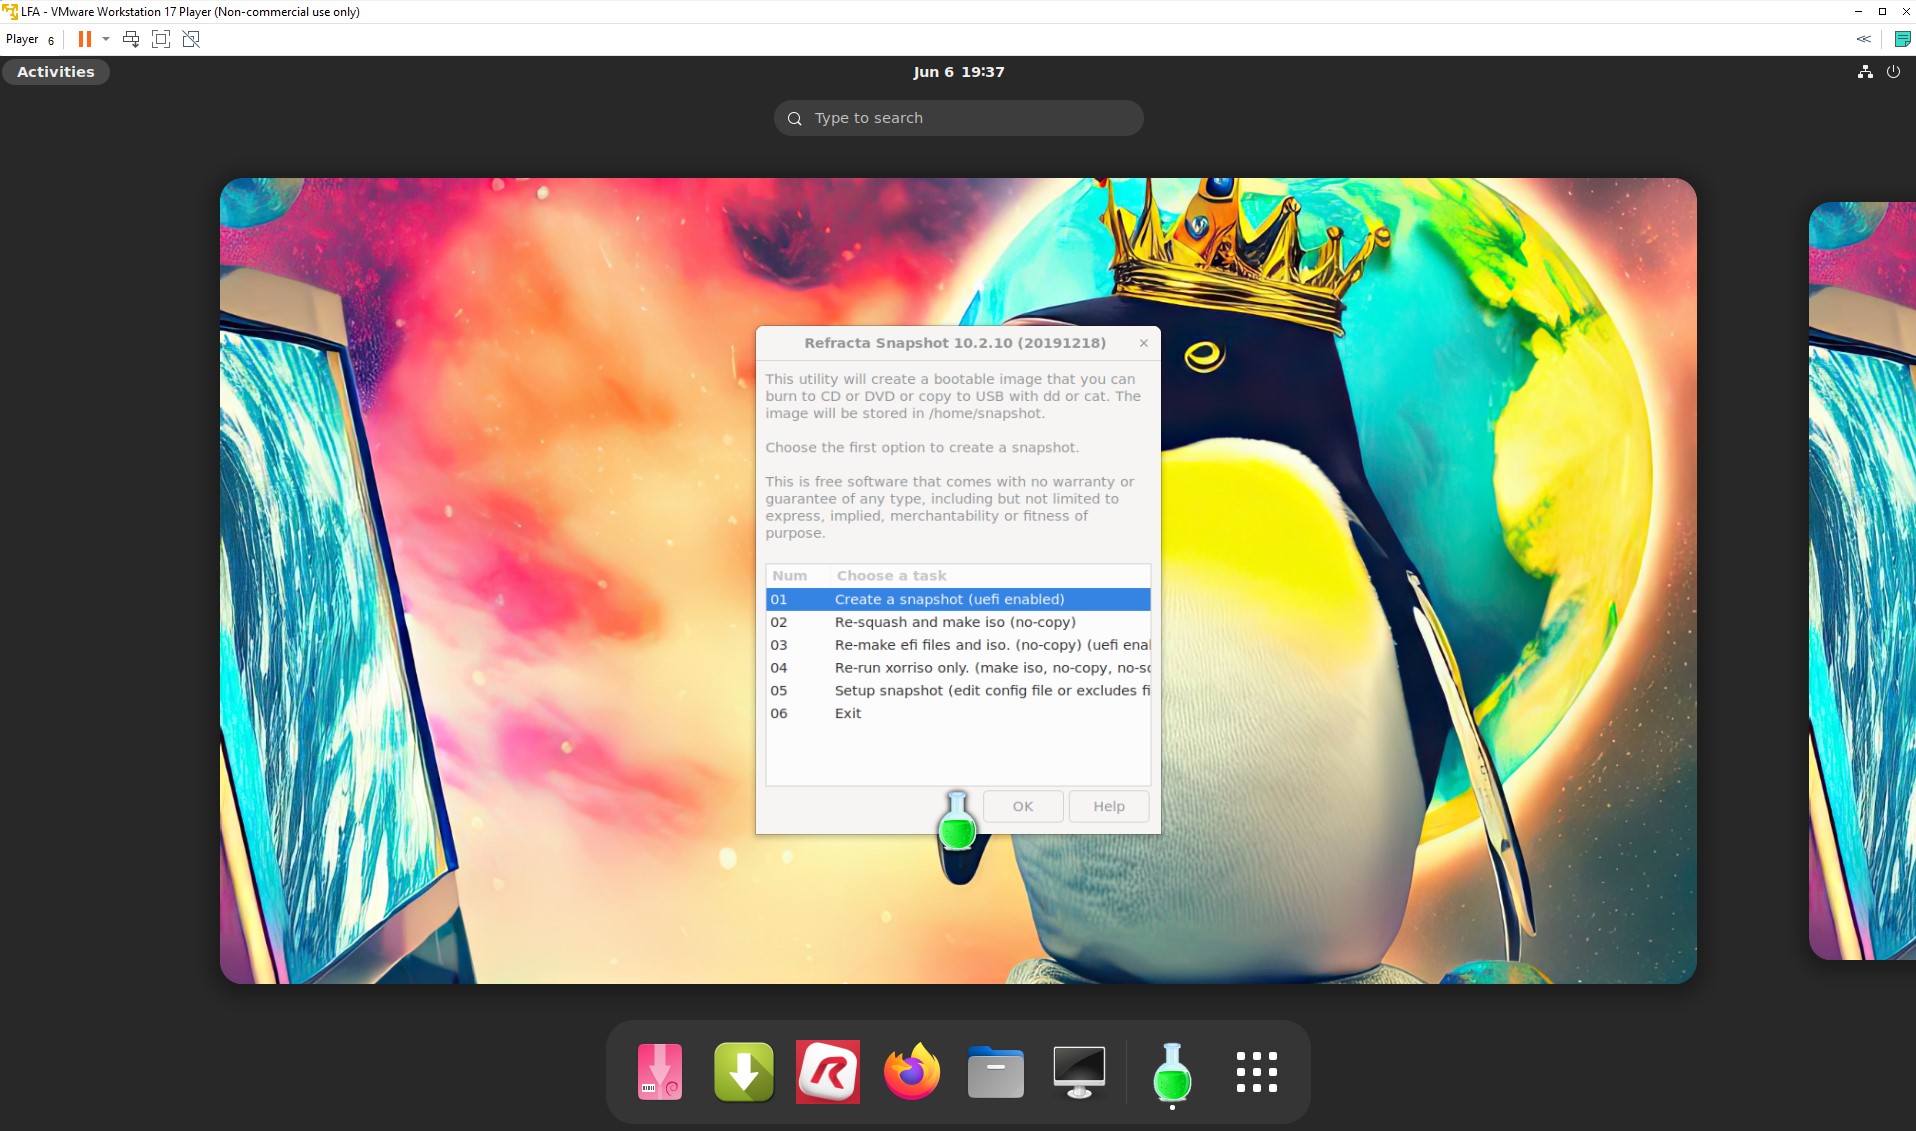
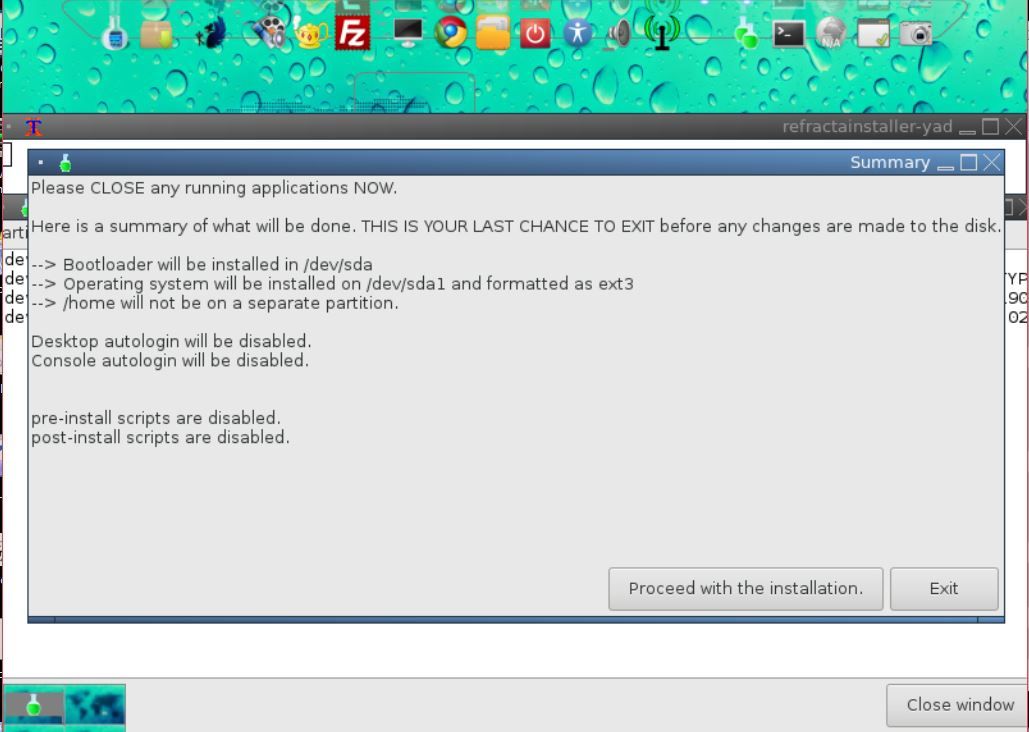
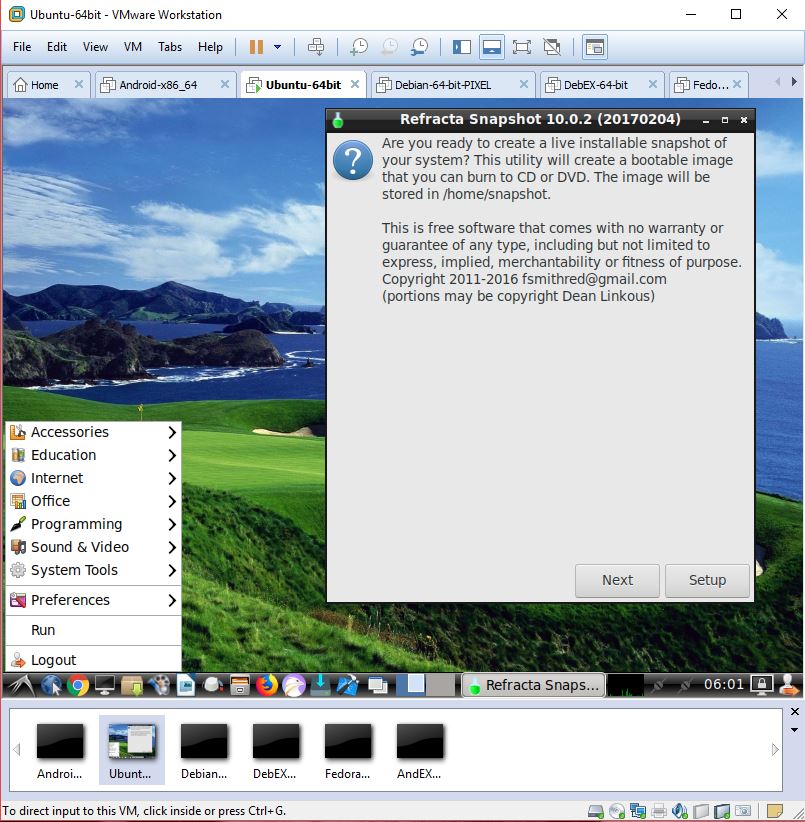
5. I have included Refracta tools (Refracta Snapshot) to make it possible for you to create your own installable Ubuntu 24.04.2 LTS Live System once you have installed LFA to hard drive.
6. You can run LFA super fast in RAM. Use boot alternative 2 Load to RAM – see below.
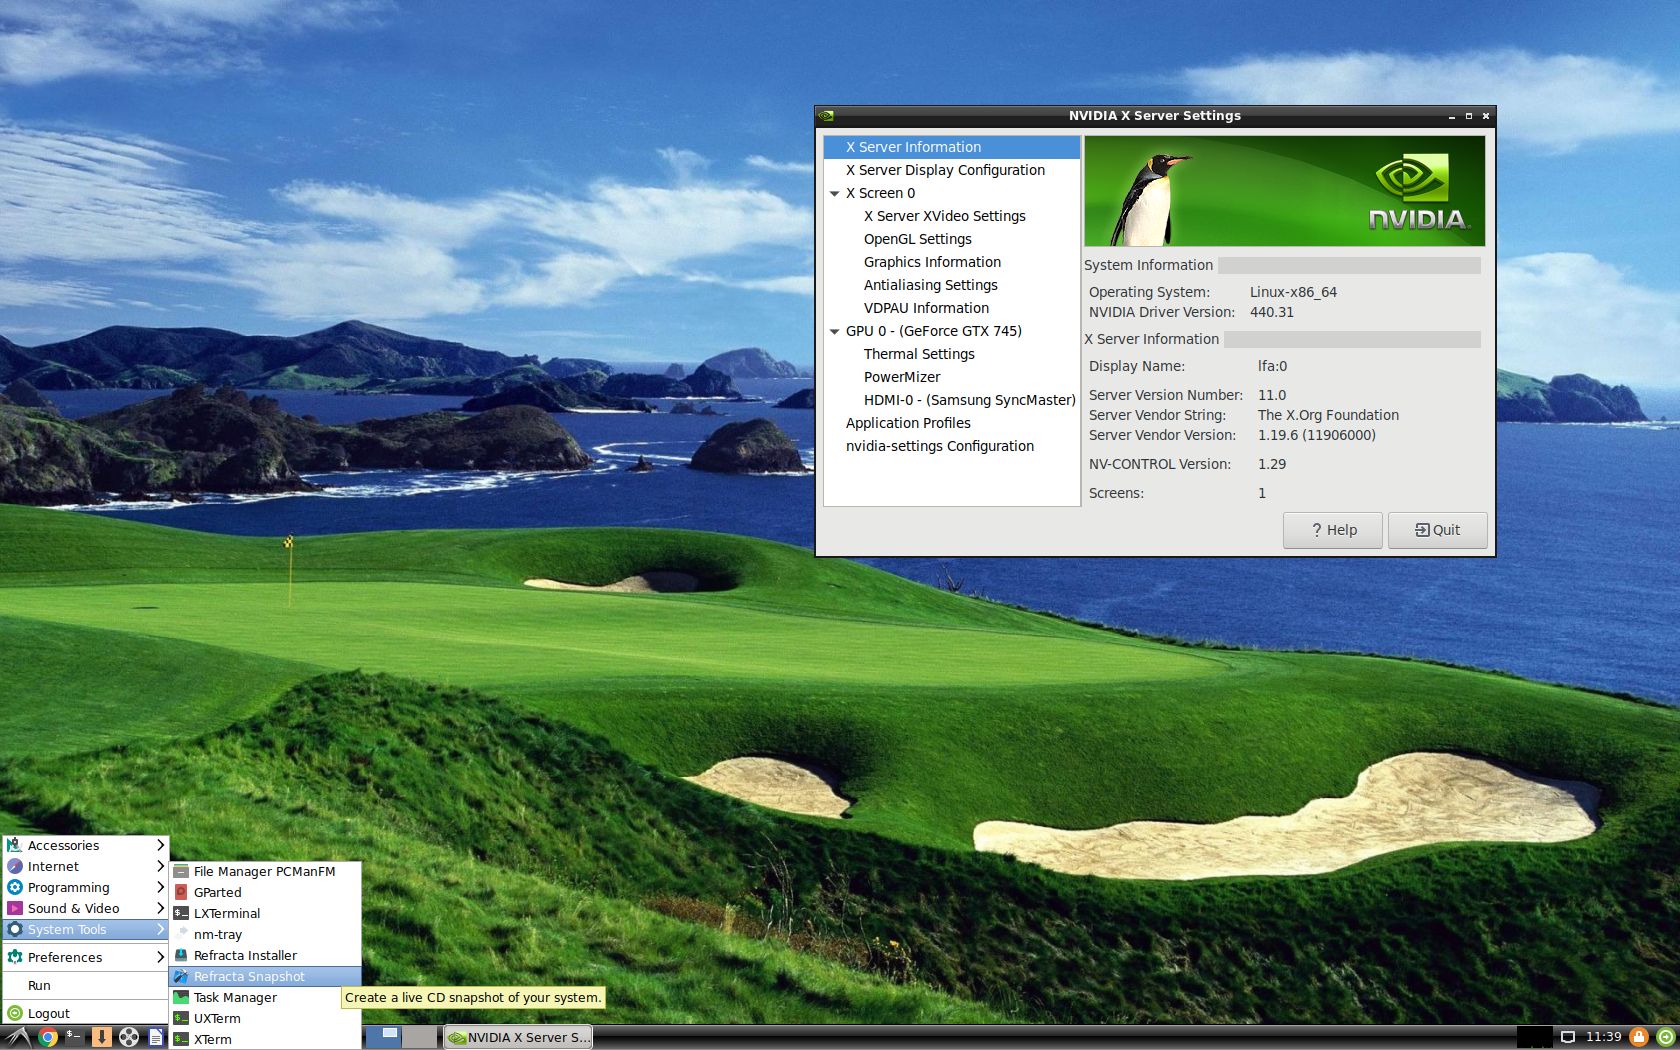
7. Nvidia’s proprietary driver 570.133.07 is pre-installed. It will be used if your computer supports it.
8. I have removed snapd altogether.
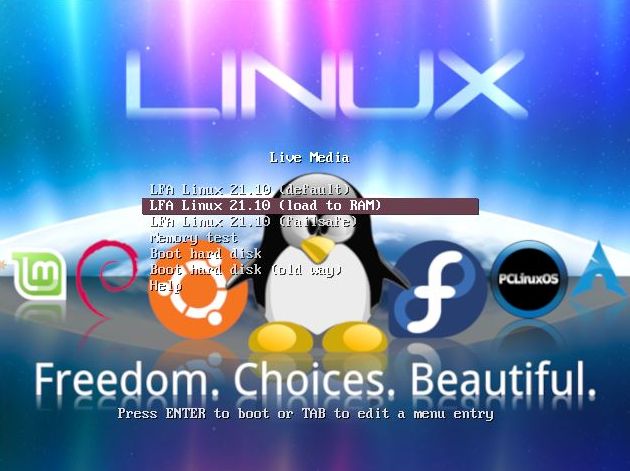
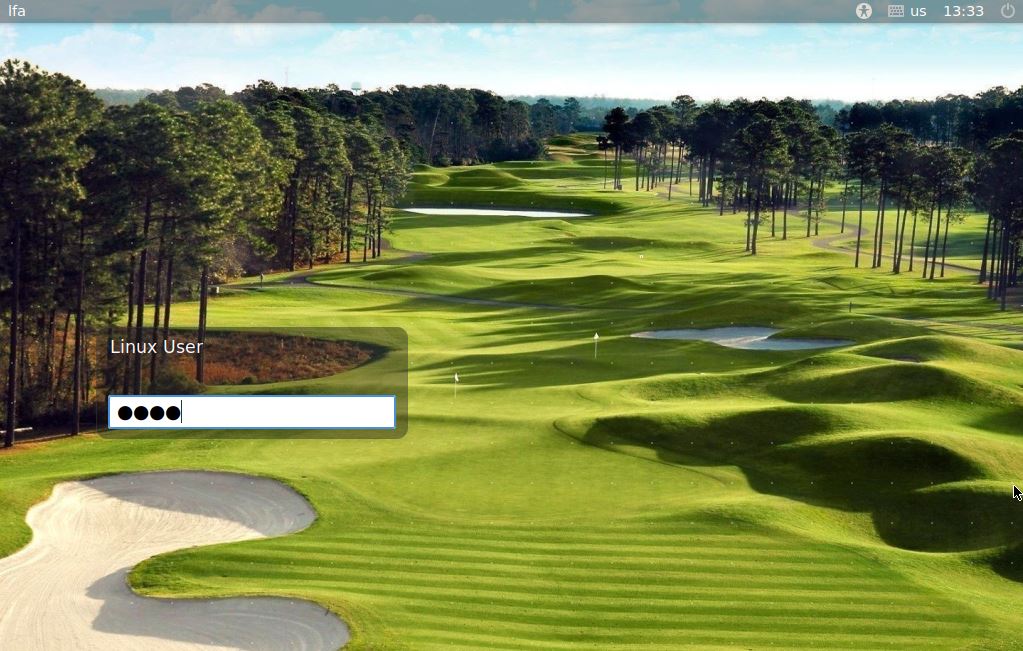
When booting up LFA from a DVD or a USB stick it will look like this.

Log in to the Budgie DE
When the boot process is ready you will end up LightDM‘s login screen. The password for the ordinary user user is live. You can only log in to Budgie as the ordinary user user. The password for root is root. When logged in as user you can use Sudo to become root. (Commands: sudo su and for example sudo pcmanfm).
LOG IN to Budgie as root
If you for some reason want to log in to Budgie as root you shall press Ctrl Alt F1 simultaneously. You will then leave X. Log in as root with password root in console mode. Run the command startx. You will then enter the Budgie Desktop as root.
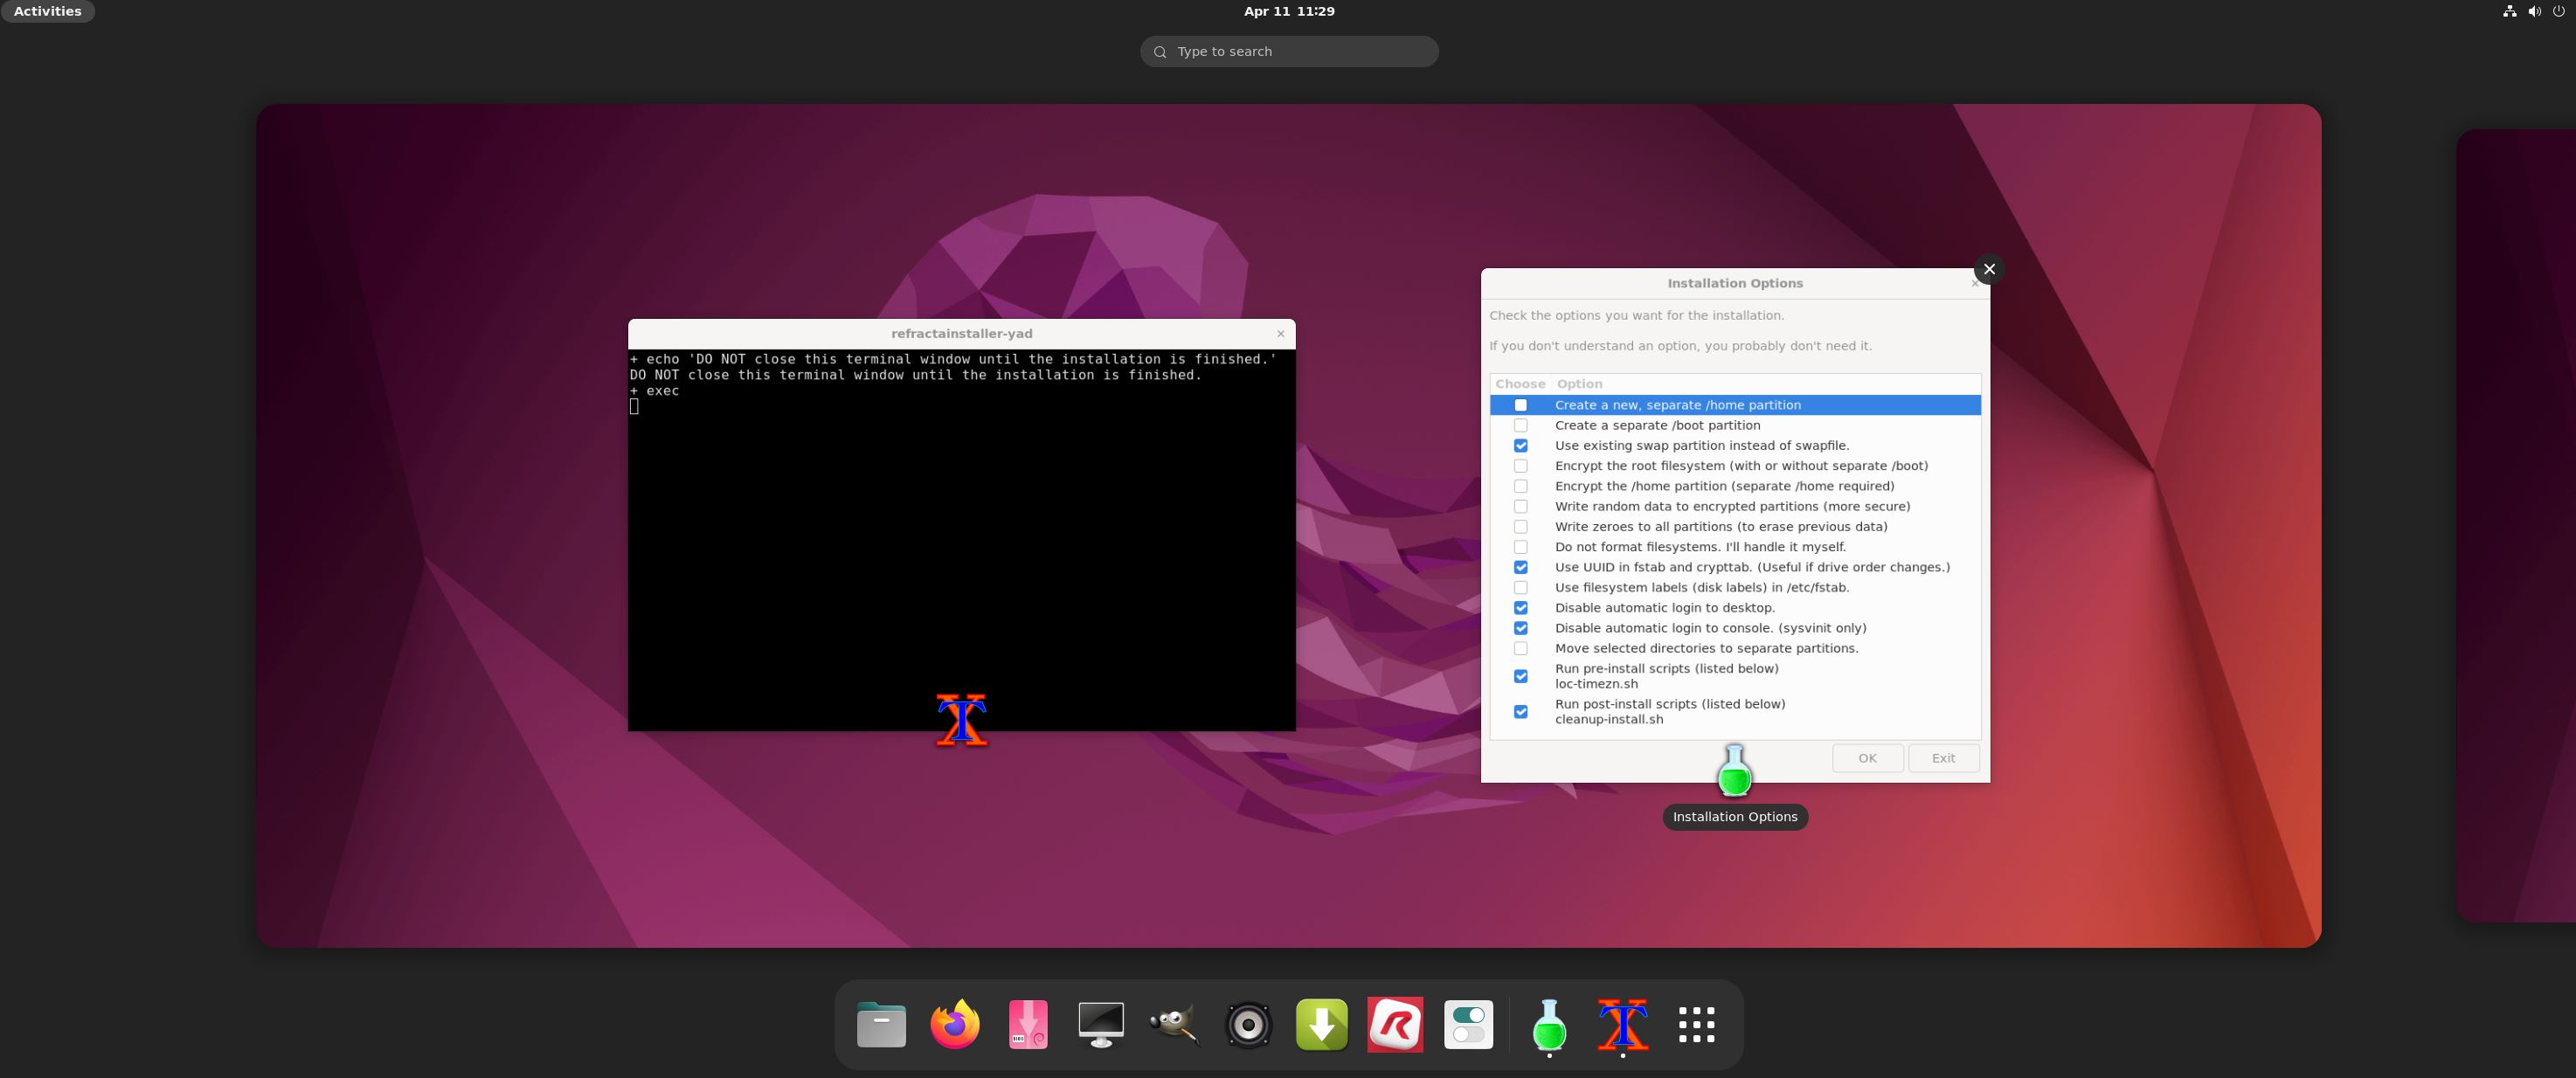
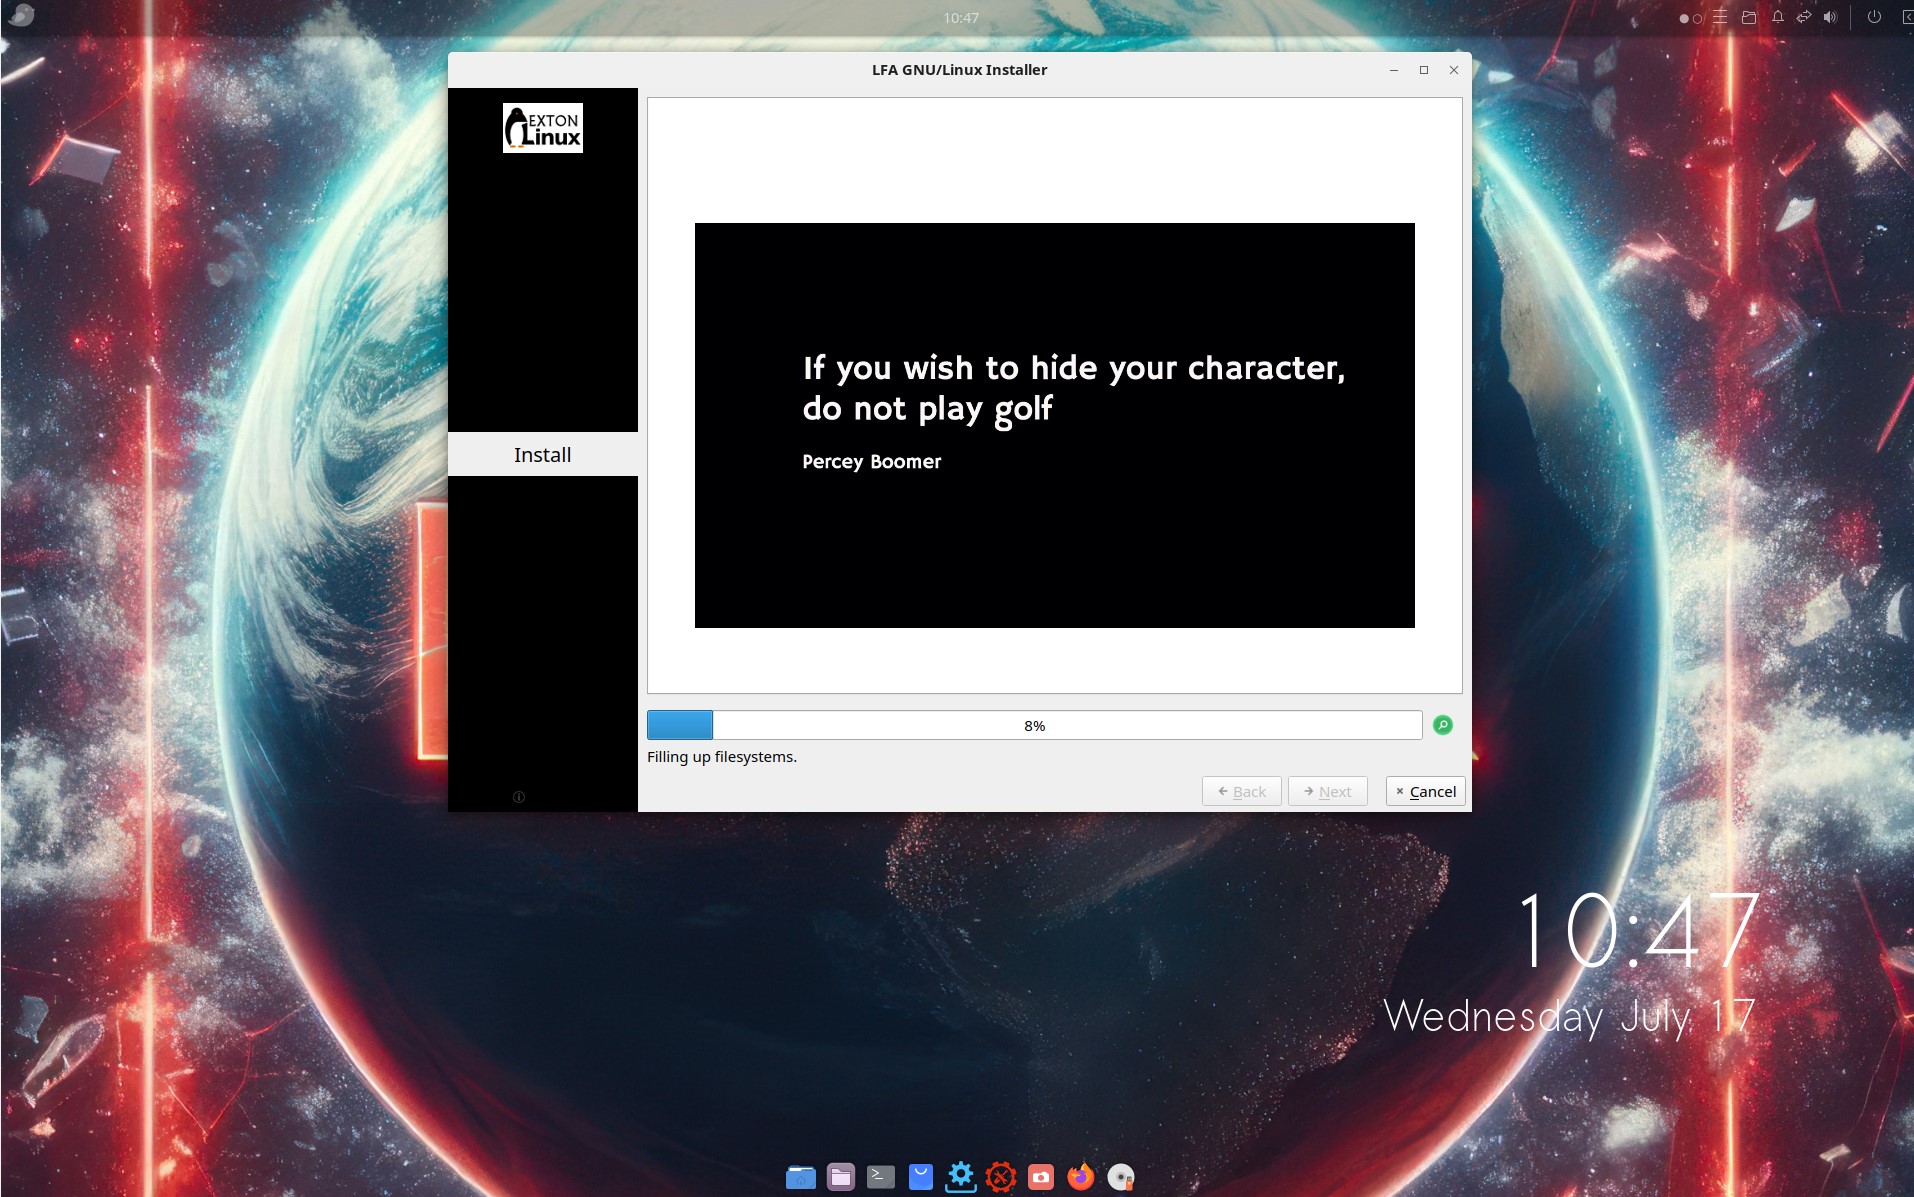
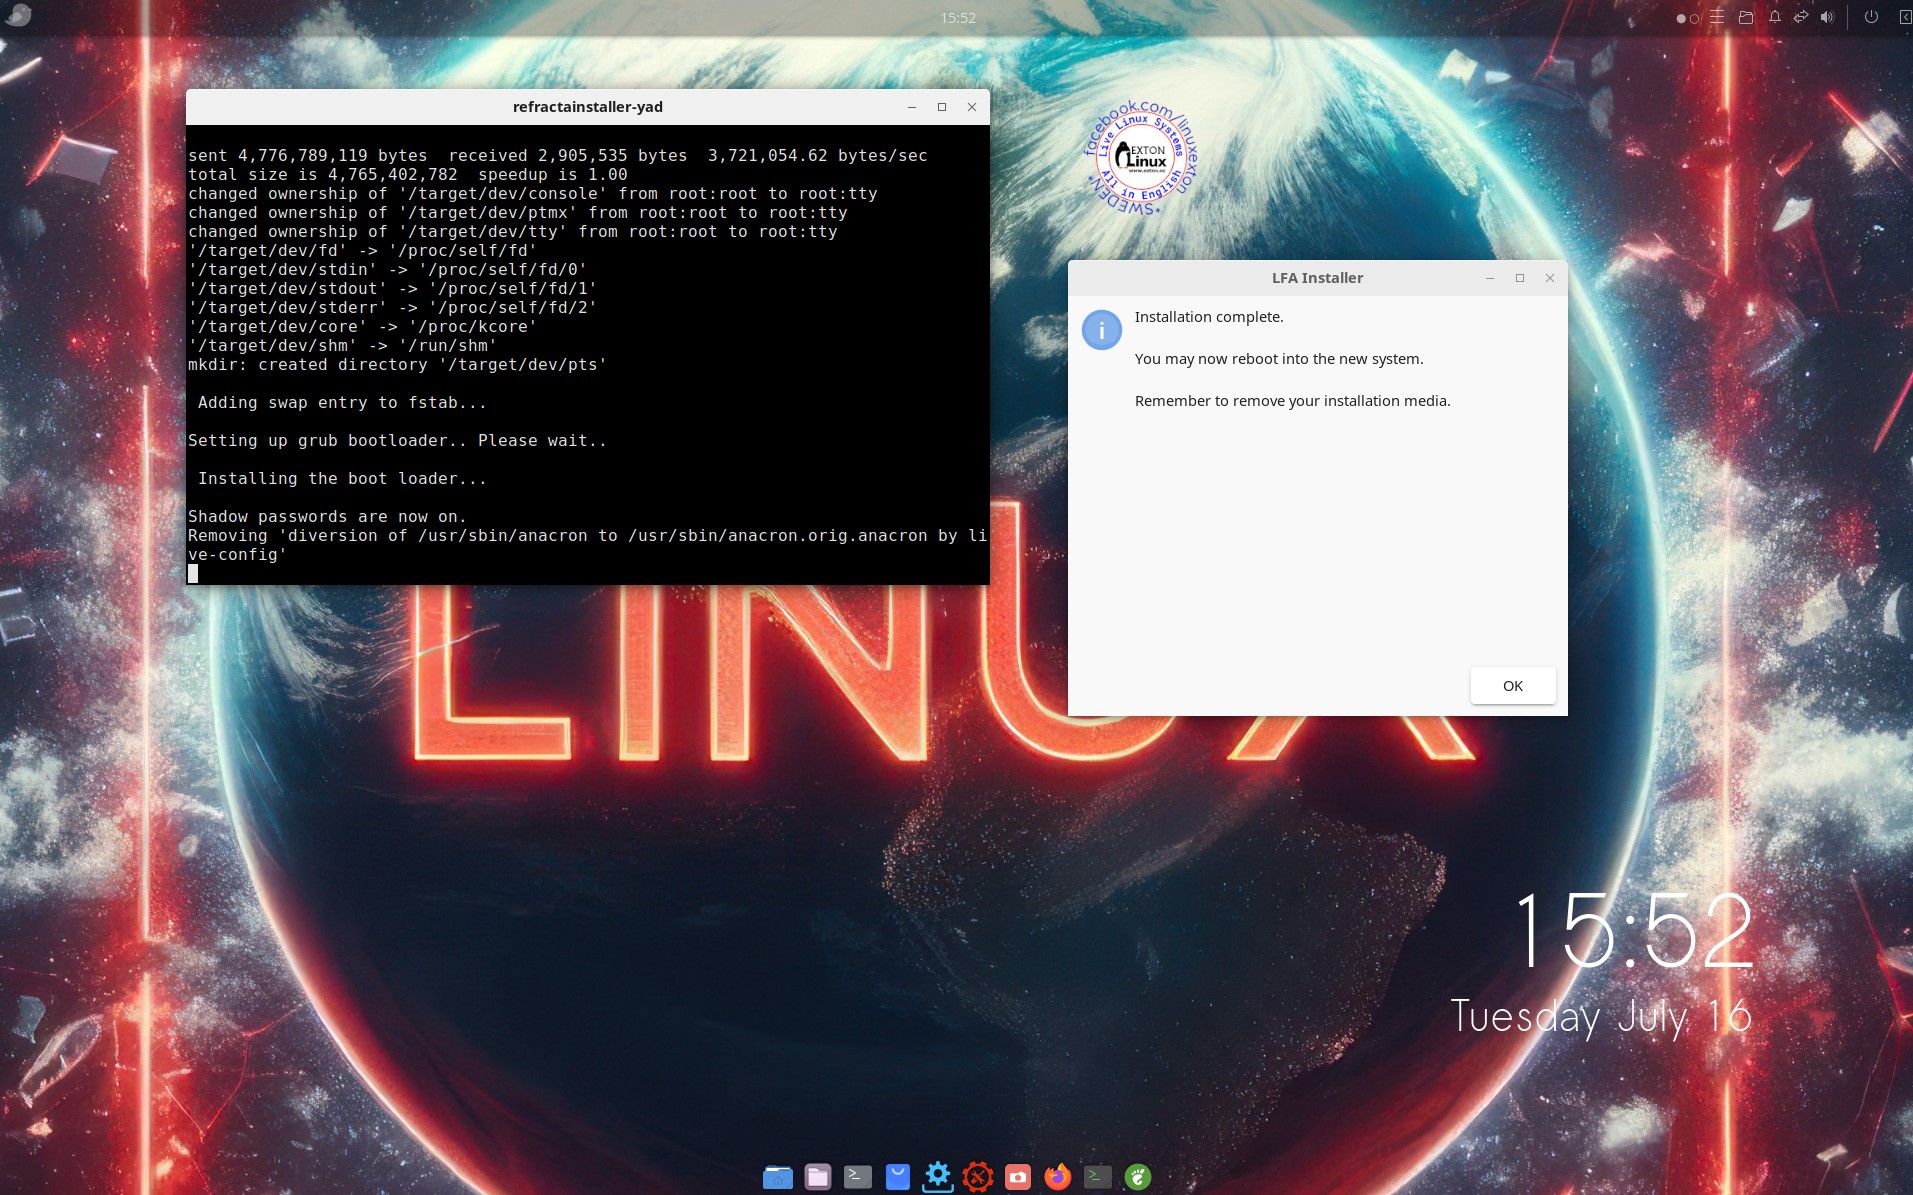
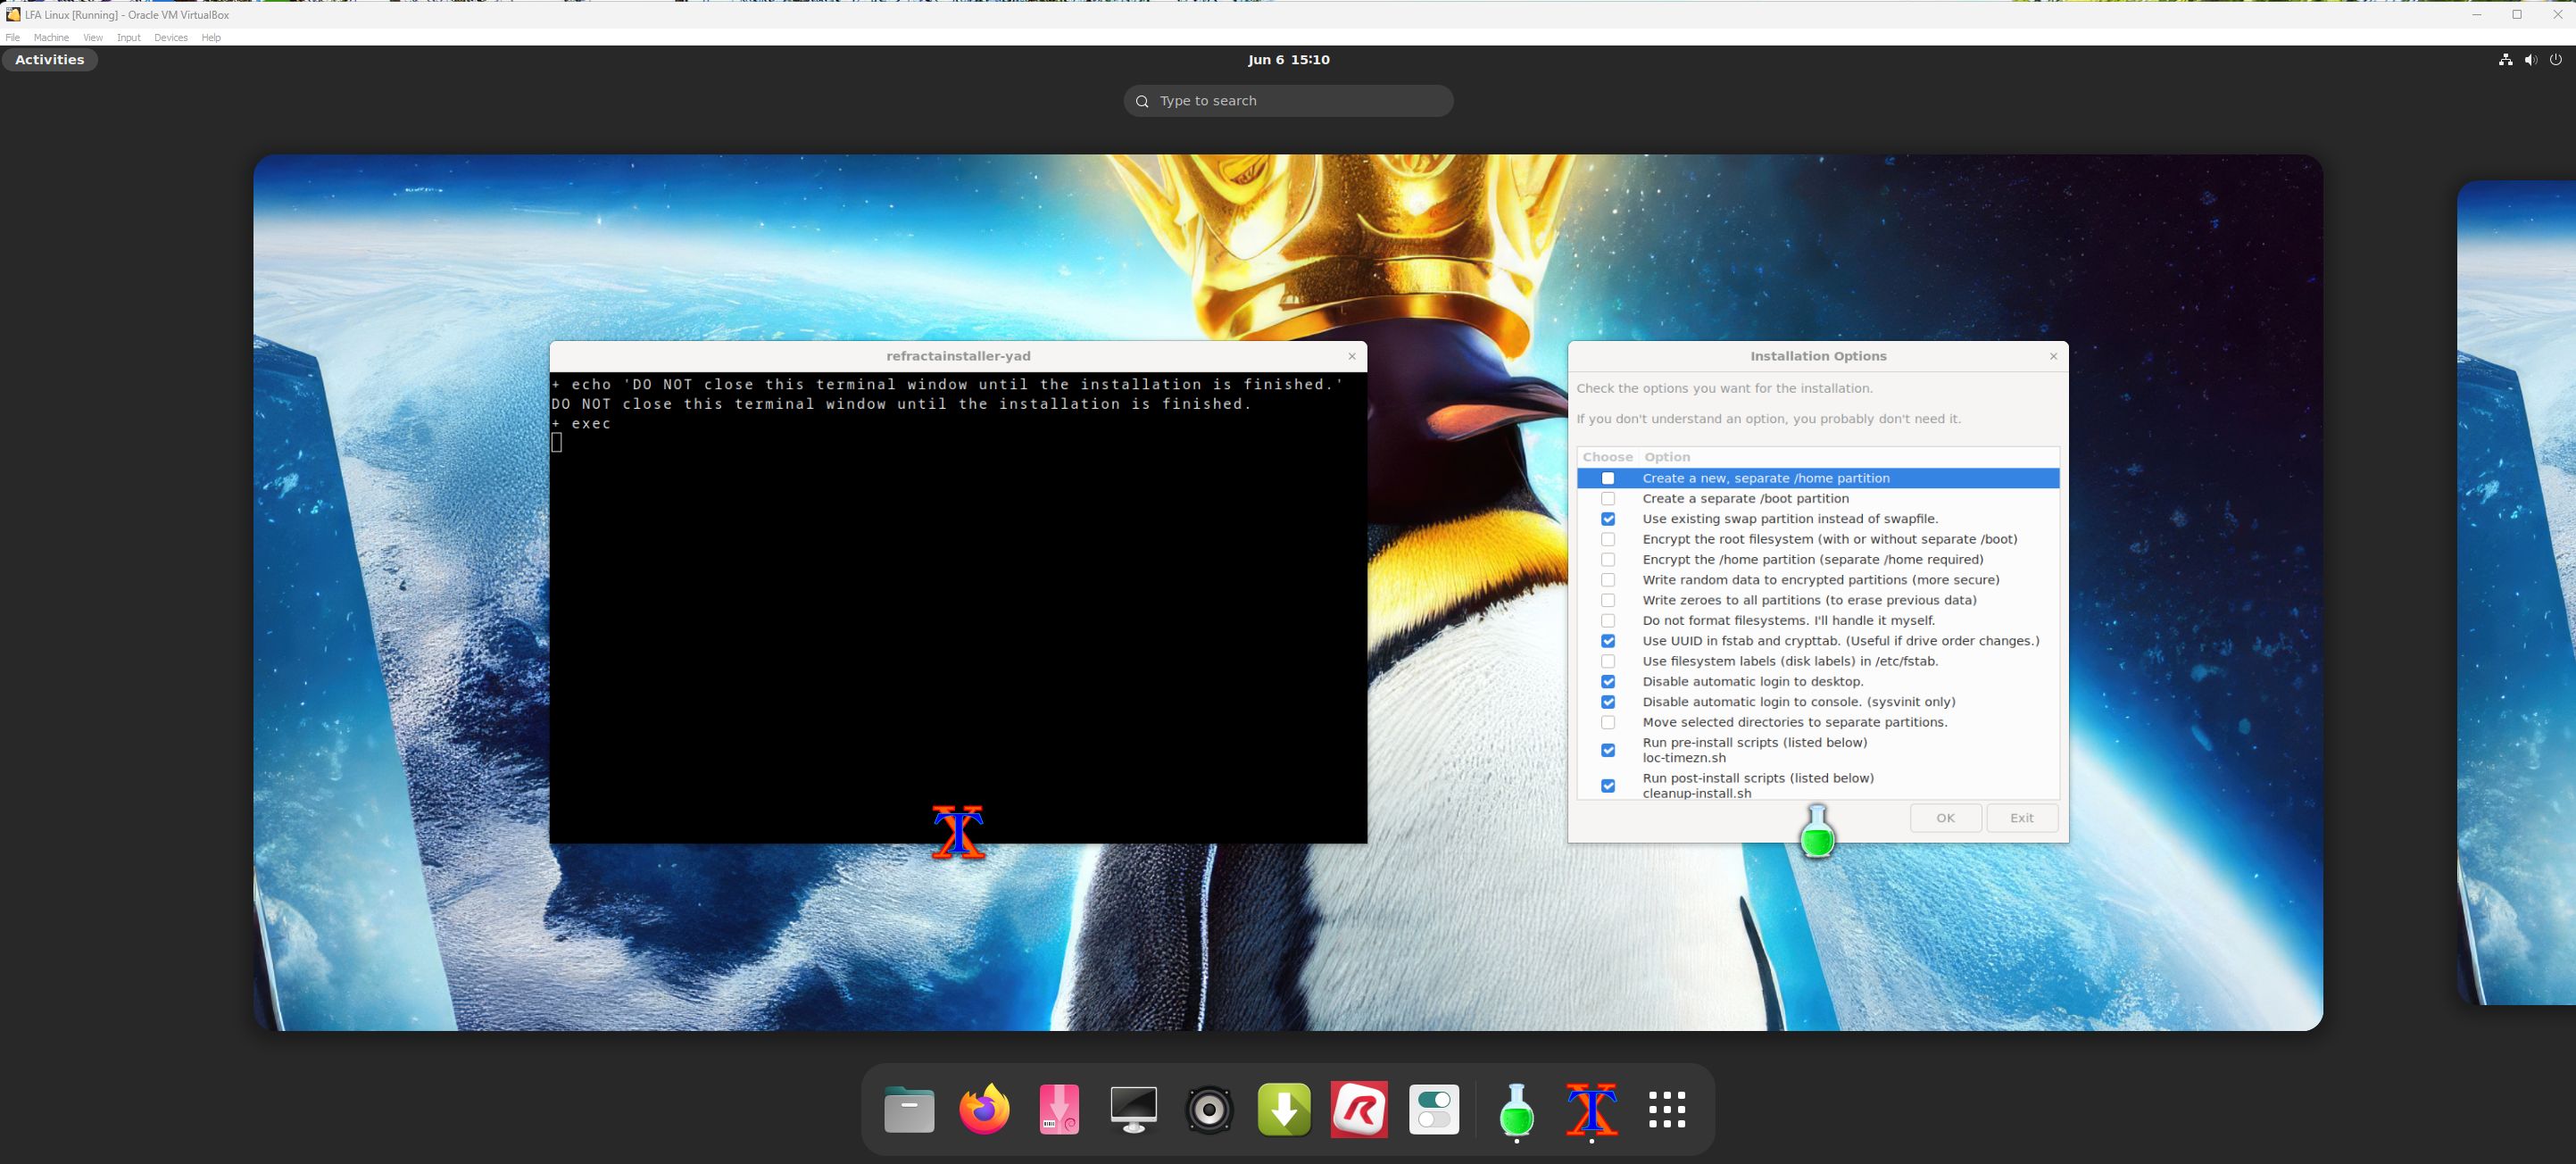
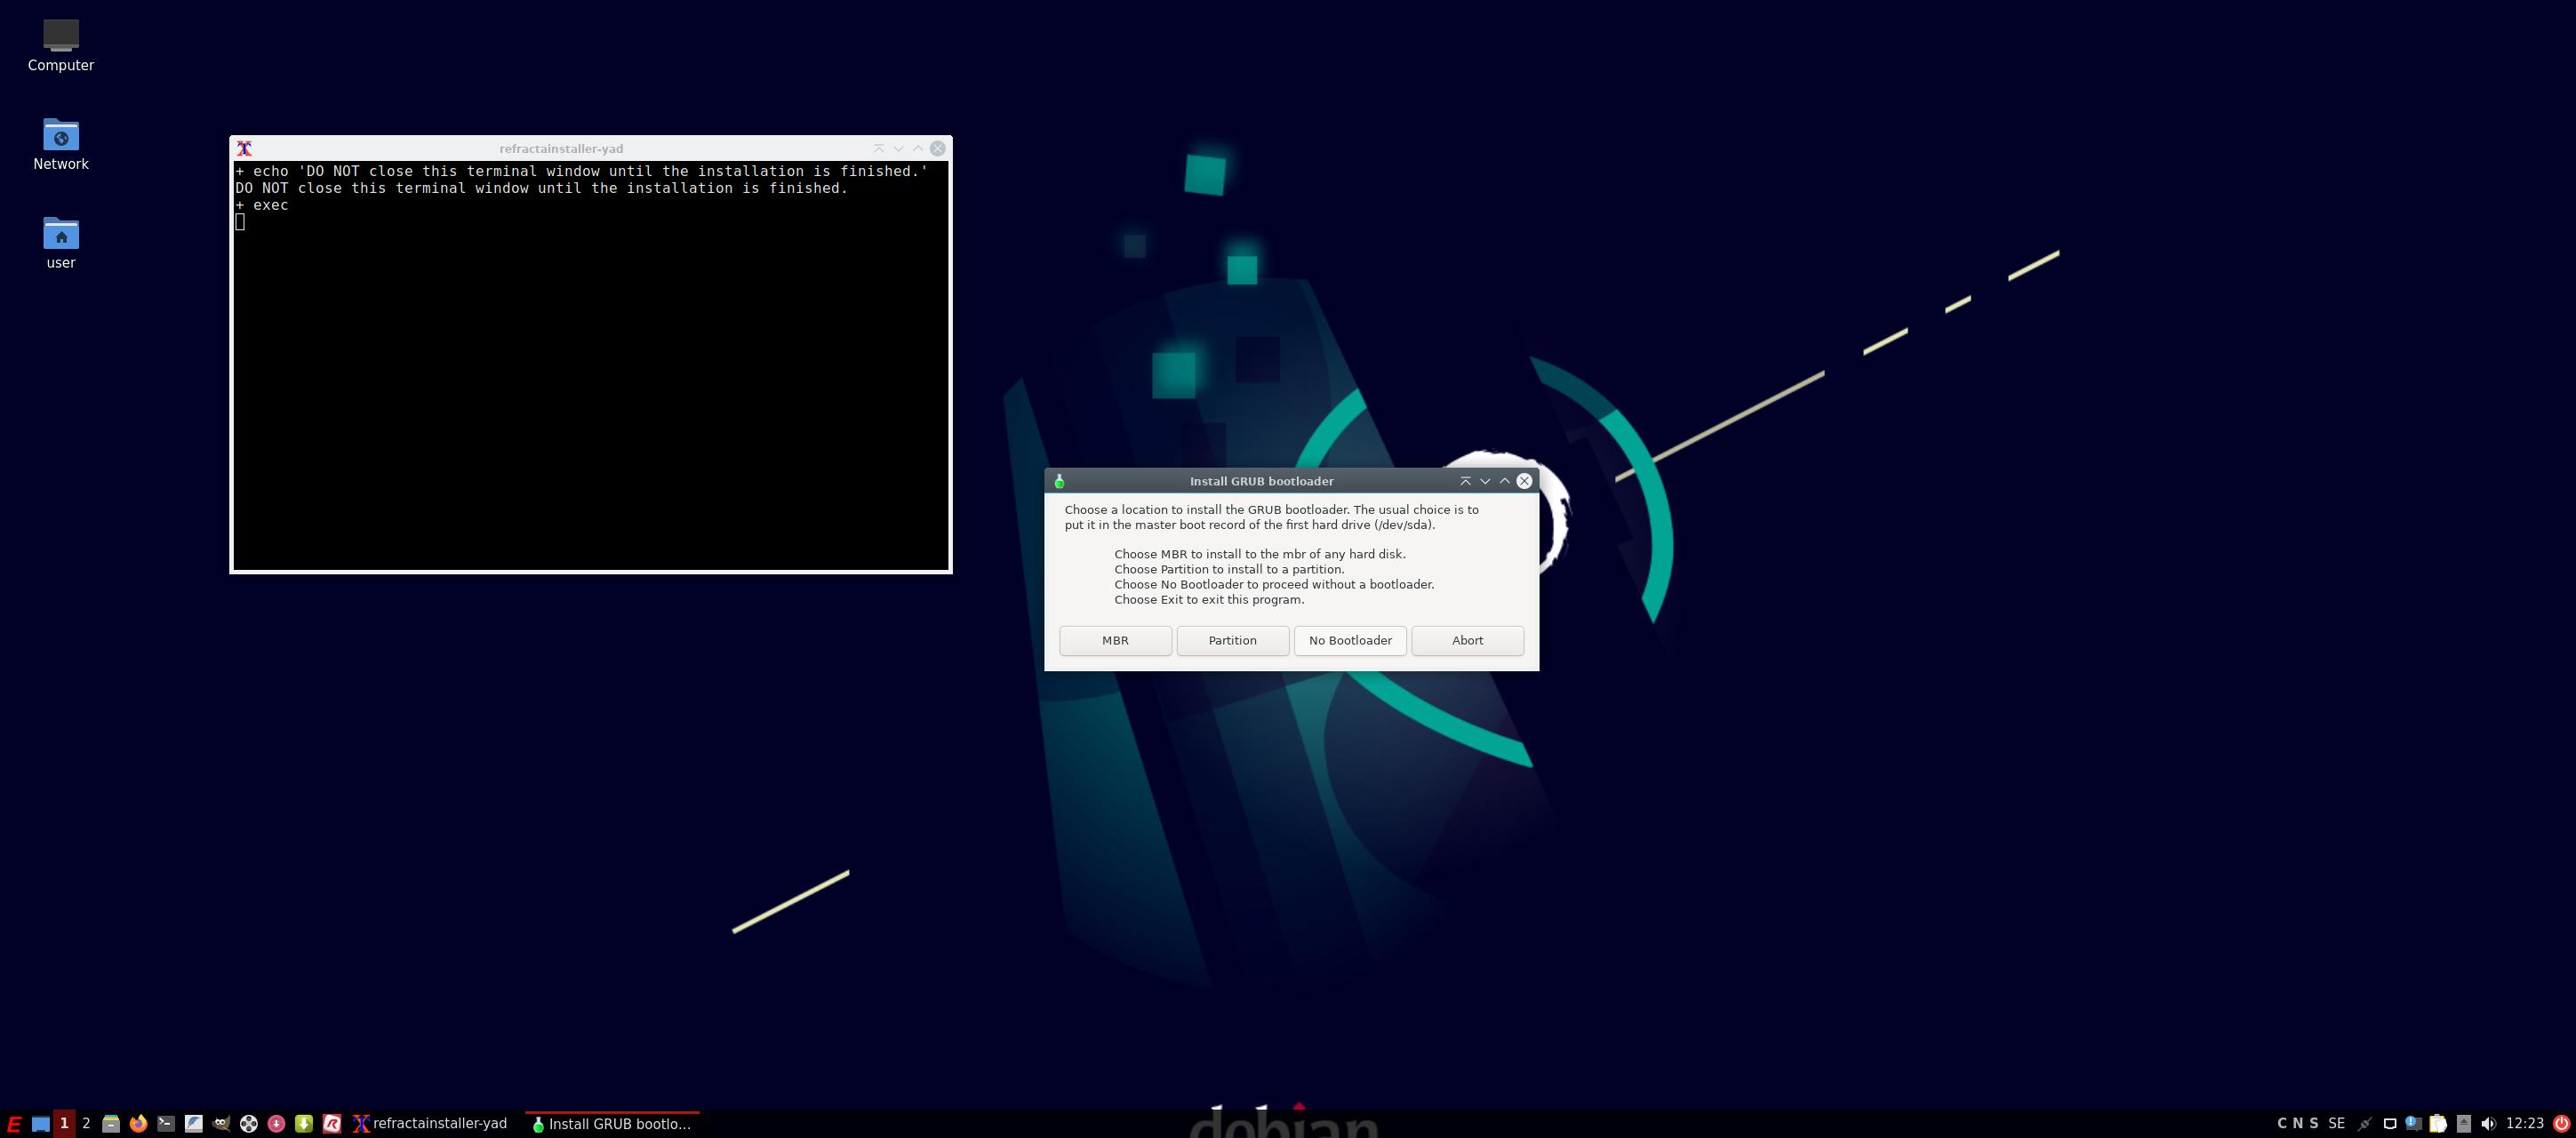
Installation to hard drive
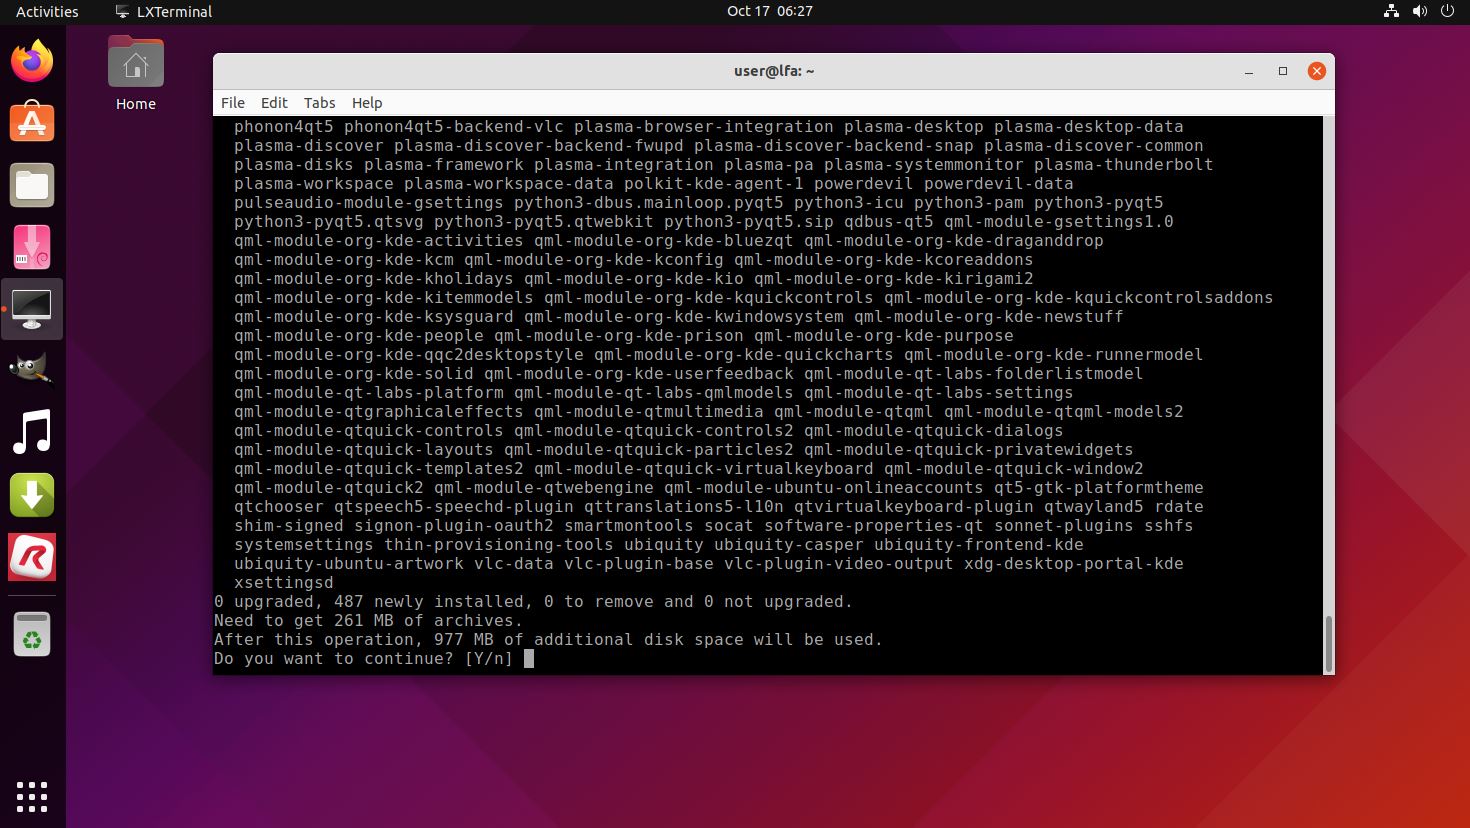
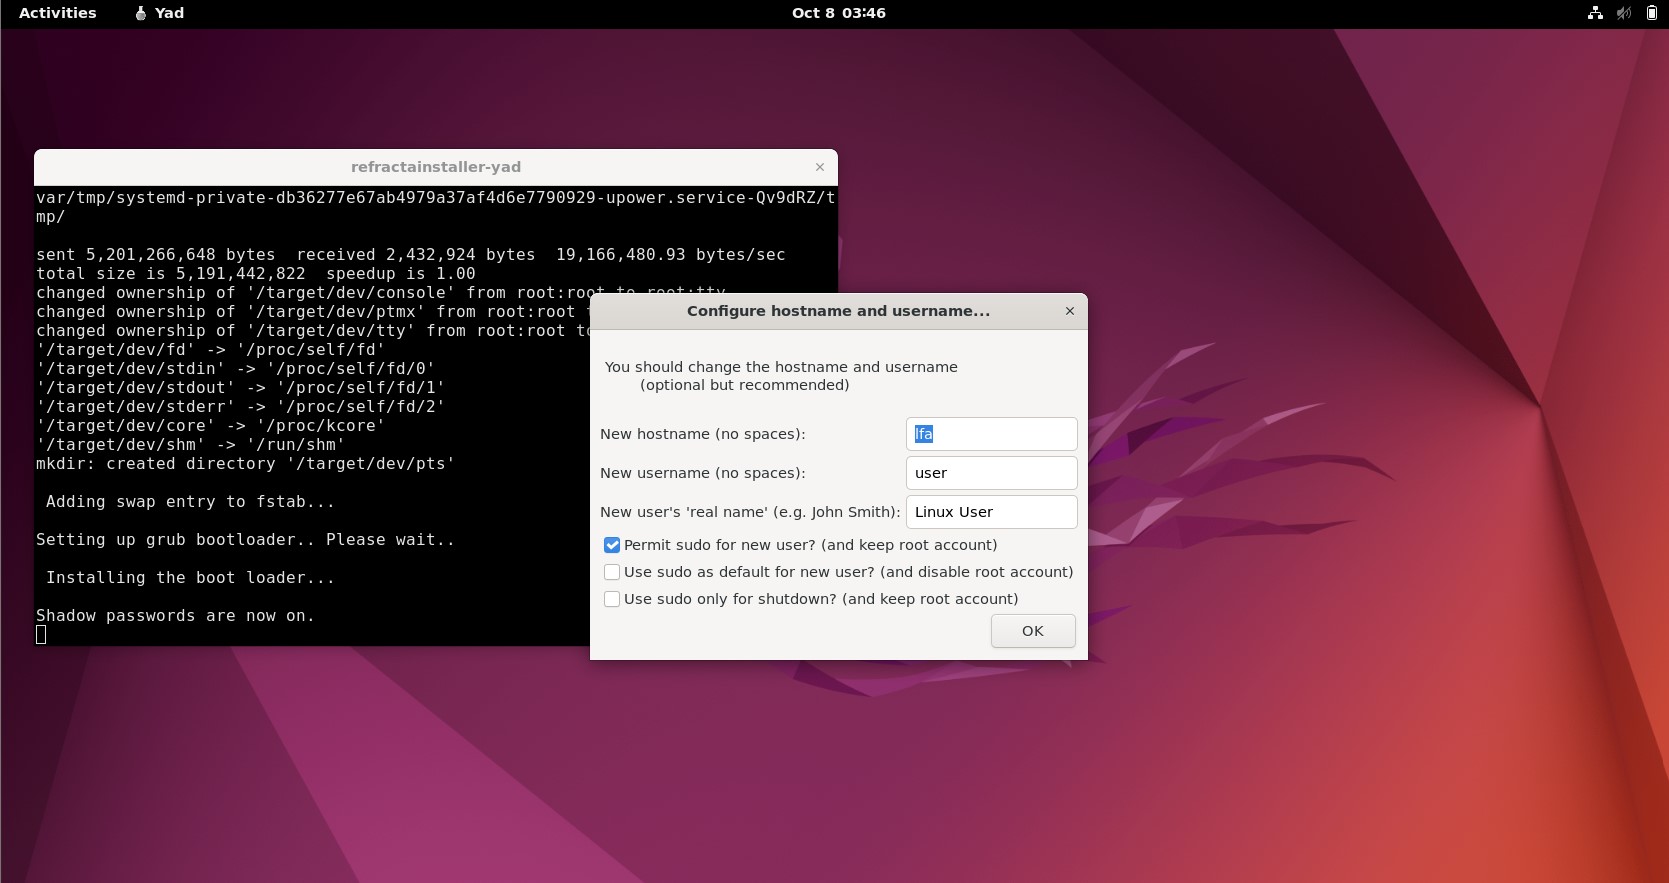
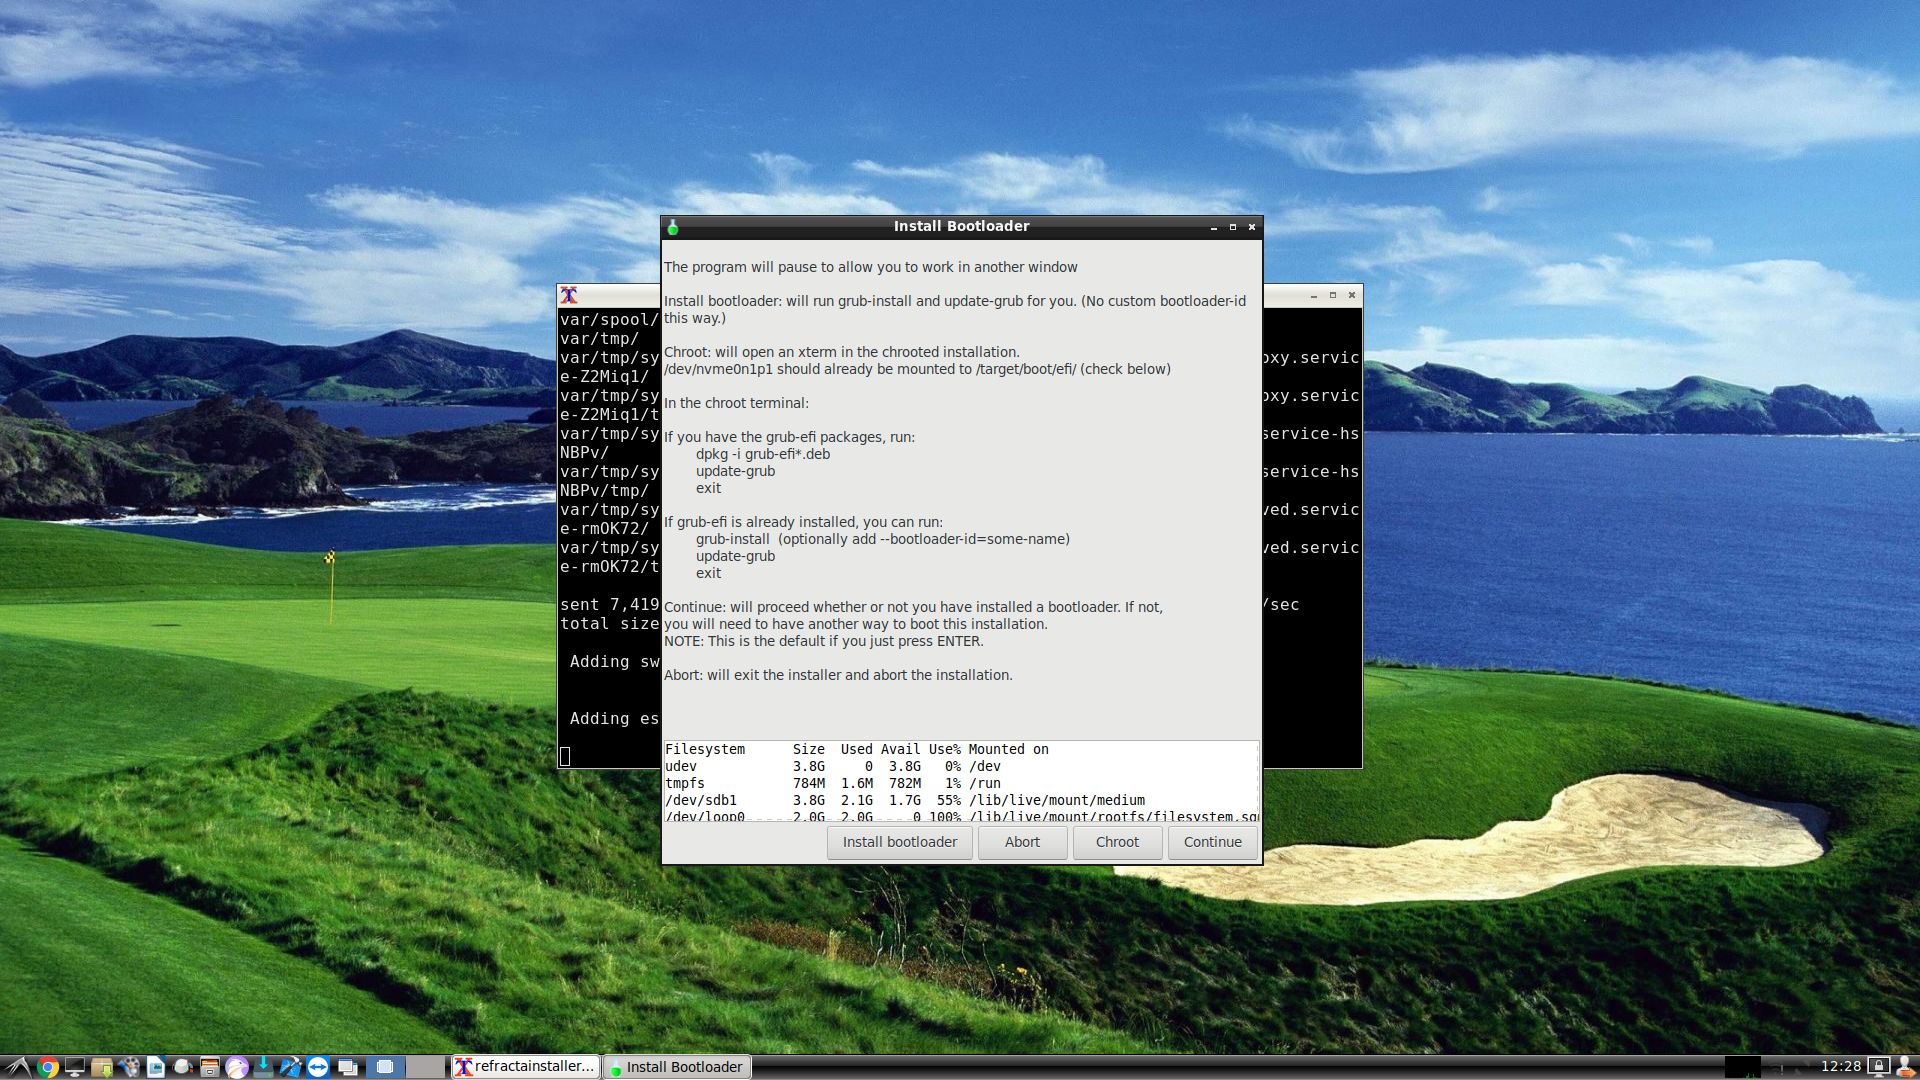
Note that you in advance (just in case) should create a partition of at least 30 GB for LFA and a SWAP space double the size of your computer’s RAM. I.e. if you have RAM of 1024 MB or less. If you have RAM of 2 GB or more it’s enough with a SWAP space of 2 GB. The installation programs Calamares Installer and Refracta Installer in LFA is otherwise “intuitive”. Choose manual partitioning and select the partition you created in advance for installation. You’ll find the installation program under favorites to the left. NOTE1: You should format your intended installation partition in advance. You can use GParted (installed in LFA) for that. Be sure to unmount all partitions before you start Refracta Installer. IMPORTANT NOTE: You should not trust Refracta Installer if you want to make an EFI installation. Only if you already have at least on Linux system installed on your computer (and already have one EFI partition). Please read my instruction How To dual-boot, triple-boot or multi-boot Linux with Windows in a simple way and be happy. NOTE2: When installing LFA on a computer with no previous Linux system installed you should use Ubuntu’s installation program Ubiquity, which isn’t pre-installed in LFA. You can, however, install Ubiquity yourself with the command sudo apt install Ubiquity. When running said command it will look like this.
READ MORE about a hard drive install…
USB installation
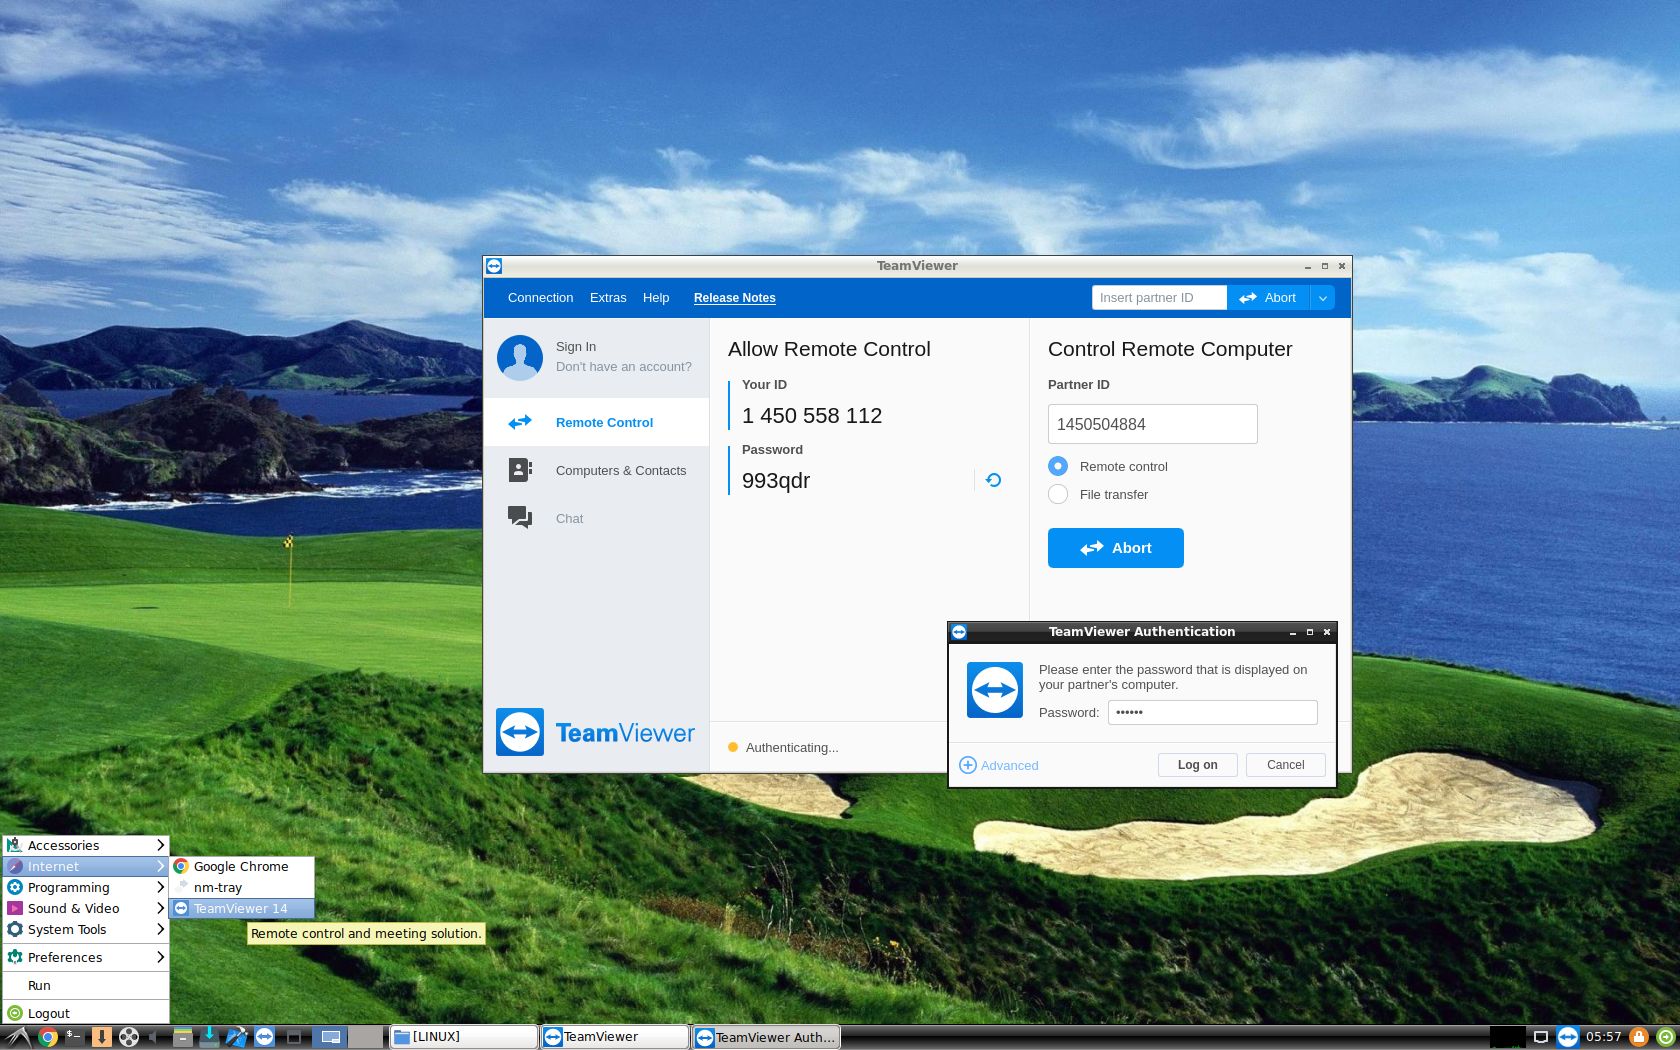
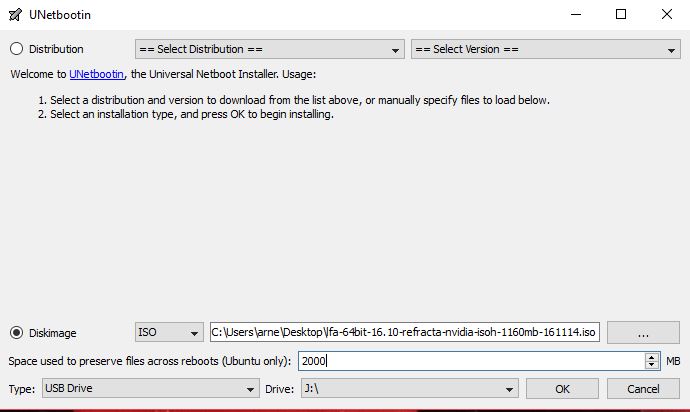
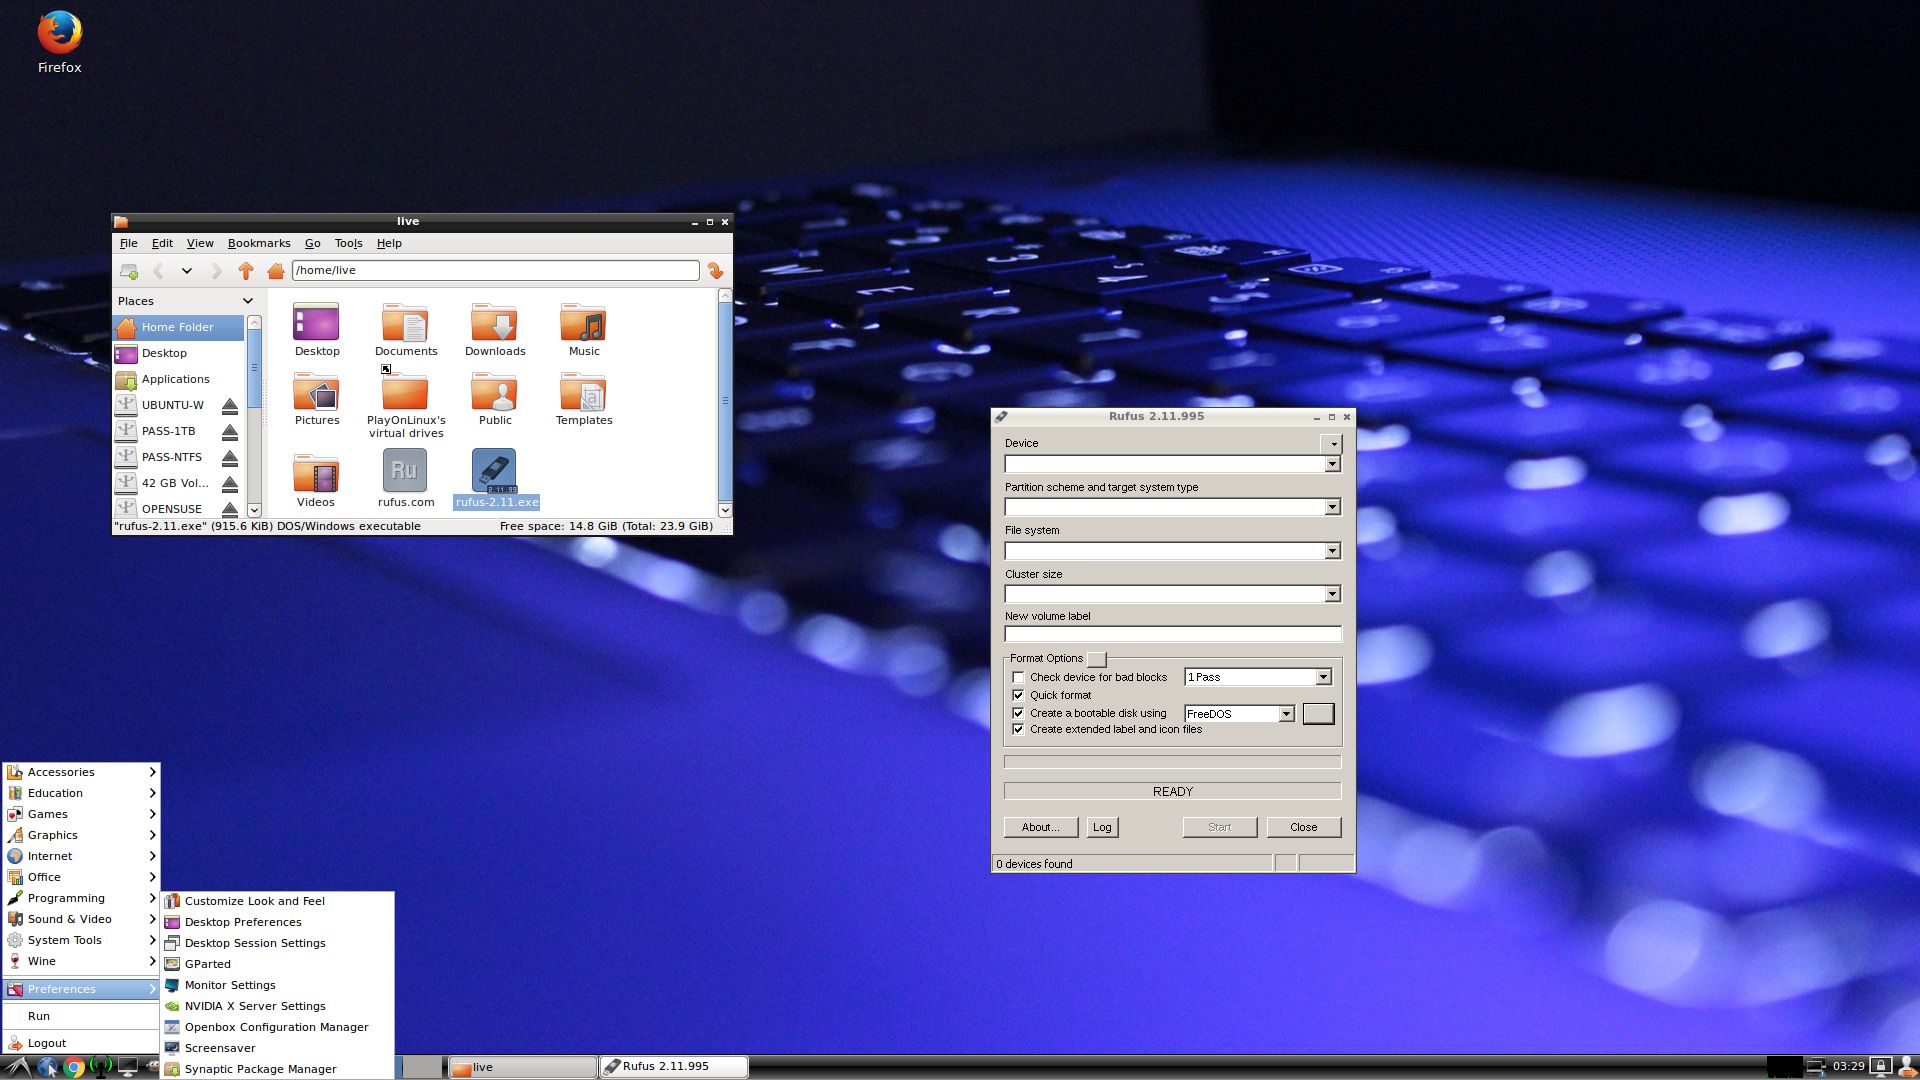
Please read my INSTRUCTION about the best way to perform a USB installation. There are two ways to achieve persistence! The simplest way is to use Rufus. See below.
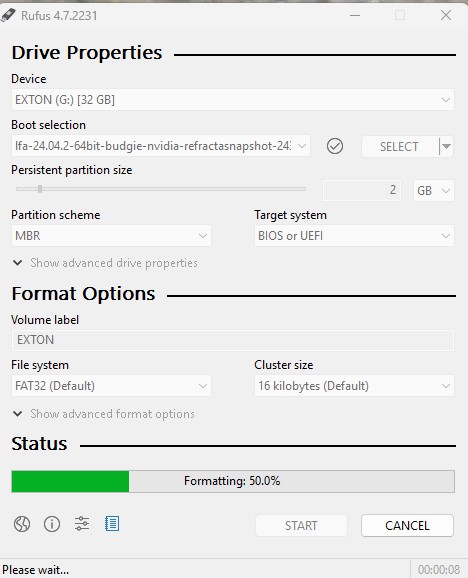
IMPORTANT NOTE: As you can see I’ve decided to have a persistent partition of 2GB. According to my experience it works pretty well. Most of your system changes will be saved after a reboot. You can for example install LibreOffice without problems! Everything will be saved on the USB stick after a reboot. You can even use the same stick on different computers!
Important about Refracta
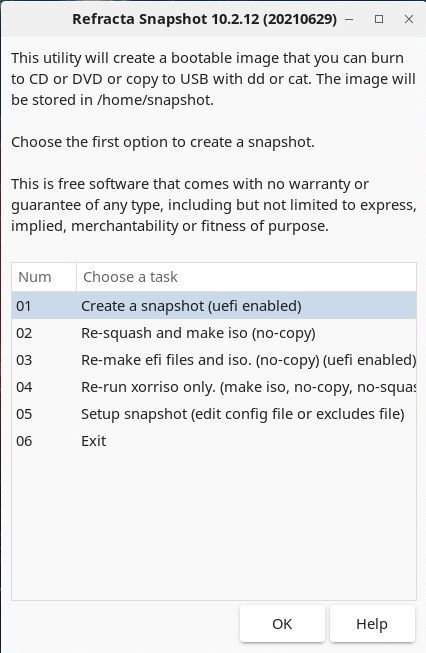
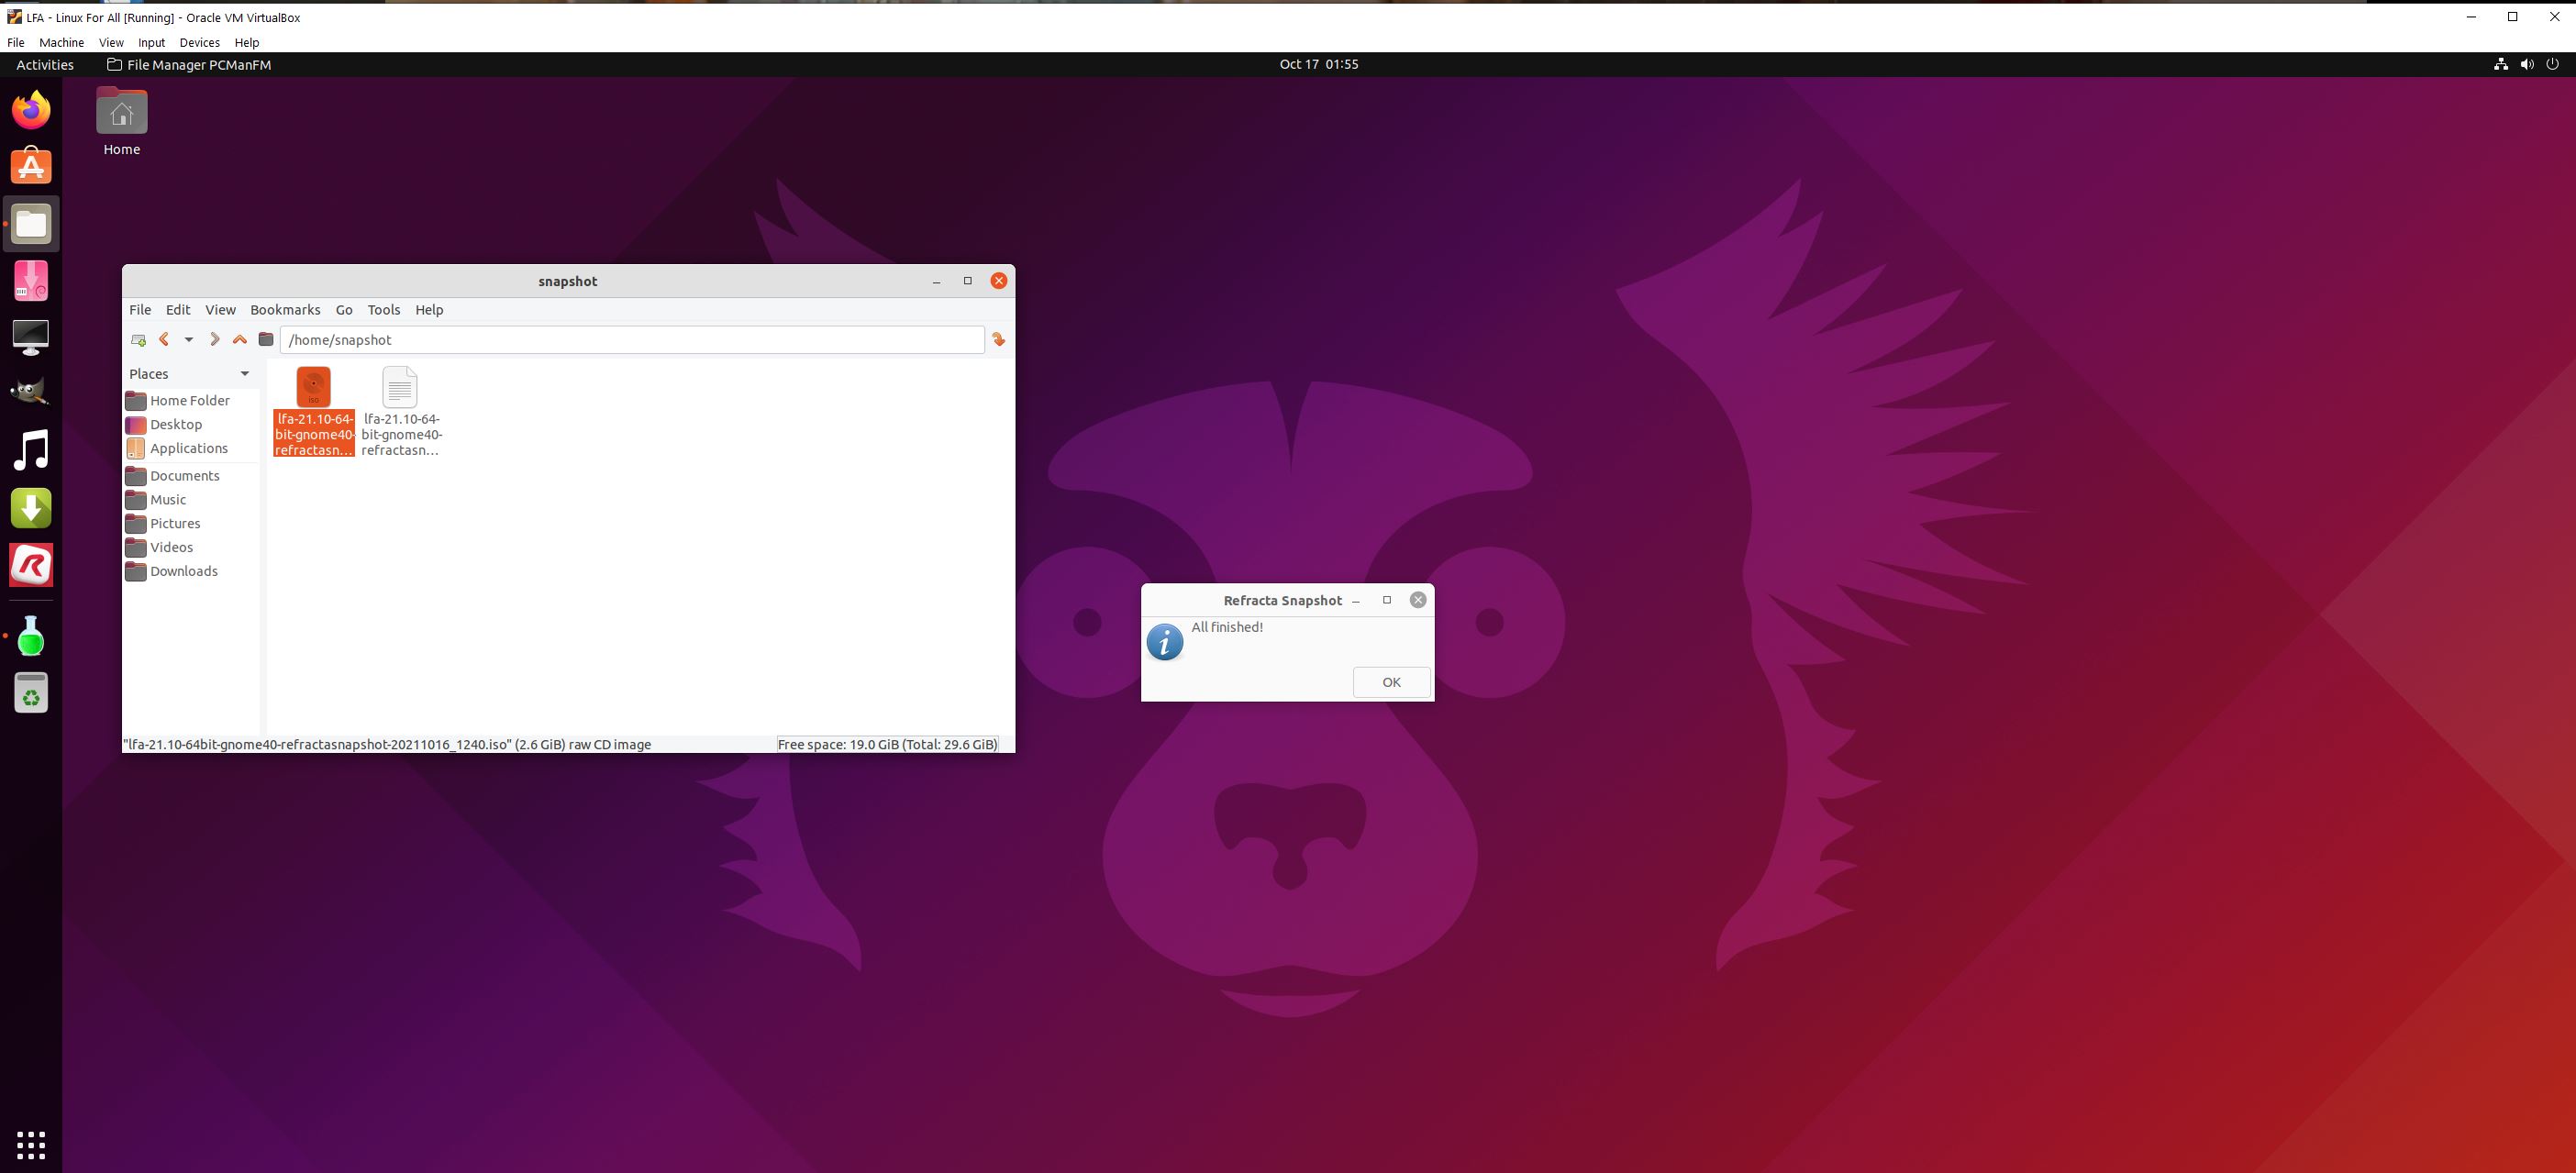
You can use the Refracta Snapshot (pre-installed in LFA Build 250417) to create your own installable Ubuntu 24.04.2 LTS Live System once you have installed LFA to hard drive. I mean change everything and then create a whole new Ubuntu live system. When you start Refracta Snapshot it will look like this. You don’t even have to install LFA to hard drive before you can use the Refracta Snapshot. If you have plenty of RAM you can create a new (your own!) Ubuntu live installable system while running LFA from DVD or a USB stick. I did that myself on a computer with 32GB RAM. I then started LFA in RAM before I started Refracta Snapshot. Please note that the whole Refracta Snapshot process (creating your new ISO) only will take 10 – 30 min! You can then install VirtualBox in LFA so you can test run your own created new Ubuntu ISO. Or do it in Windows. Btw: You can do the whole thing in VirtualBox. I mean install LFA in VirtualBox, change everything, create a new Ubuntu system using Refracta Snapshot and transfer your new ISO to your server with FileZilla or Samba. Or just copy your new ISO file to a USB stick. NOTE1: When using Refracta Snapshot while running LFA in VirtualBox the remaster process will take hours. When starting Refracta Snapshot it will look like the screenshot below.
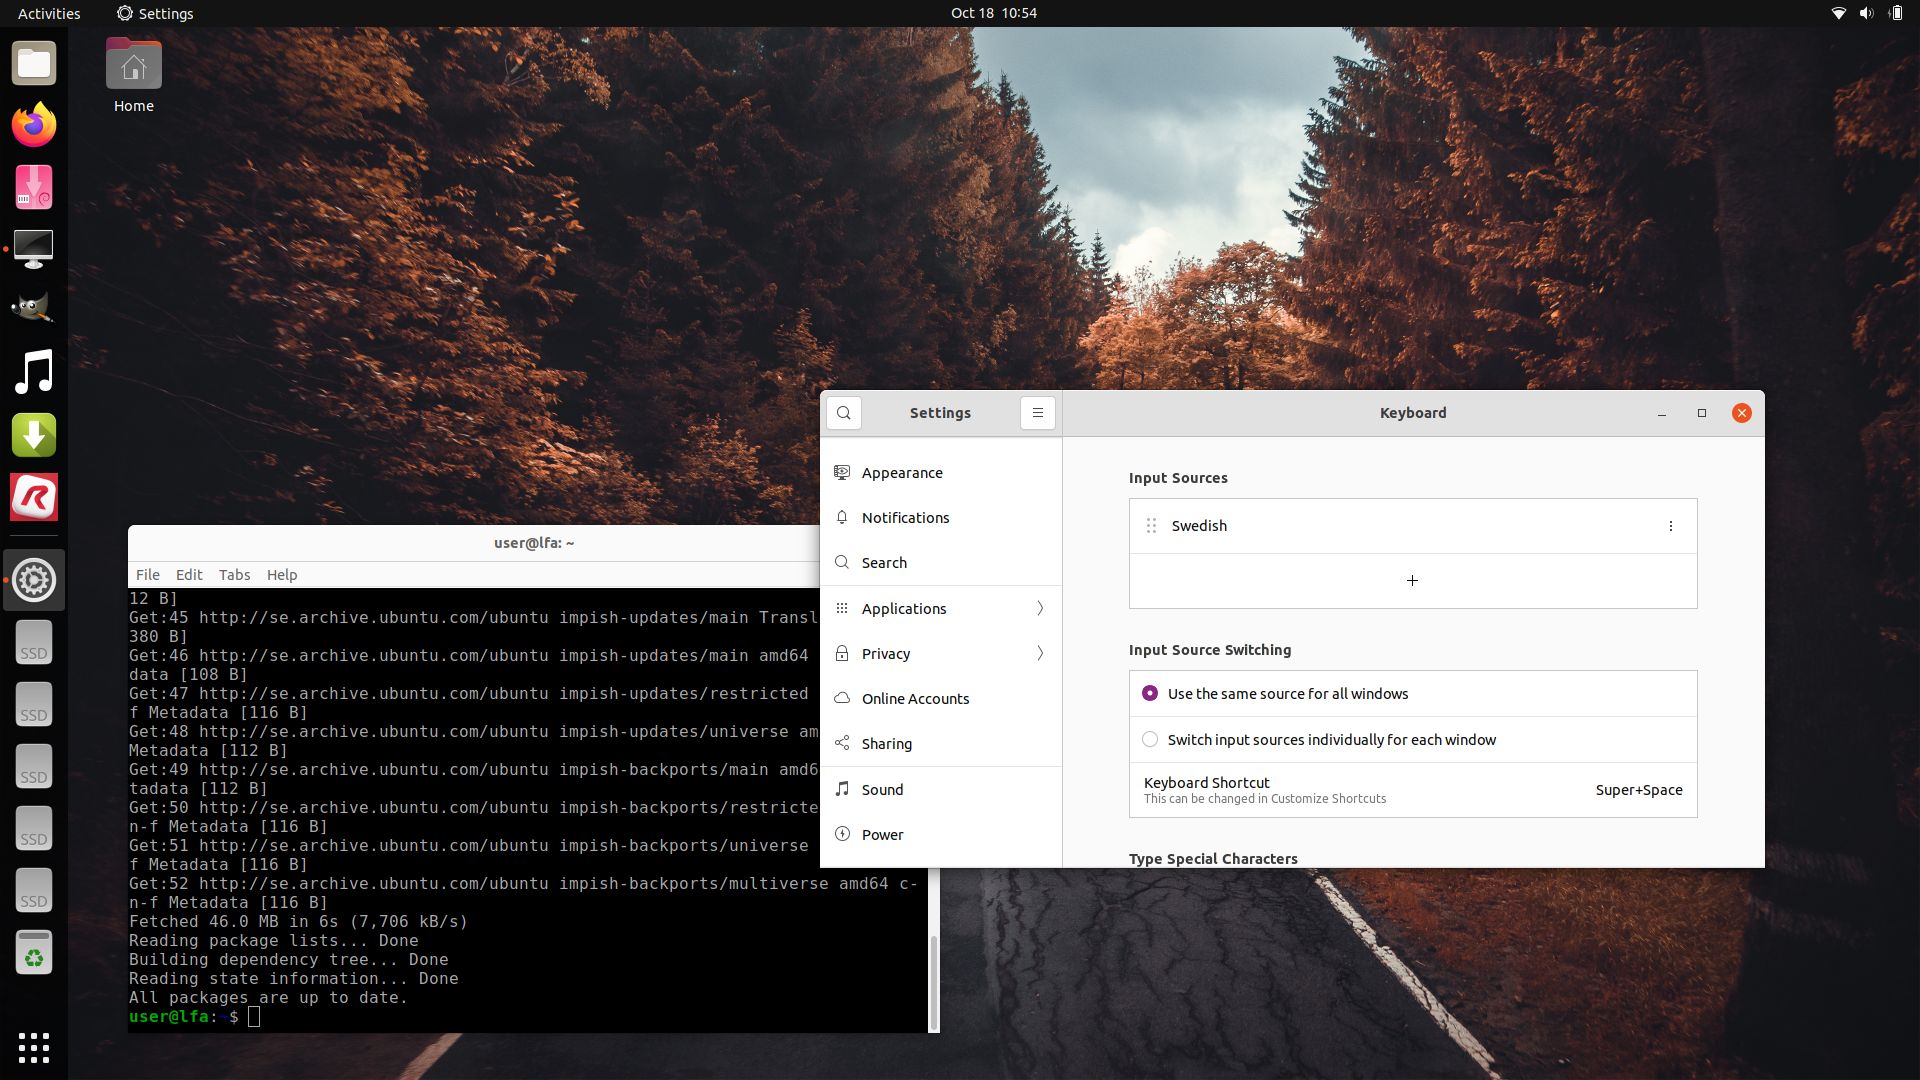
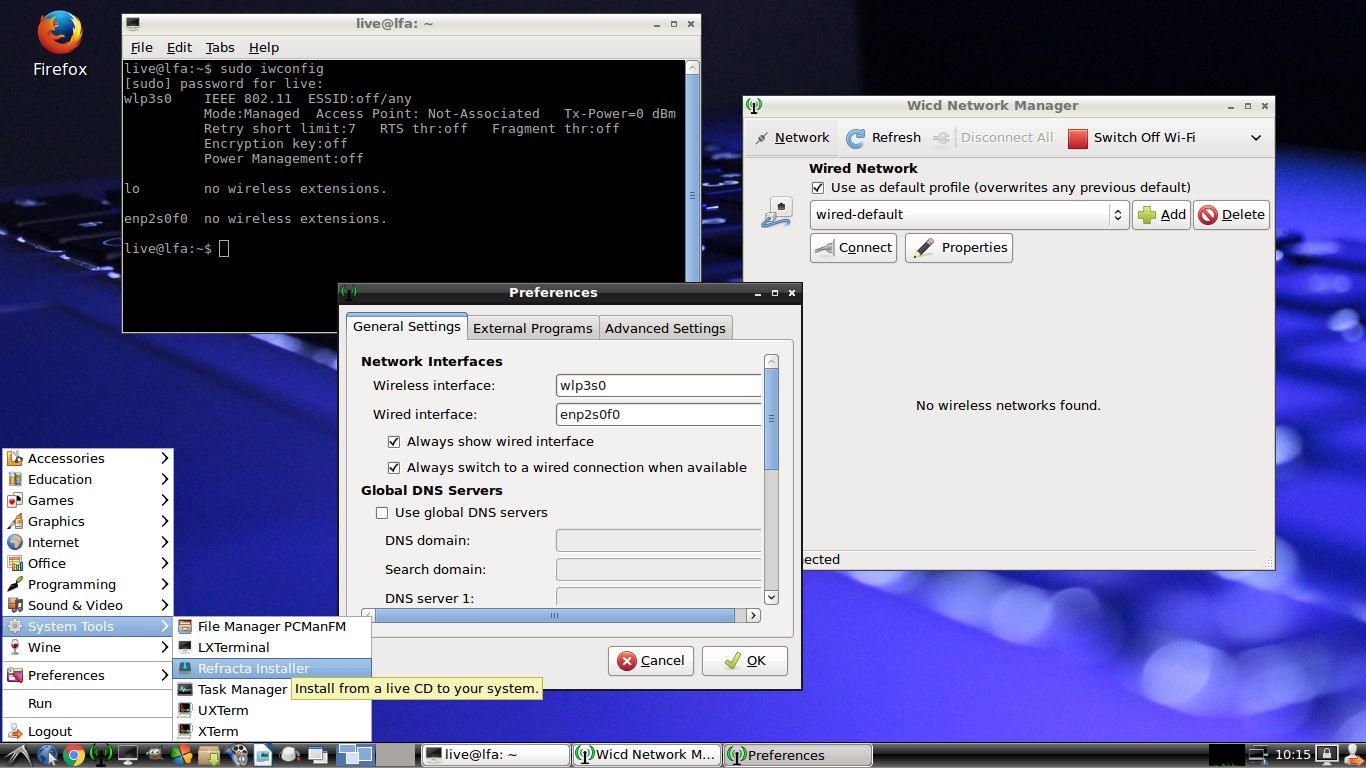
ABOUT WIRELESS configurations
Use NetworkManager to configure your wireless network. It works perfect.
Samba
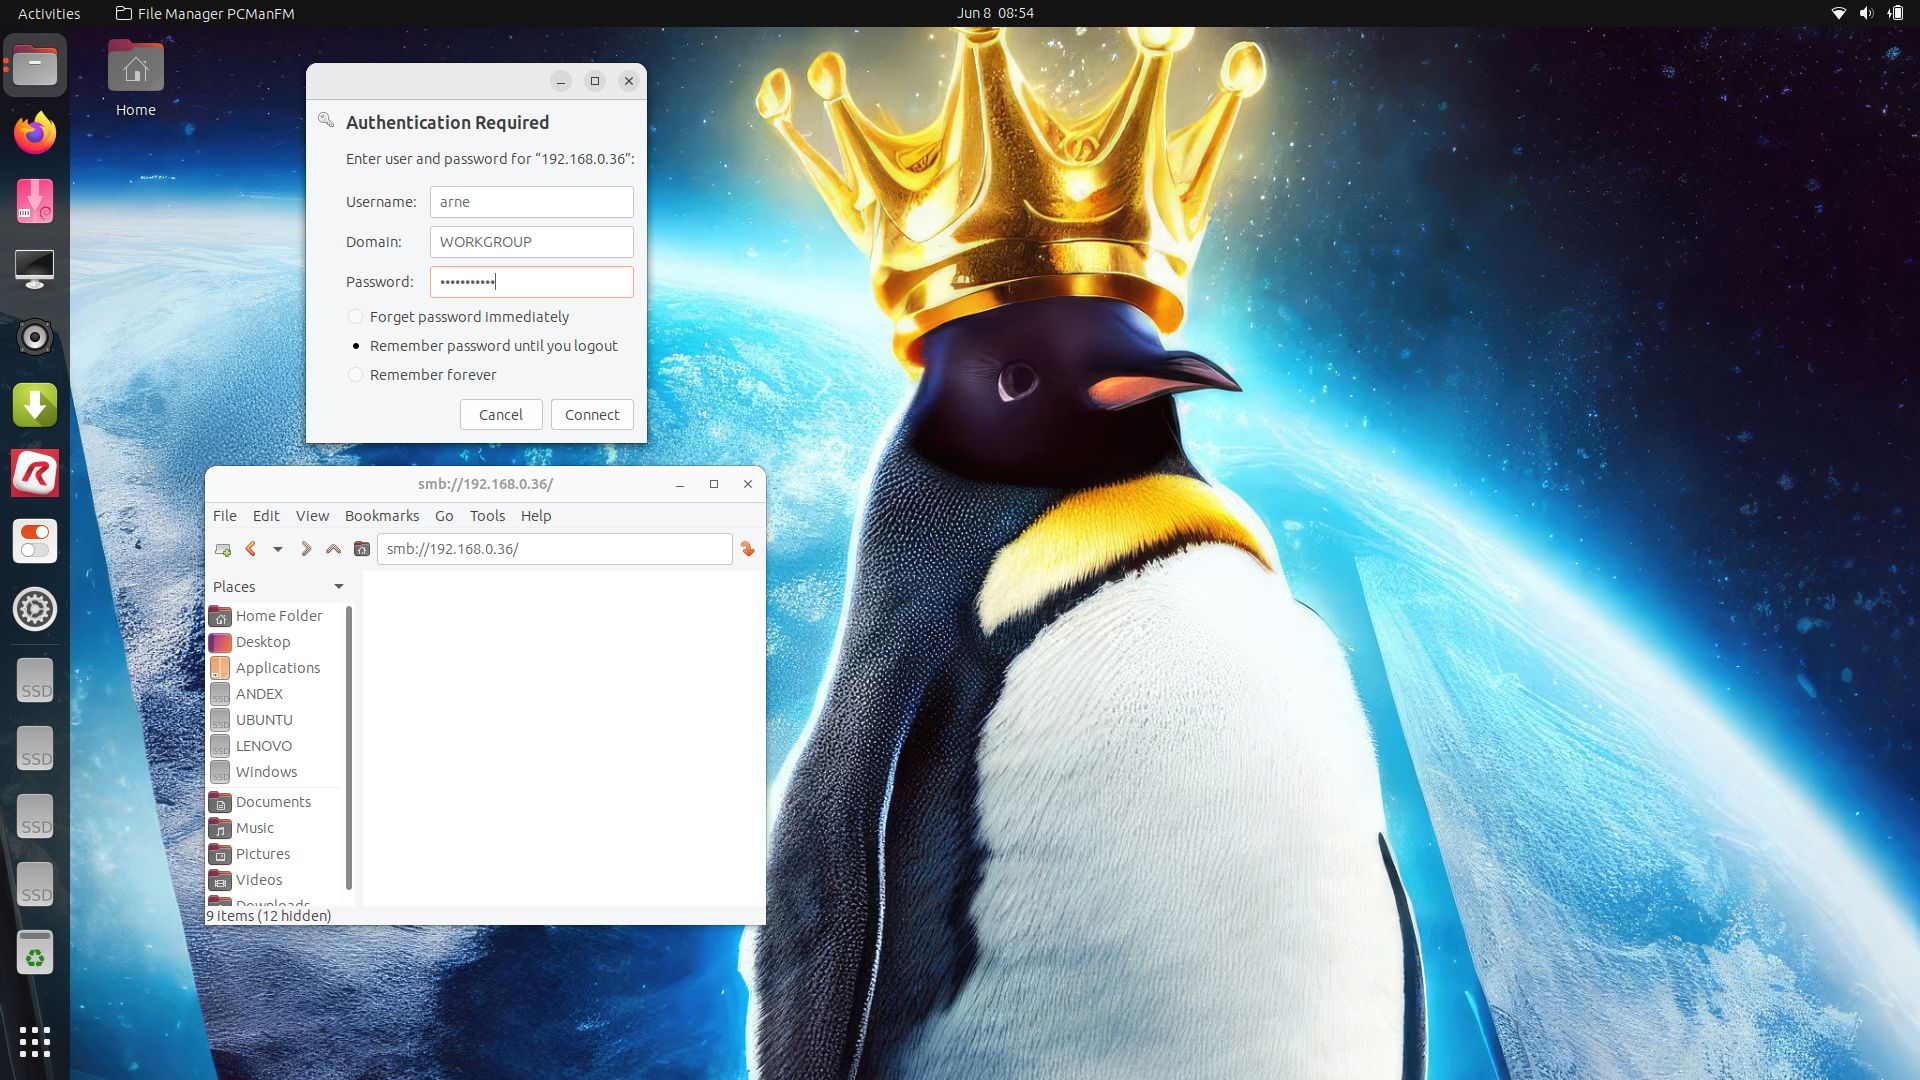
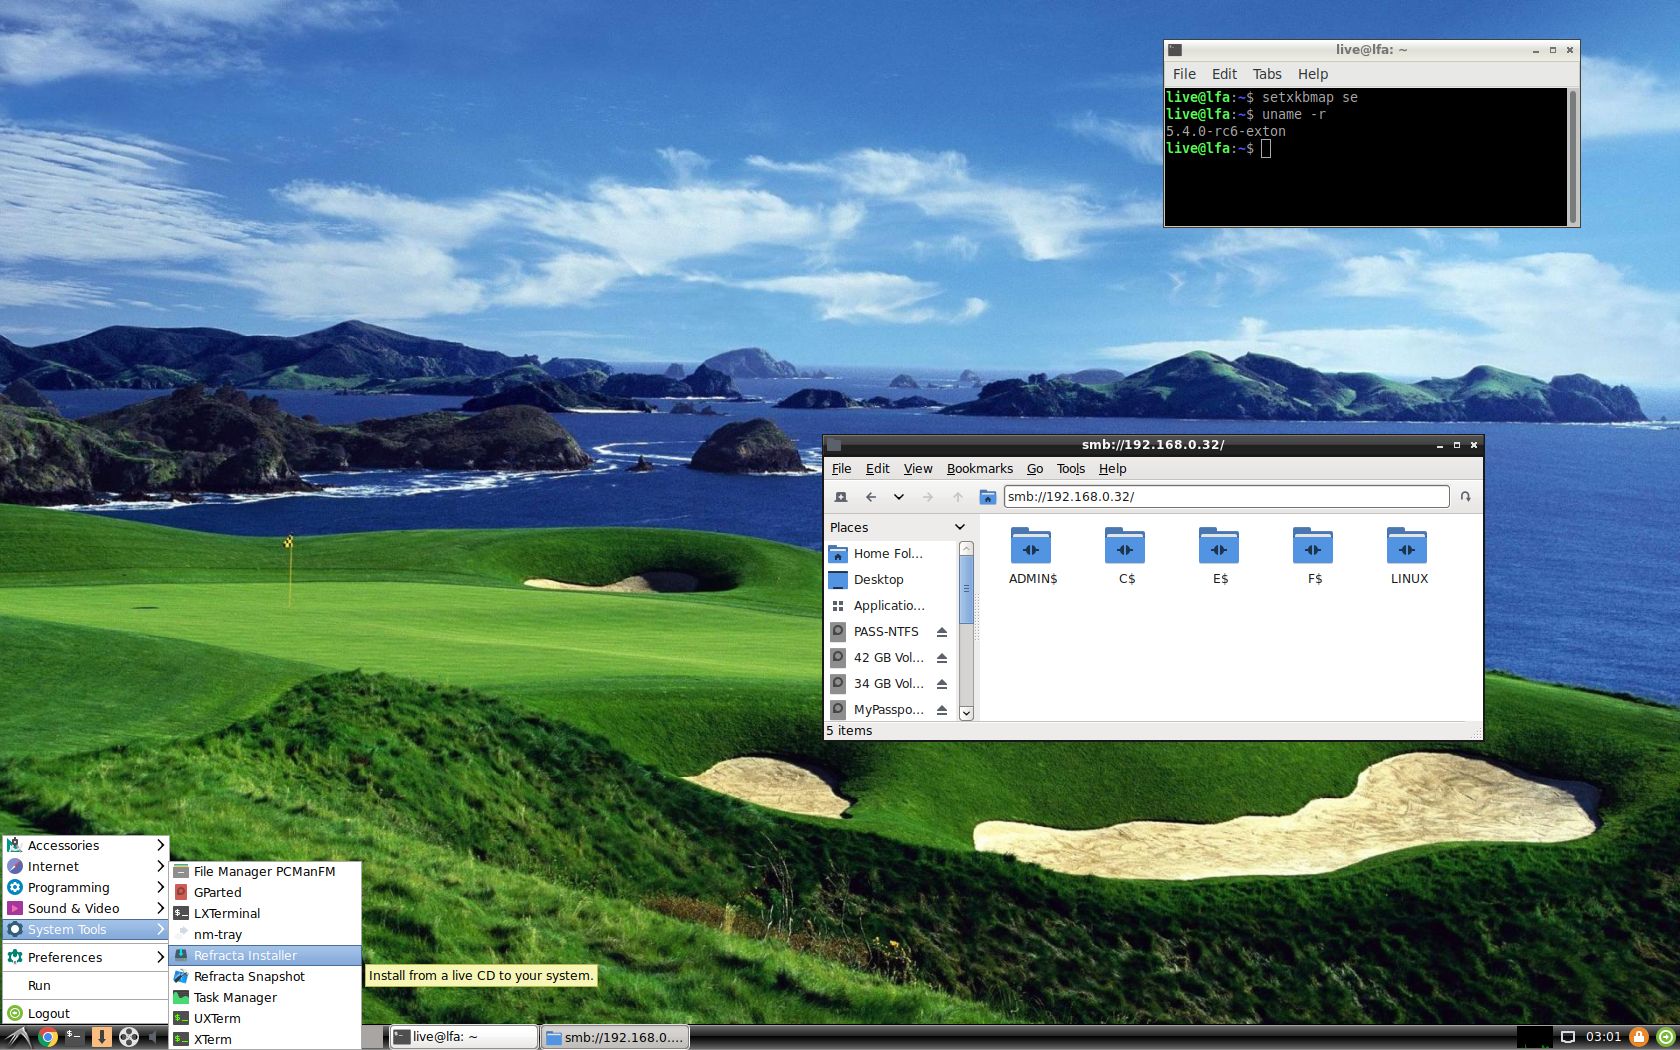
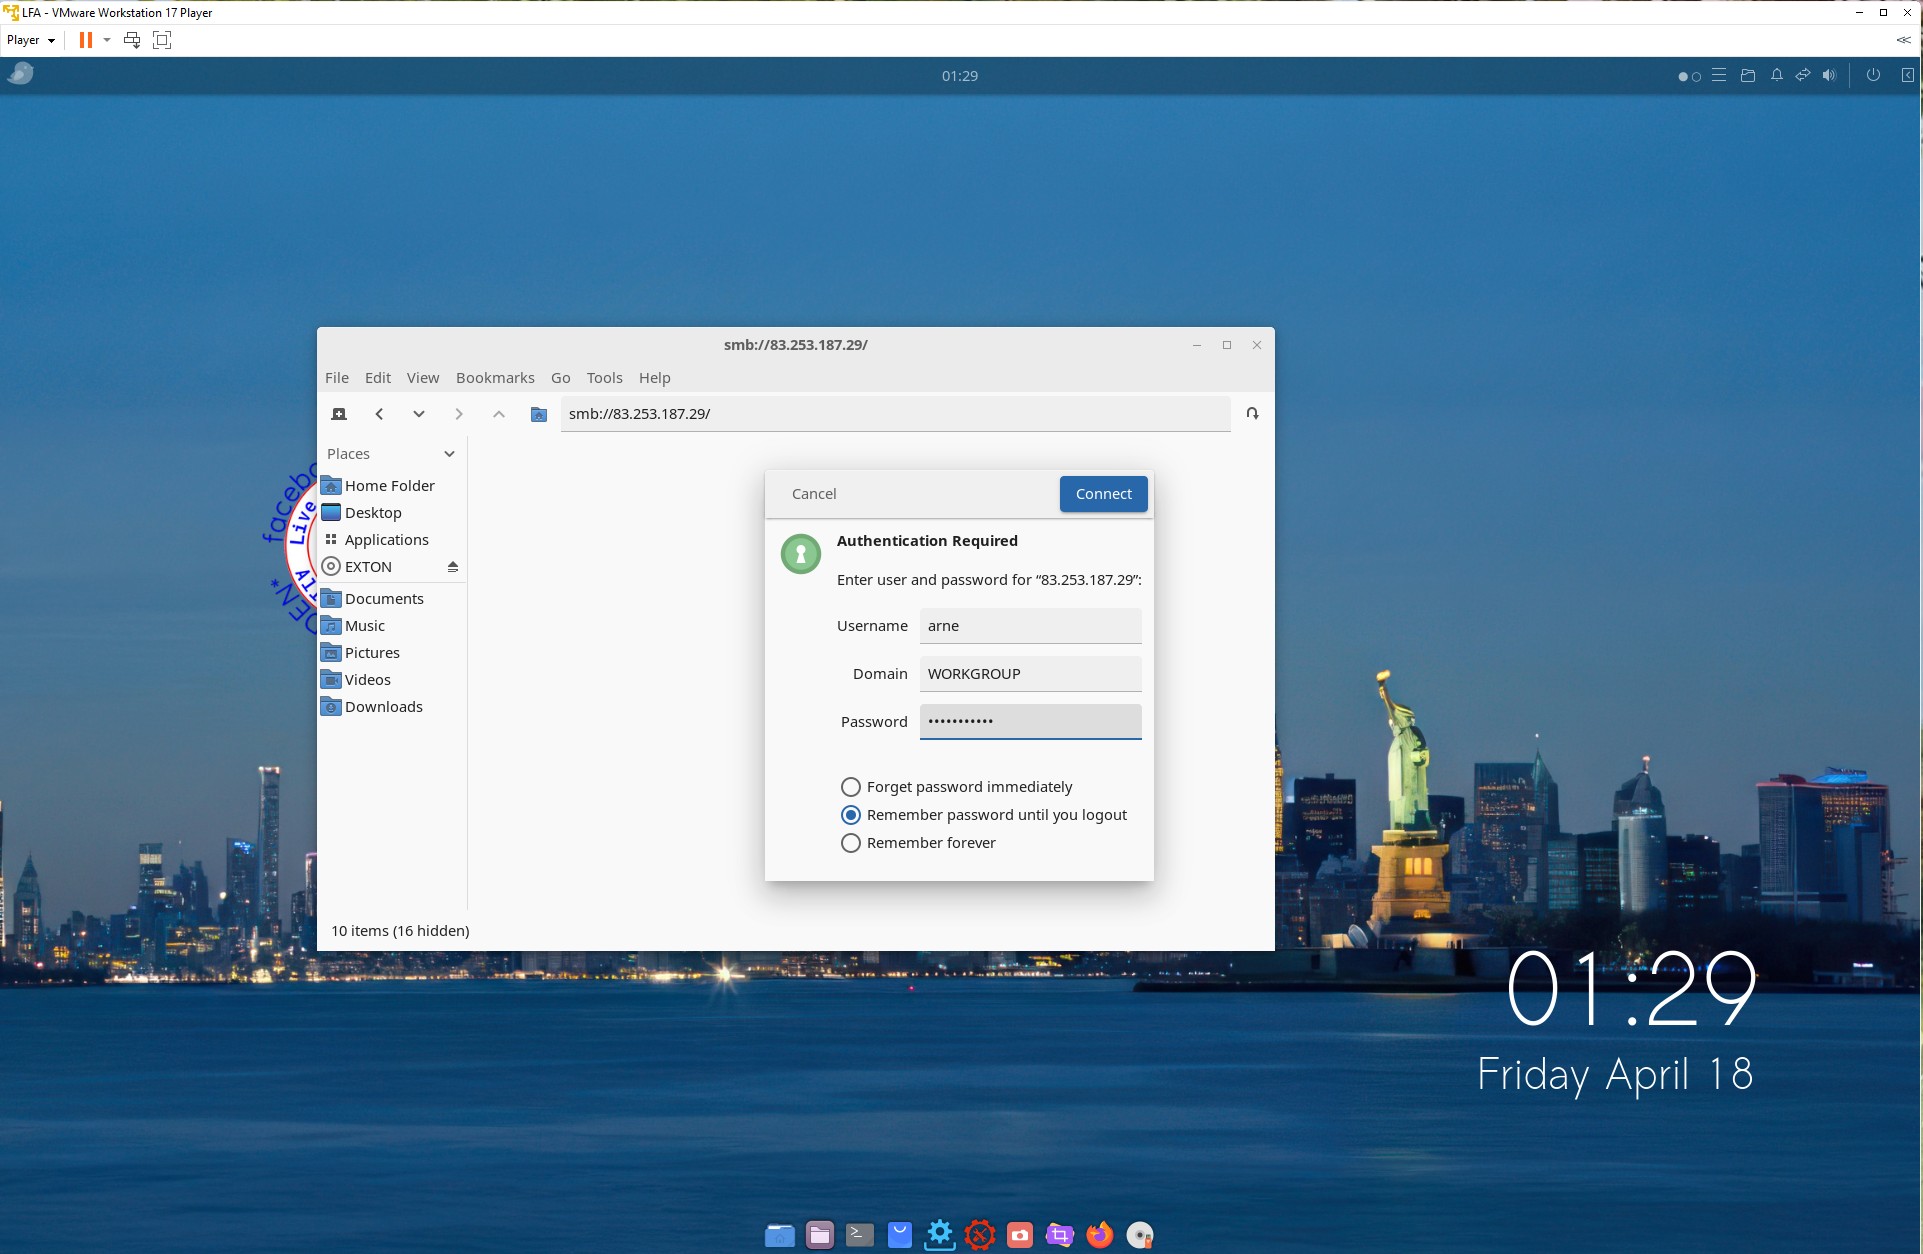
Samba works very well in LFA. Watch a screenshot showing a Samba connection in VMware.
NOTE: For Samba to work you can’t be logged in to your Windows computer using a Microsoft account. You’ll have to use a “local” account. That is according to my experience.
IMPORTANT NOTE about AMD/ATI Graphics Cards
On certain new computers with ATI/Radeon cards you may not be able to change the screen resolution when running LFA live. After a hard drive installation your Grub configuration should look like this example – see below.
menuentry ‘LFA 250417 (sda5 – Samsung_T5)’ –class ubuntu –class gnu-linux –class gnu –class os $menuentry_id_option ‘gnulinux-simple-5394828e-cee6-48a2-8d81-54c0c25f601b’ {
insmod part_msdos
insmod ext2
set root=’hd0,gpt5′
if [ x$feature_platform_search_hint = xy ]; then
search –no-floppy –fs-uuid –set=root 5394828e-cee6-48a2-8d81-54c0c25f601b
else
search –no-floppy –fs-uuid –set=root 5394828e-cee6-48a2-8d81-54c0c25f601b
fi
linux /boot/vmlinuz-6.14.2-amd64-exton root=UUID=5394828e-cee6-48a2-8d81-54c0c25f601b rw quiet acpi_backlight=vendor splash acpi_rev_override=1 nomodeset
initrd /boot/initrd.img-6.14.2-amd64-exton
KNOWN ISSUE
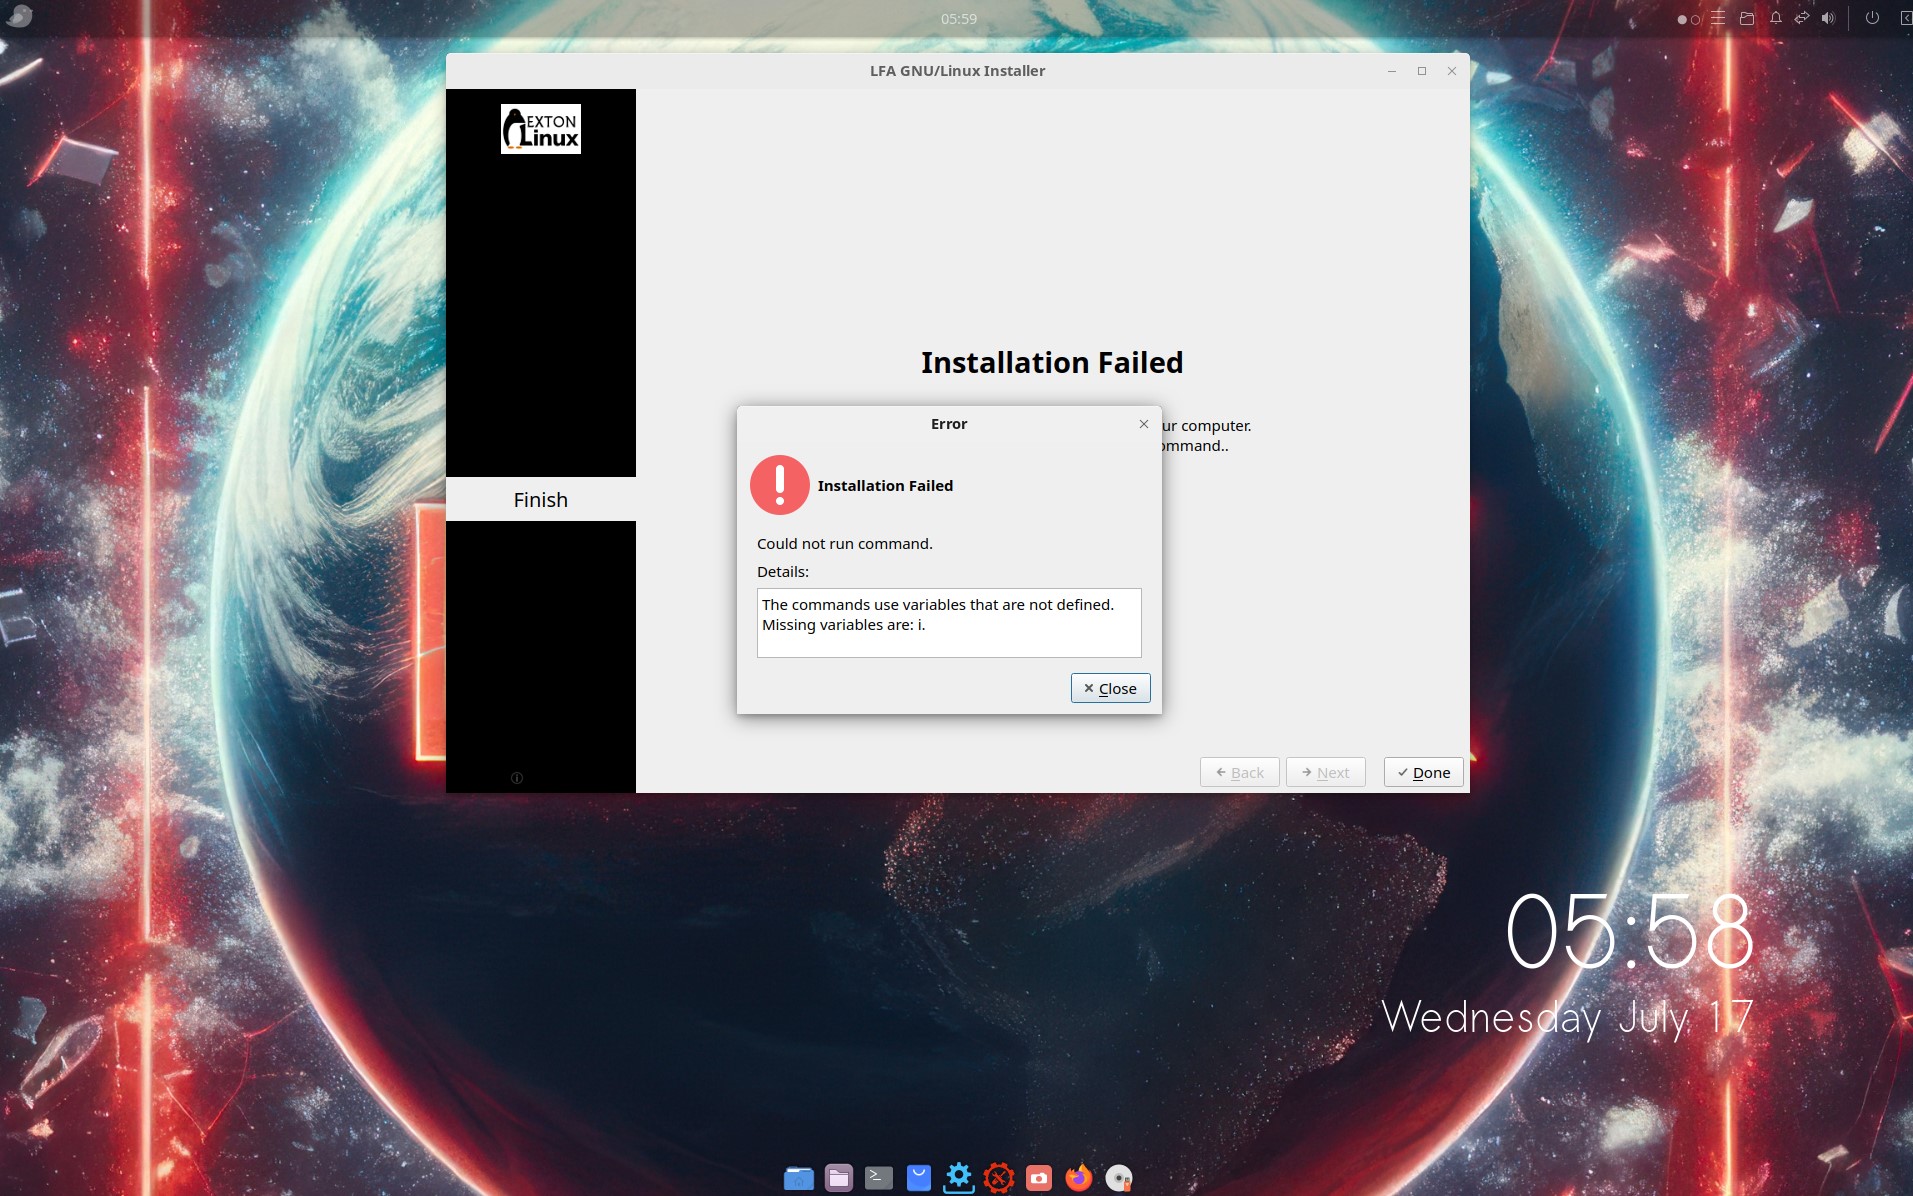
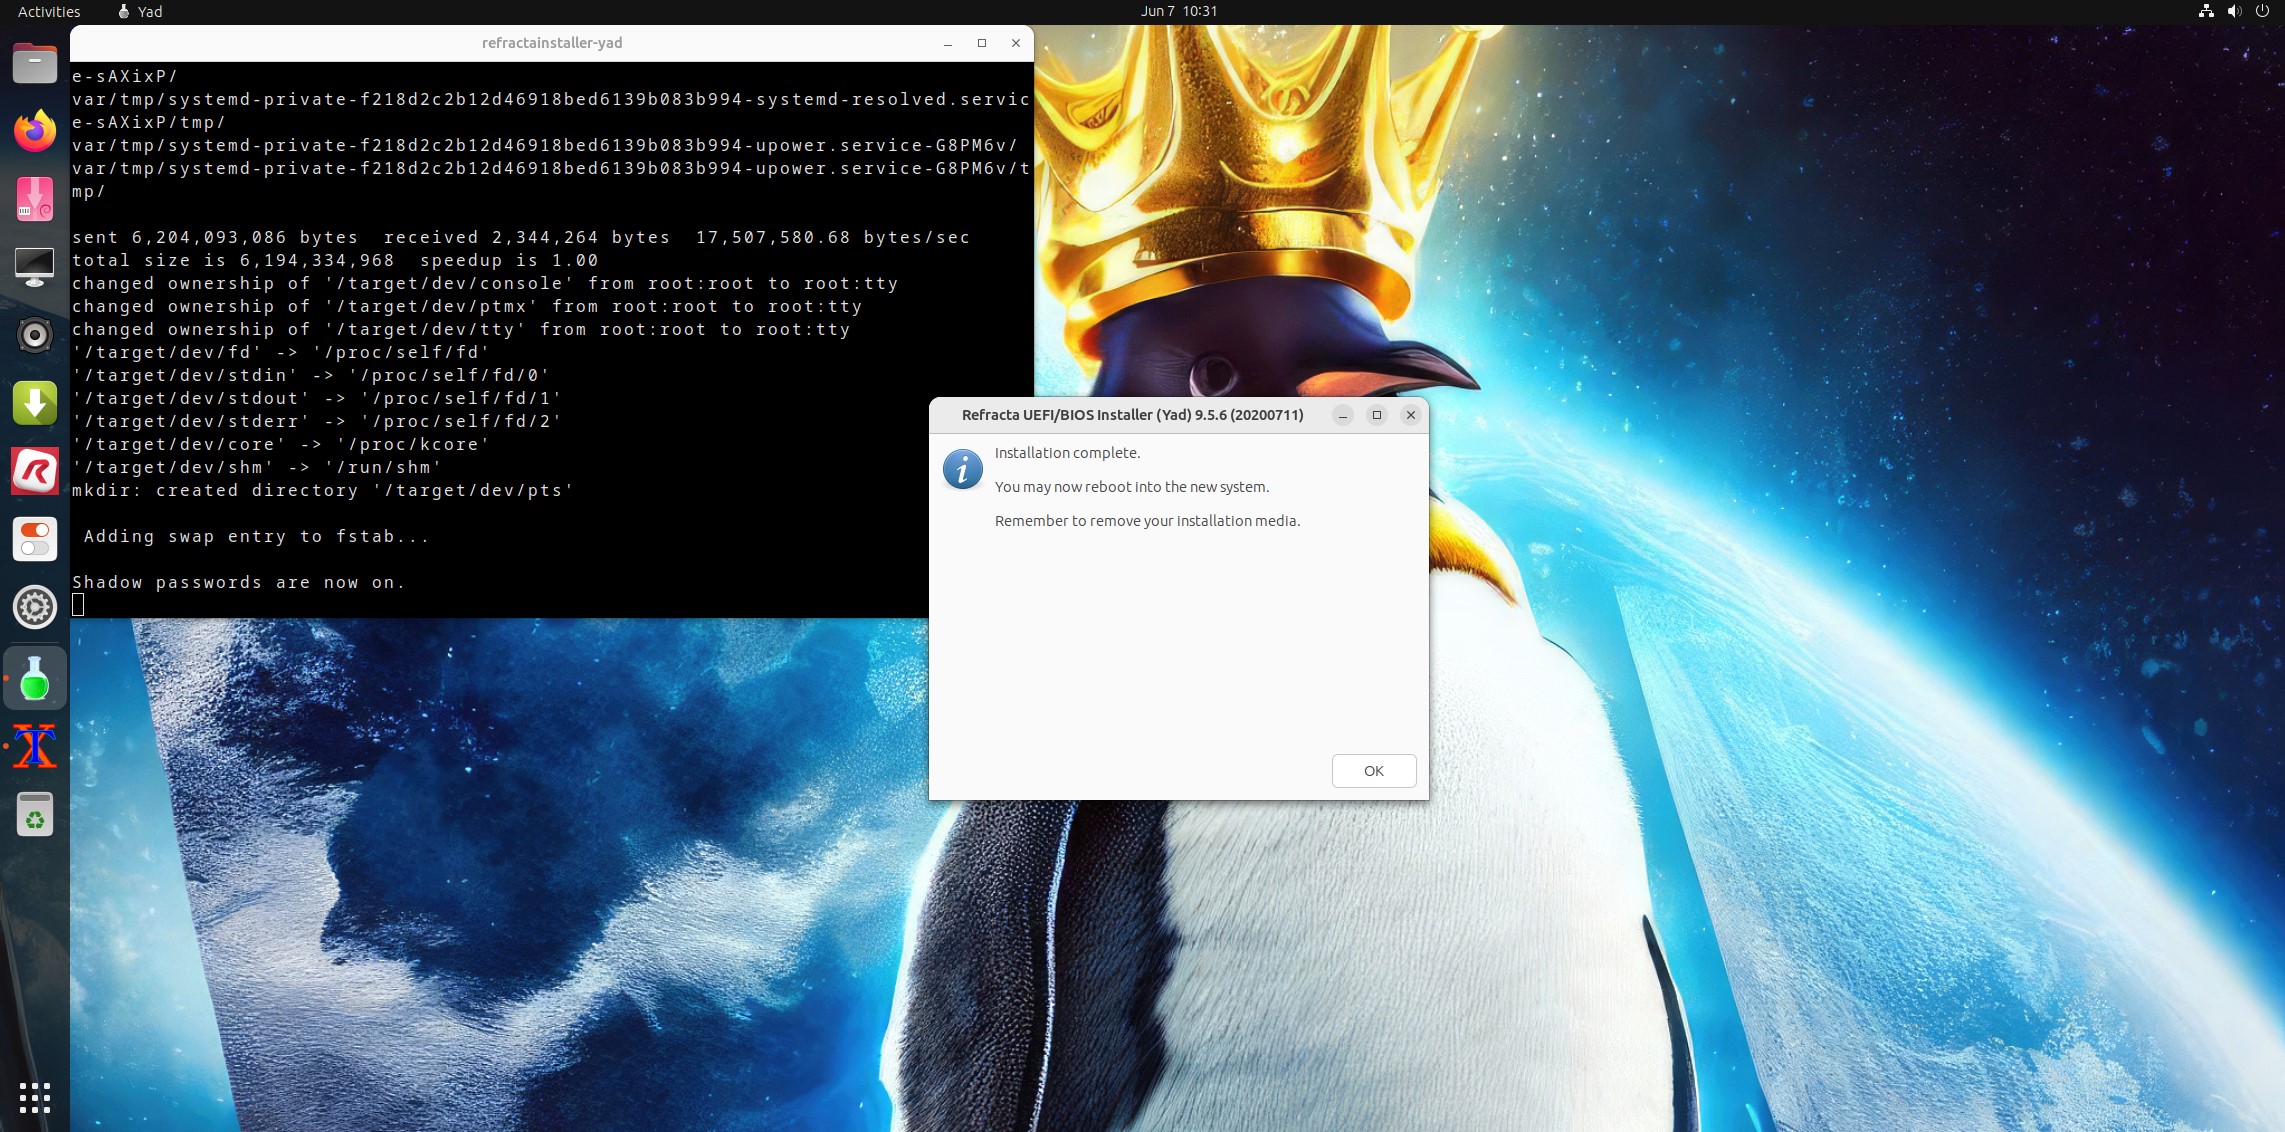
Using Calamares Installer the installation process will end showing an error message – screenshot. Just ignore the error and close down Calamares. Everything will be alright.
SCREENSHOTS
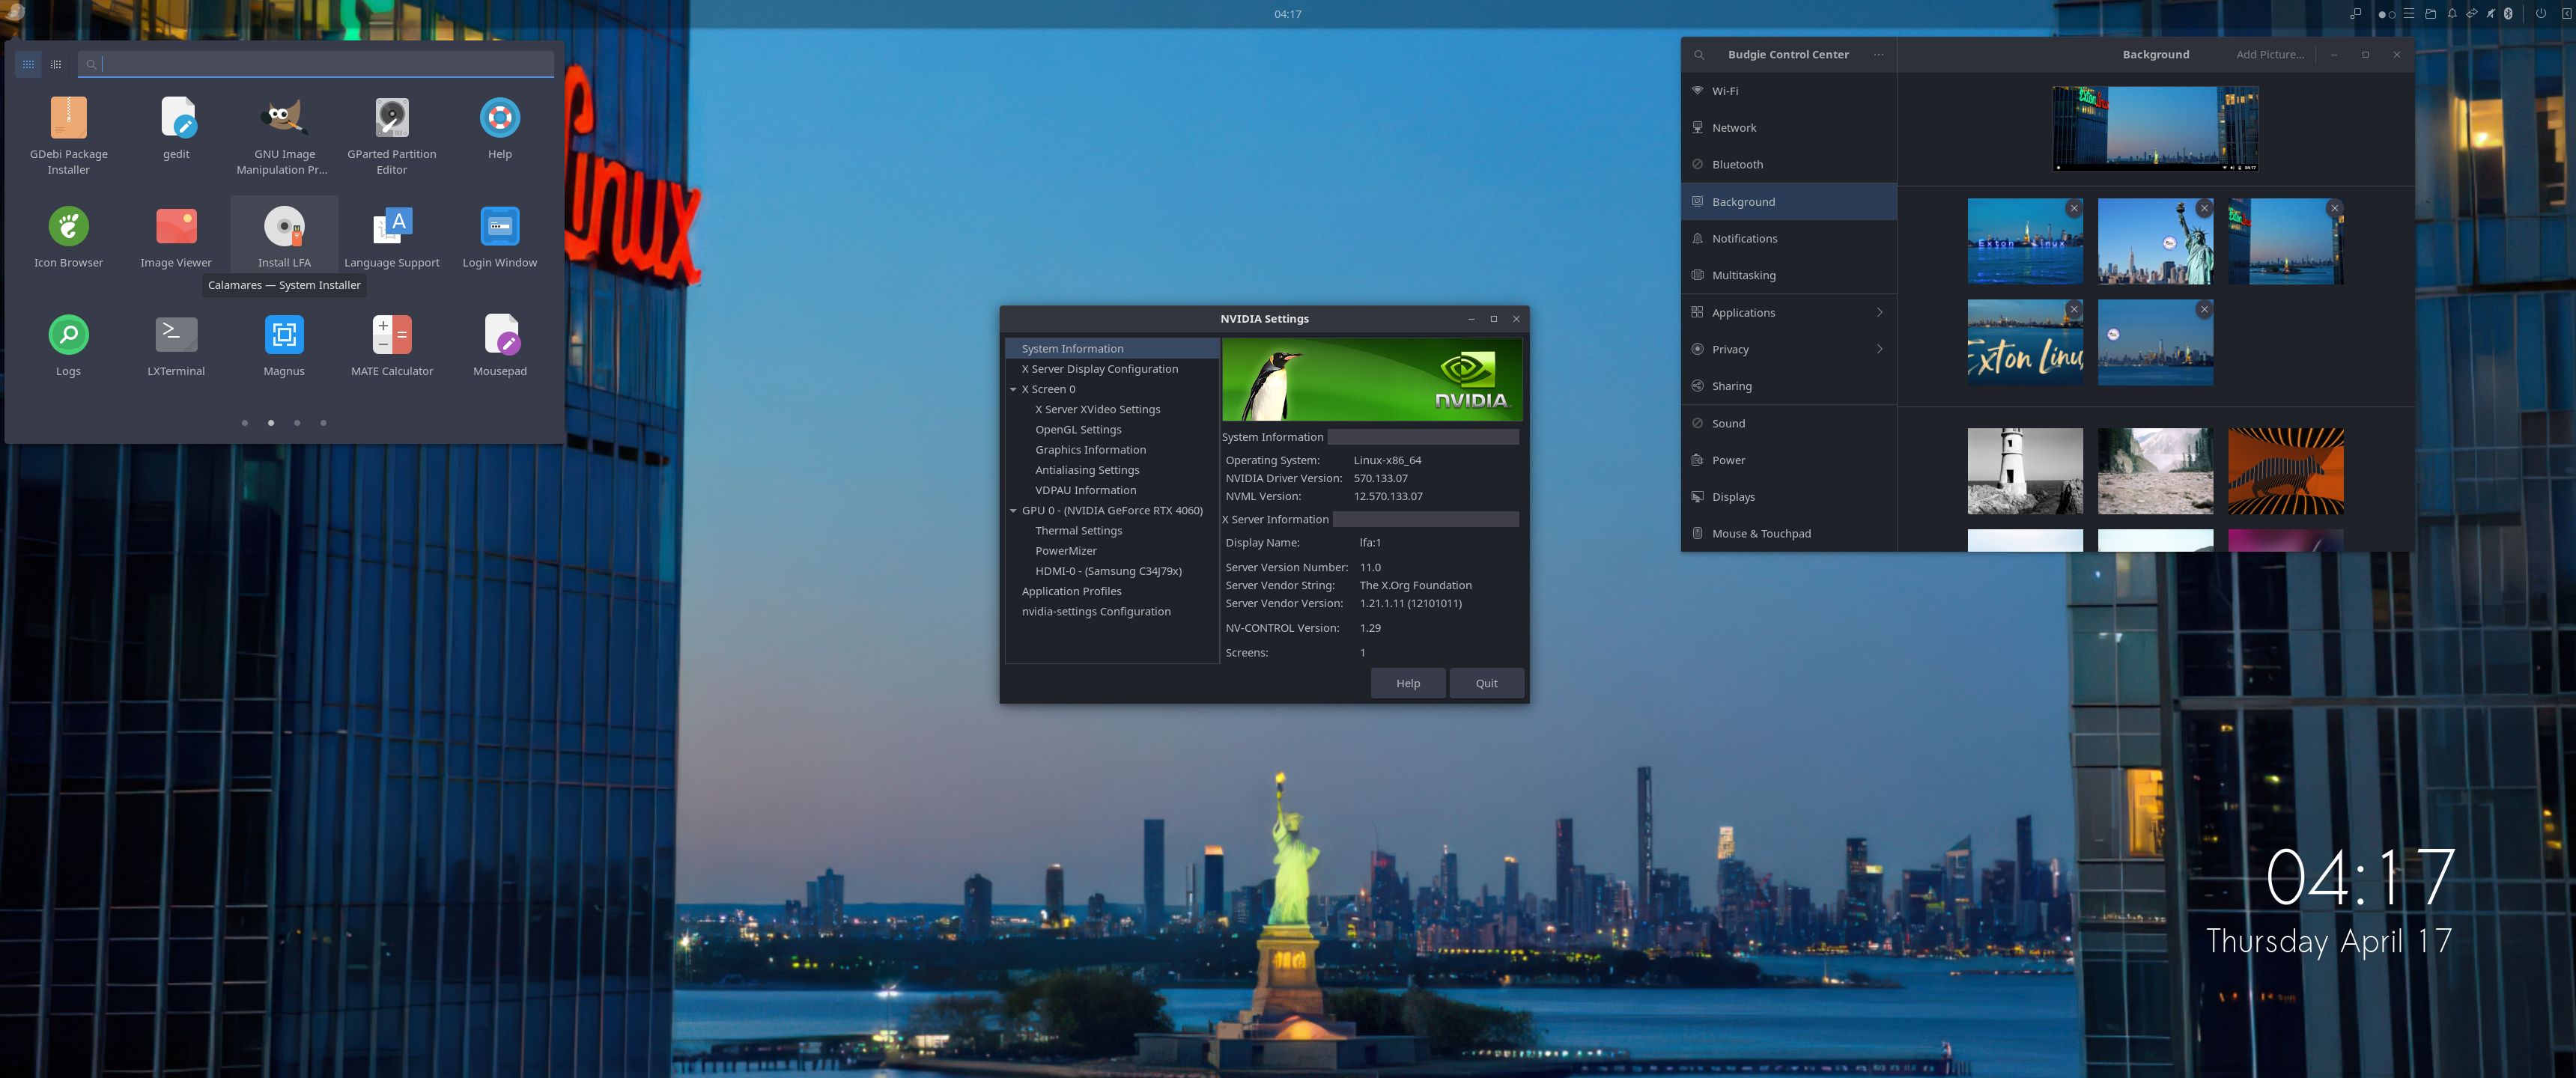
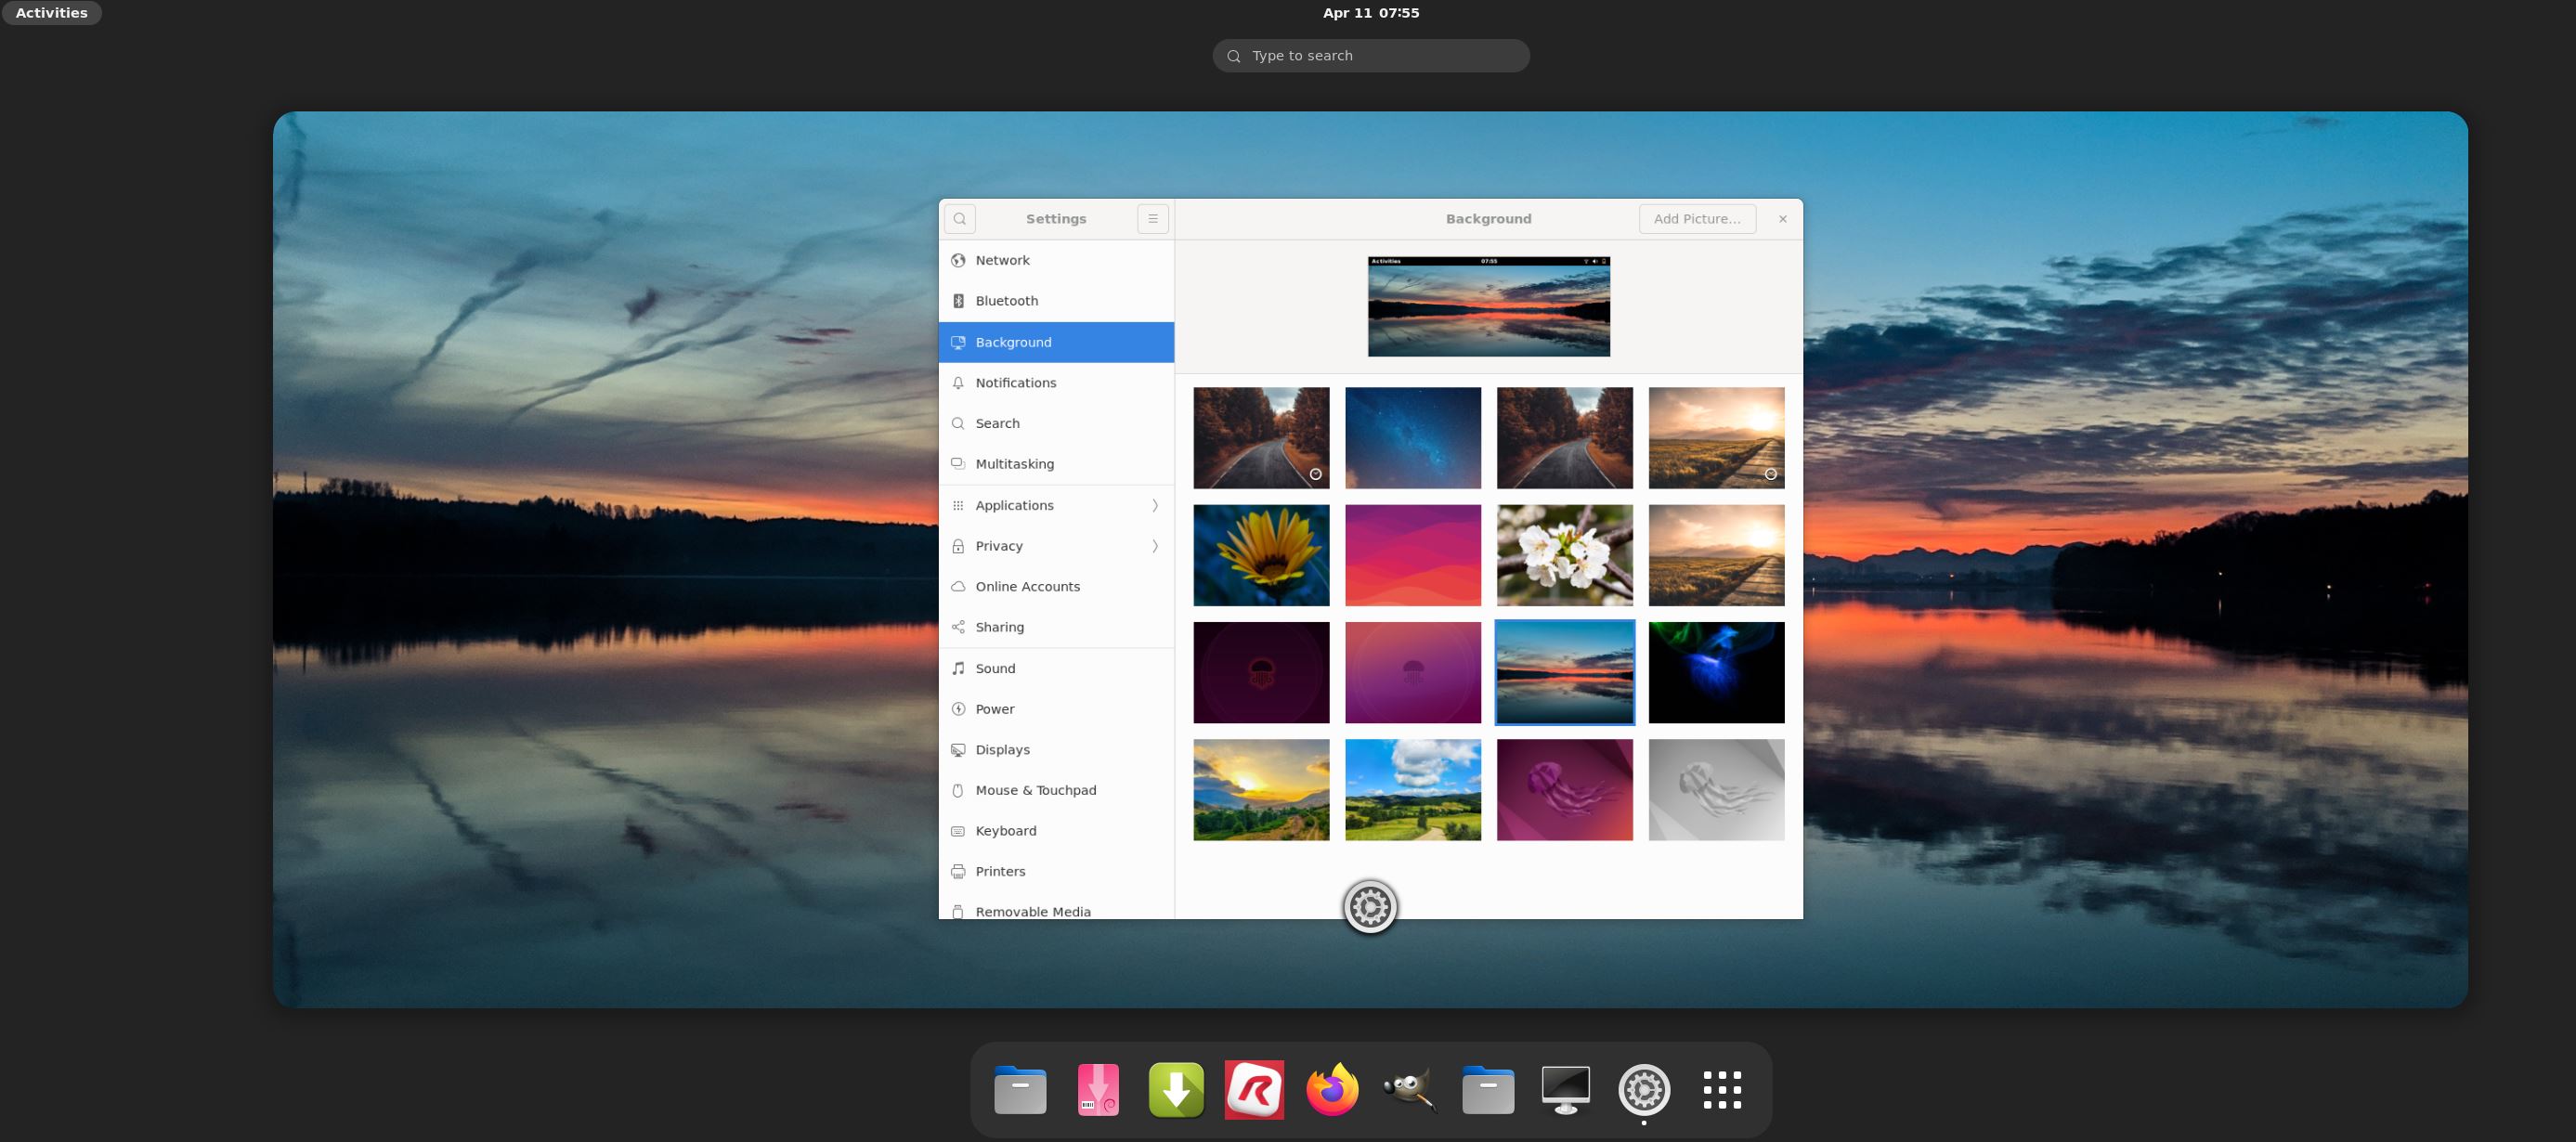
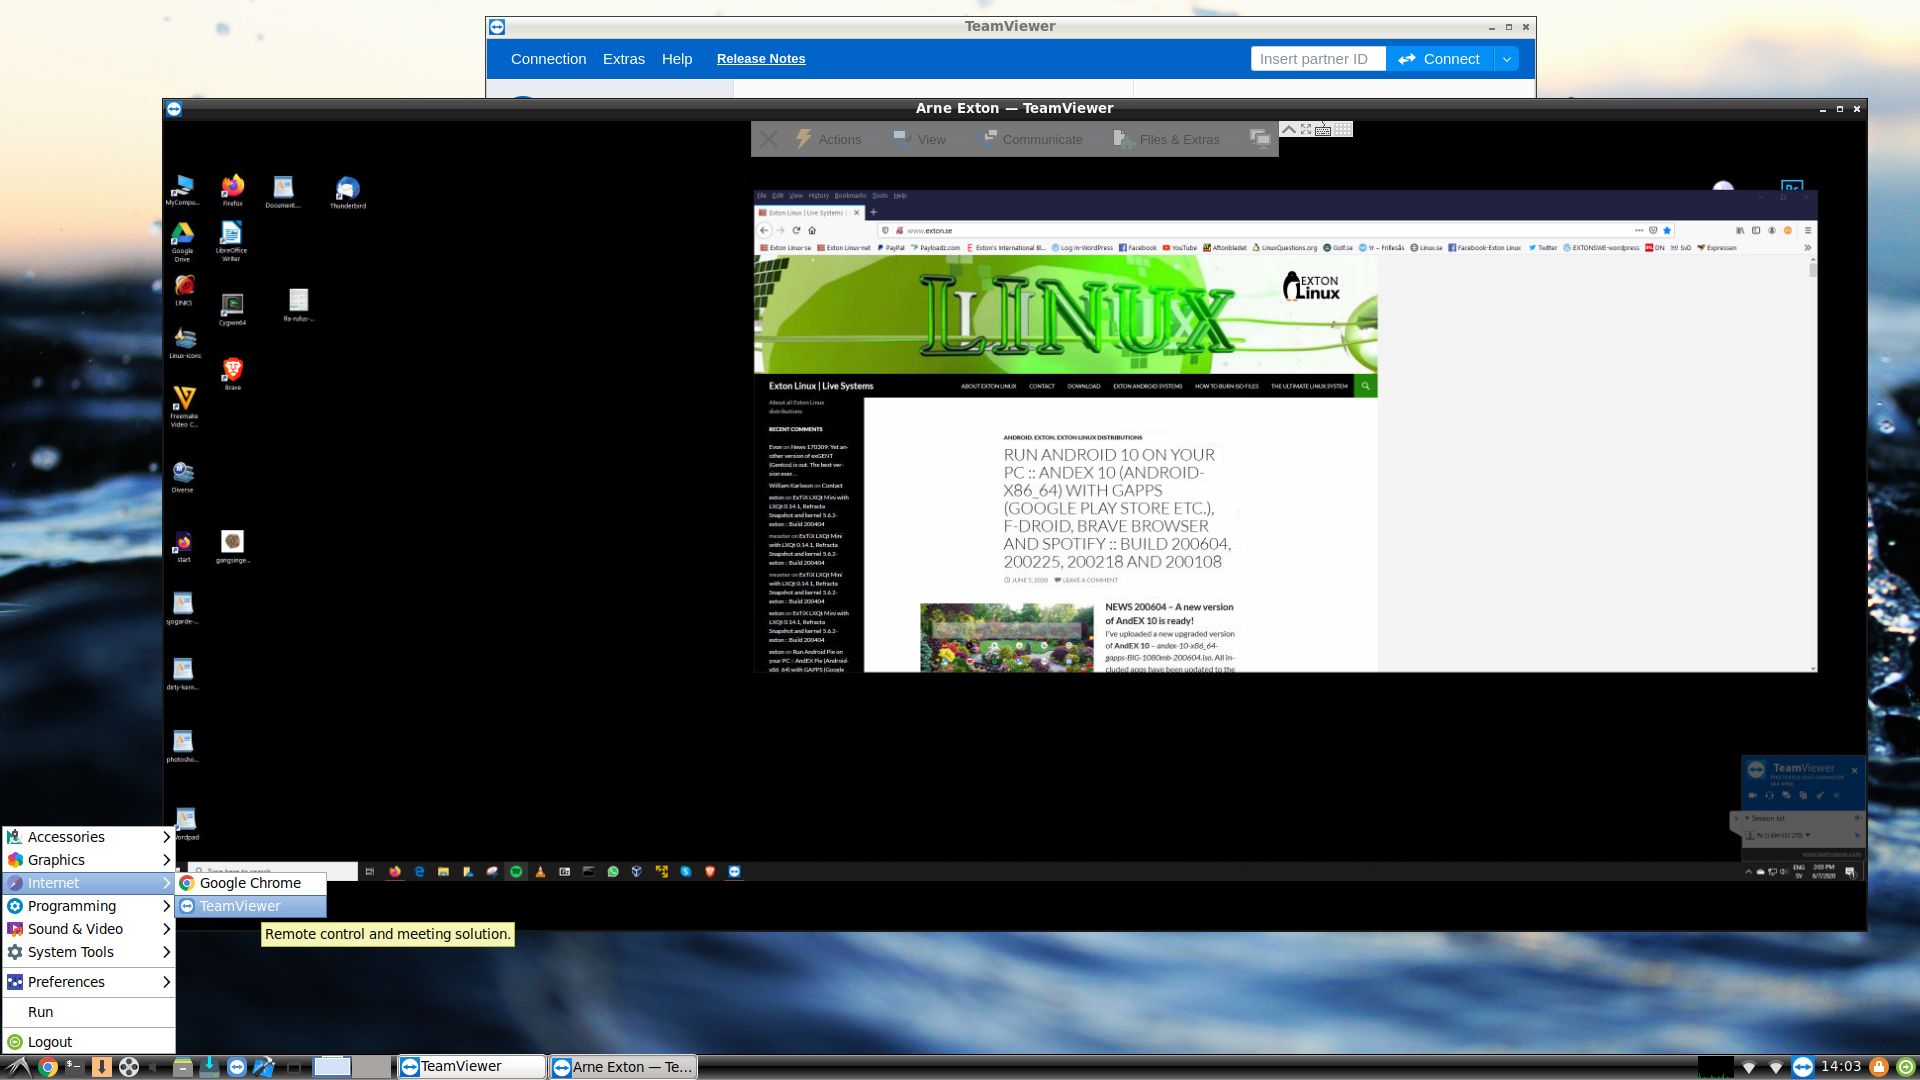
Screenshot 1 – The Desktop for user
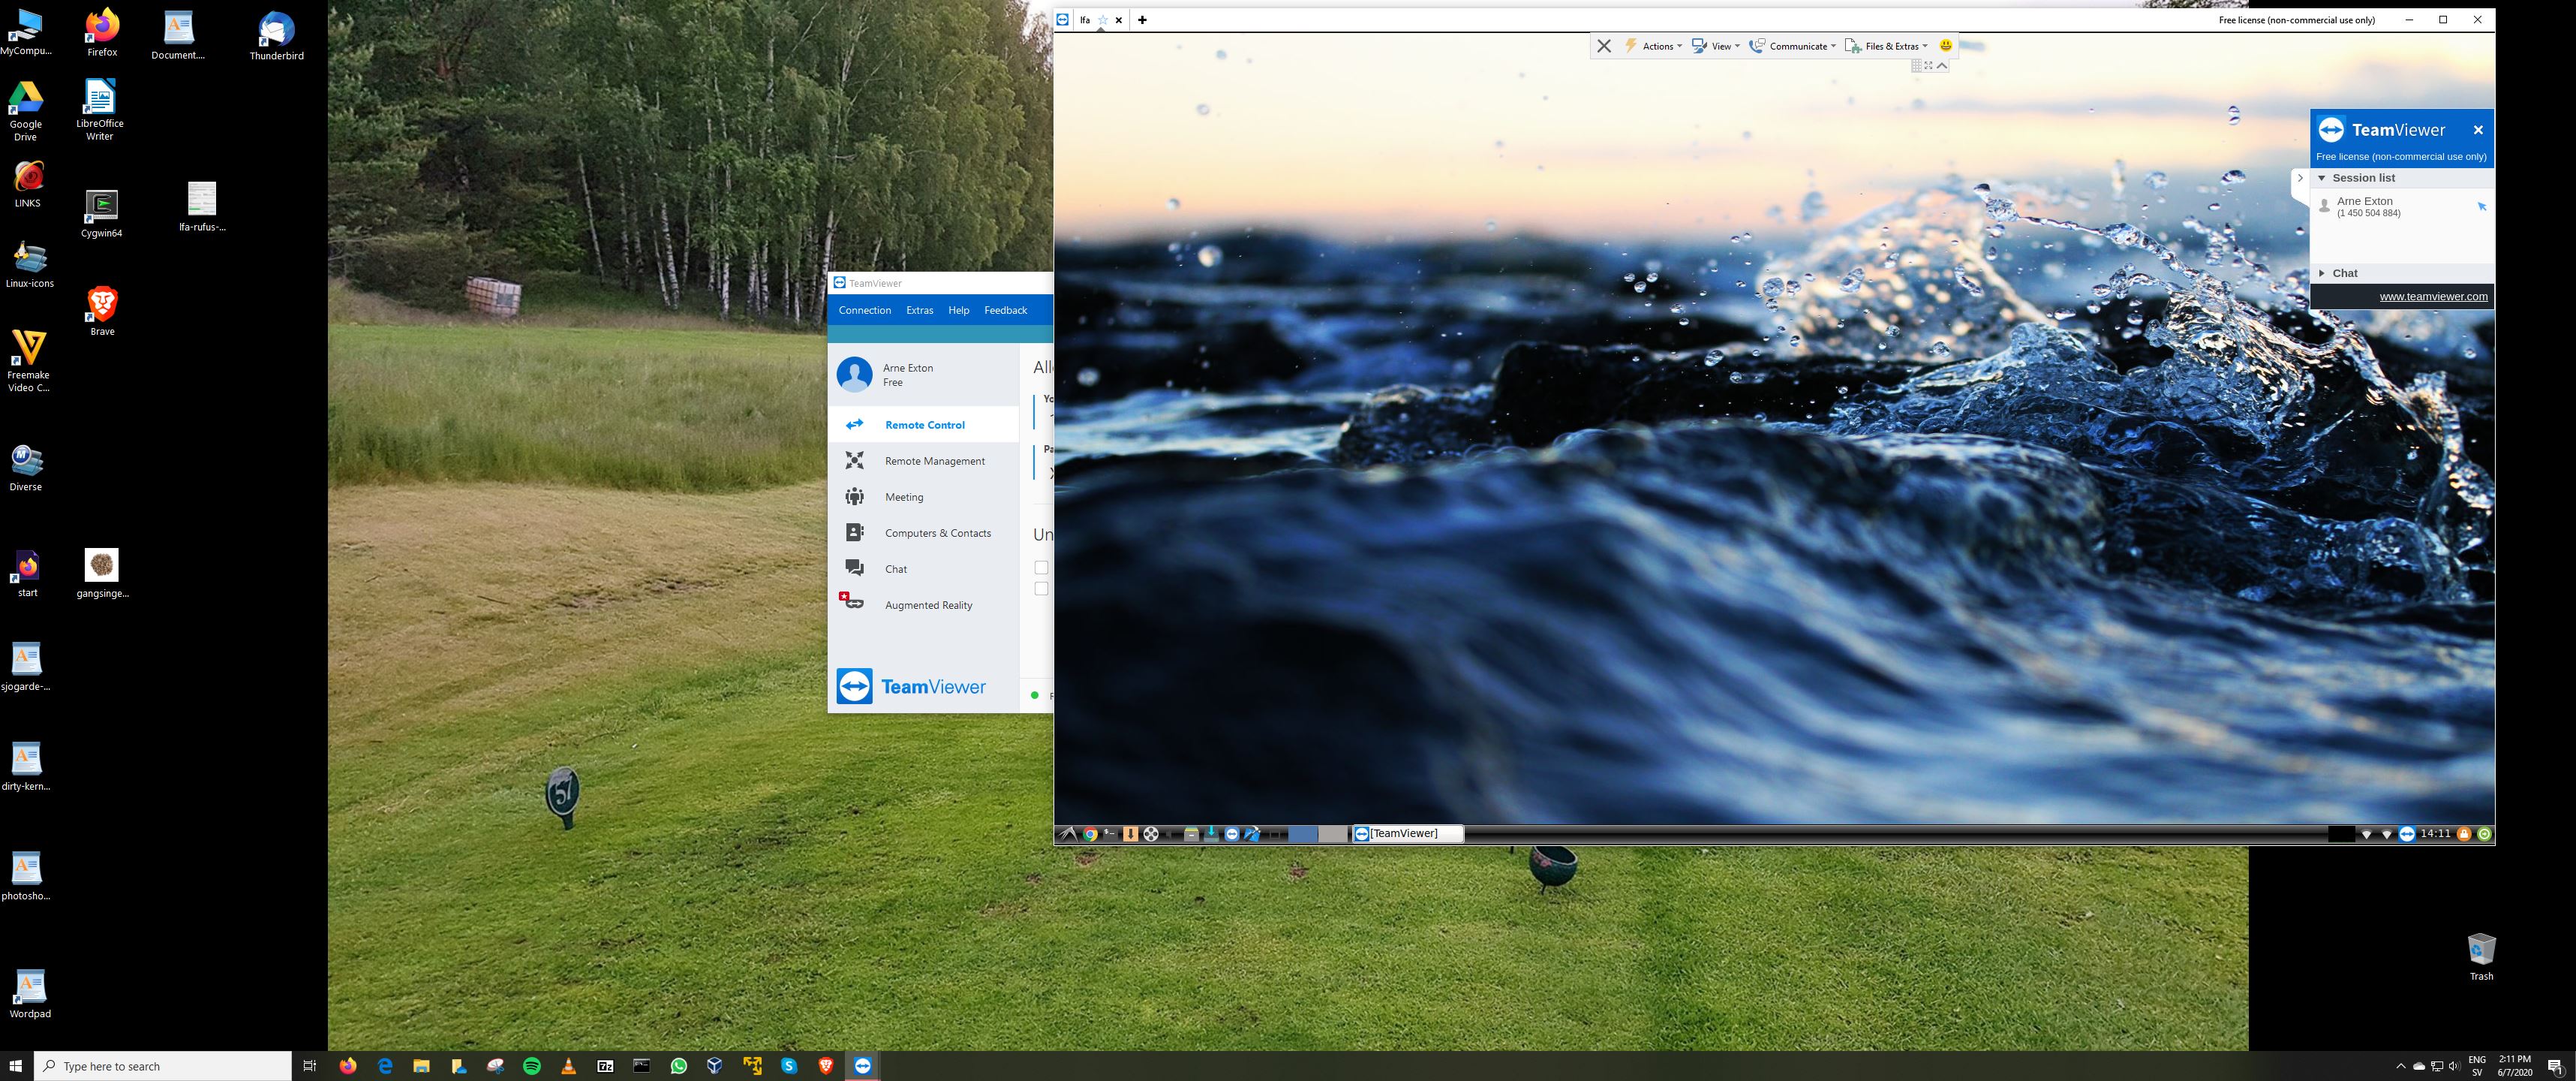
Screenshot 2 – The Desktop for root
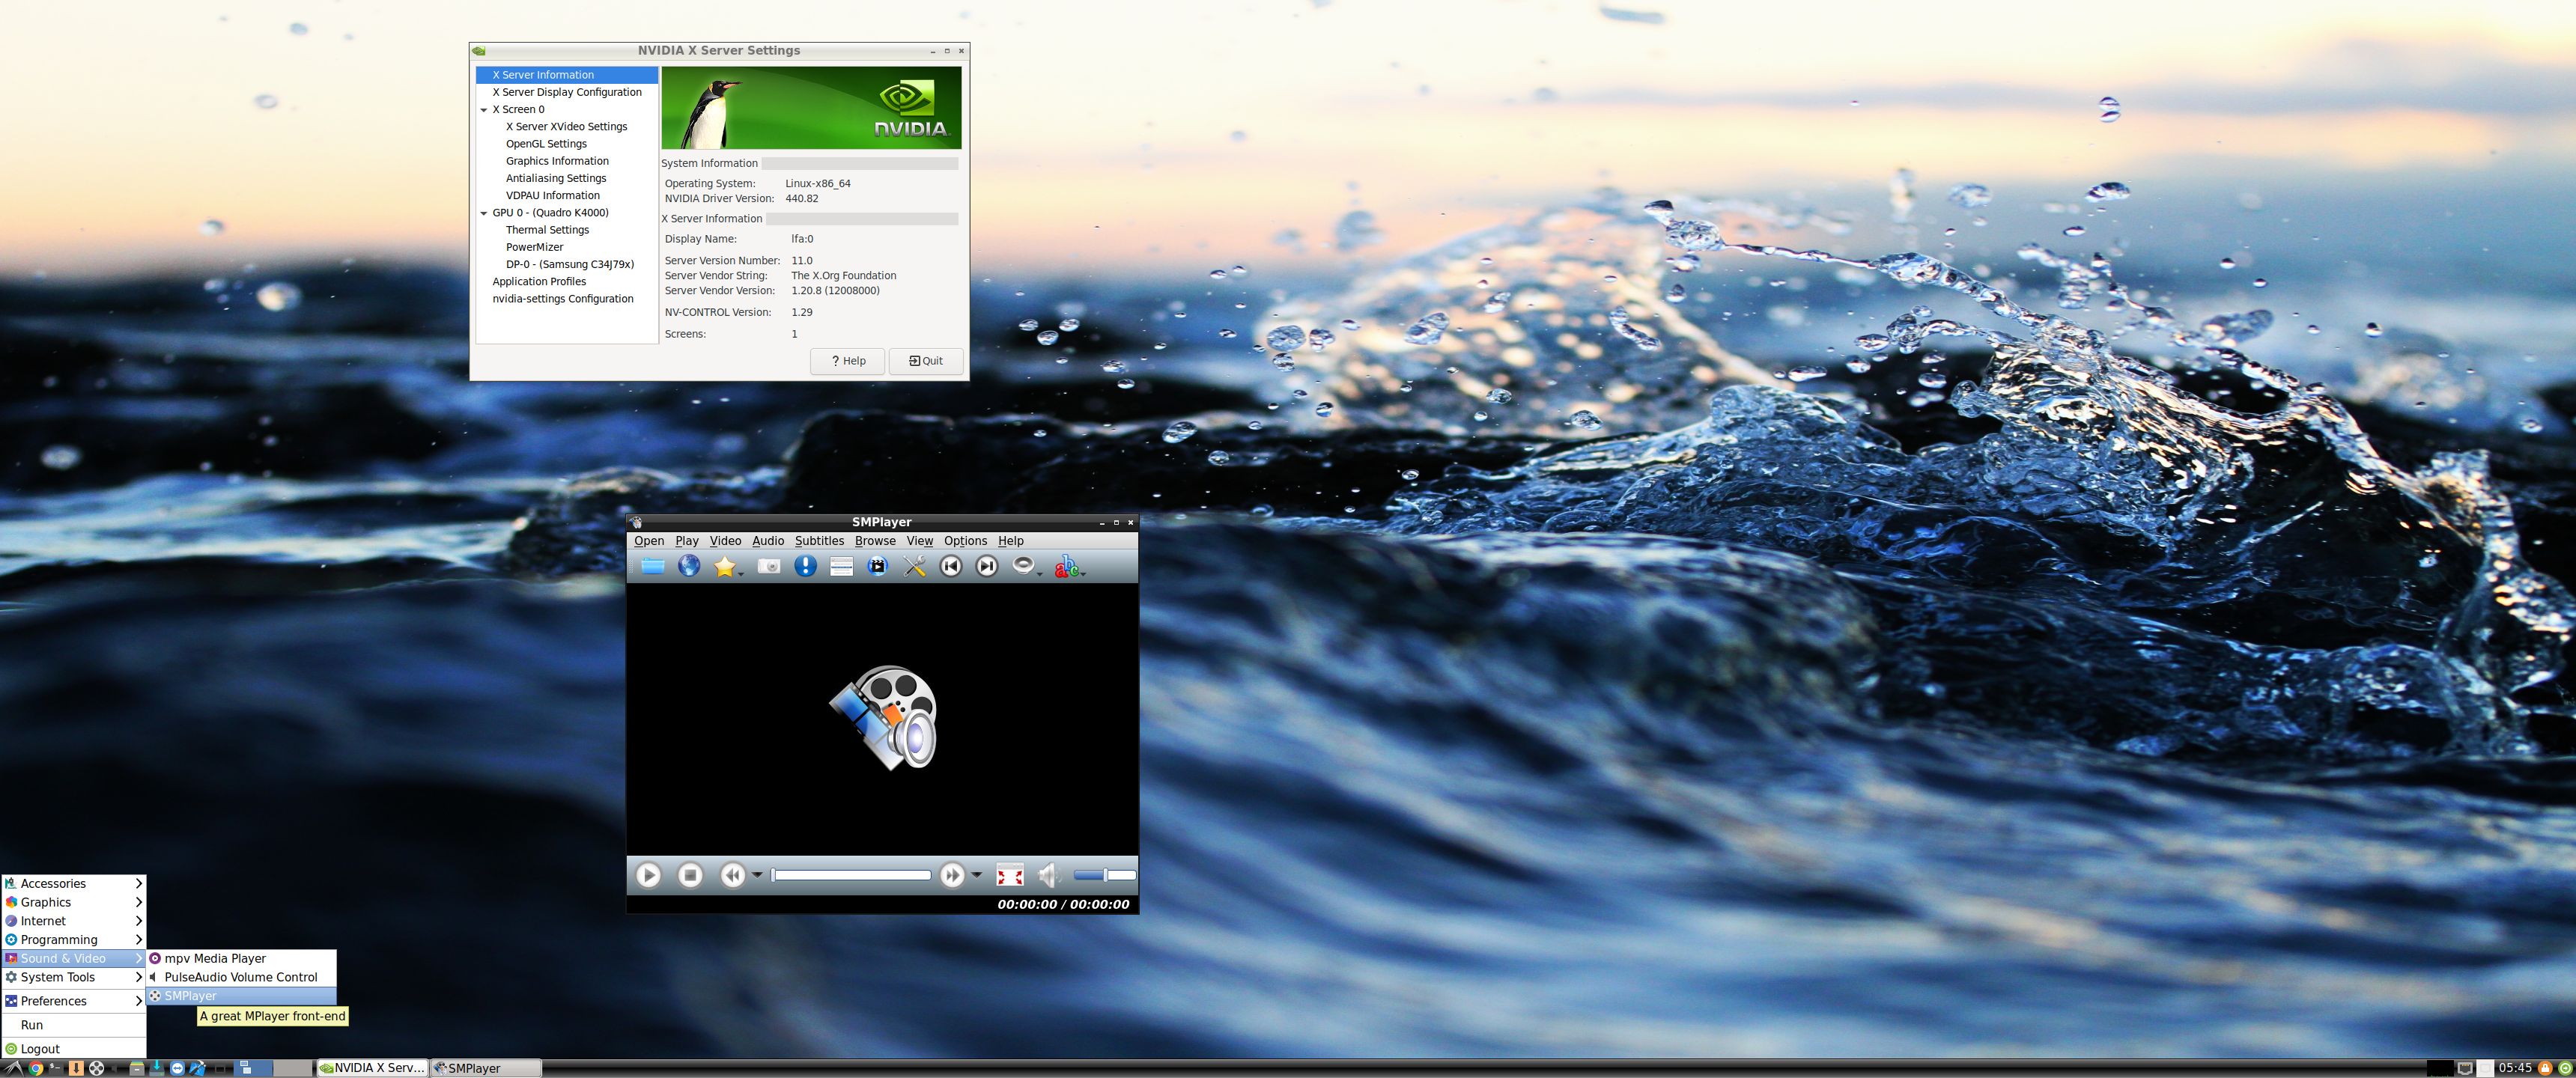
Screenshot 3 – Showing NVIDIA Settings
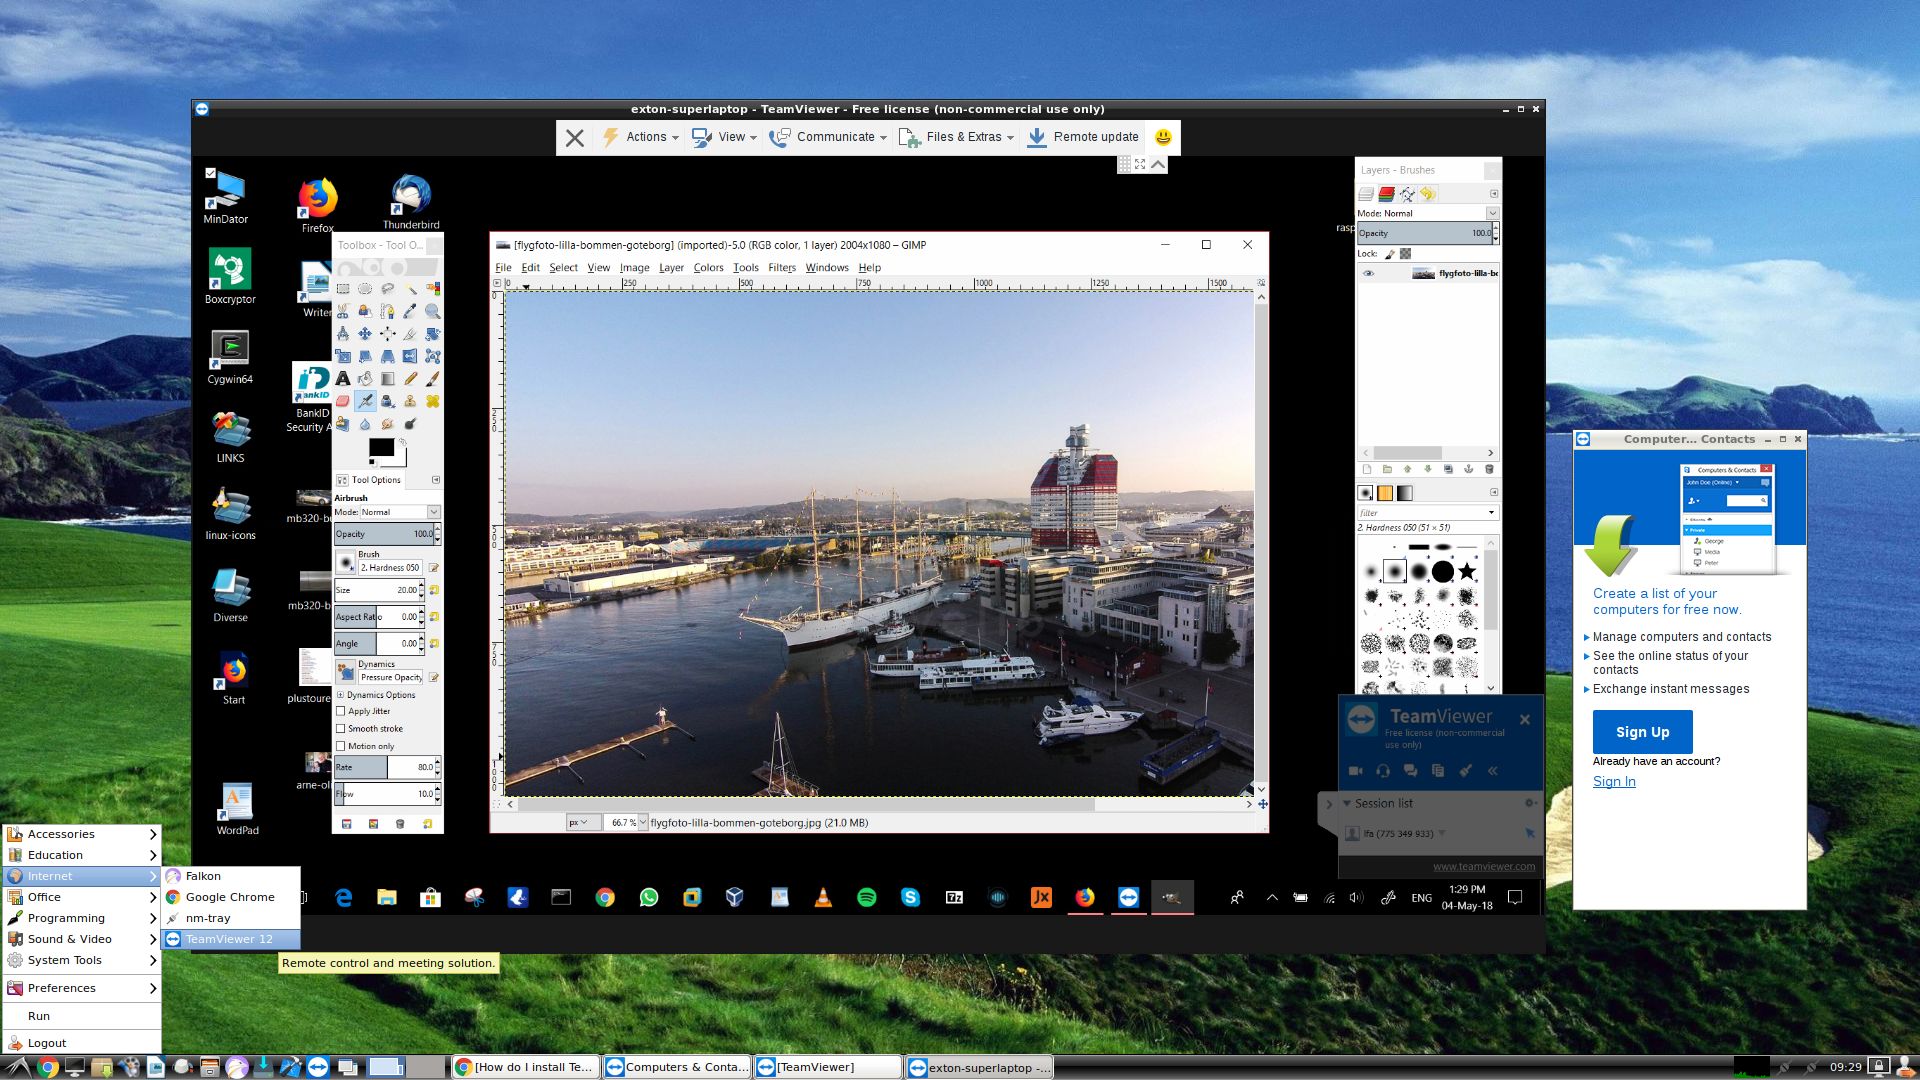
Screenshot 4 – Showing showing a Samba connection in VMware
Watch a YouTube Video about LFA…

DOWNLOAD
LFA Build 250417 can be downloaded from SourceForge.net – Fast, secure and free downloads from the largest Open Source applications and software director.
![]()
md5sum for the LFA ISO which is of 2430 MB
Read about my Android-x86 Systems – 11, 10, Pie, Oreo, Nougat, Marshmallow, Lollipop and KitKat at andex.exton.net – latest is AndEX 11 (with GAPPS), AndEX 10 (with GAPPS) and AndEX Pie 9.0 (also with GAPPS)!
and
about my Android 16, 15, 14, 13, 12, 11, 10, Pie, Oreo, Nougat, Marshmallow and Lollipop versions for Raspberry Pi 5, Pi 4 and Pi 3/2 at raspex.exton.se – latest is RaspAnd 16 (with GAPPS), RaspAnd 15 (also with GAPPS), RaspAnd 14 (also with GAPPS), 13 and 12 (without GAPPS), RaspAnd 11 (with GAPPS) and RaspAnd Oreo 8.1 (also with GAPPS)! ![]()


